Growing up in an Asian household, rice was one of the first things we learned to make in the kitchen. For me, it was short-grain sushi rice in a Zojirushi rice cooker, and it showed up at almost every meal — breakfast, lunch, and dinner. Rice was the constant, and the rice cooker was the appliance that made it possible to have perfect rice without thinking about it.
The method I use now is the one I learned at home, and it comes down to three things: rinsing the rice until the water runs clear, filling the water to the line inside the pot, and letting the rice steam for 10 minutes after the cooker switches to warm. Those three steps are the difference between fluffy, glossy rice and gummy rice that clumps together. None of them takes more than a minute, and together they’re what makes rice taste like the rice you get at a Japanese restaurant.
The recipe makes about 9 cups of cooked rice, which is 6 servings at 1½ cups each. If you’re meal prepping, you can easily scale it up to 4 or 5 cups of dry rice — just fill the water to the matching line inside the pot, and the cooker does the rest. The rice freezes beautifully, so a big batch on Sunday means rice for the whole week.
Once you’ve made it this way once, the method becomes automatic. It’s the kind of thing that turns rice from a thing you measure carefully into a thing you just make.
Why This Method Works
Rice from a rice cooker goes wrong in three specific ways: gummy rice that clumps together, rice that’s wet on the bottom and dry on top, and rice that tastes bland. Here’s how this method solves each one.
1. Rinse the Rice Until the Water Runs Clear
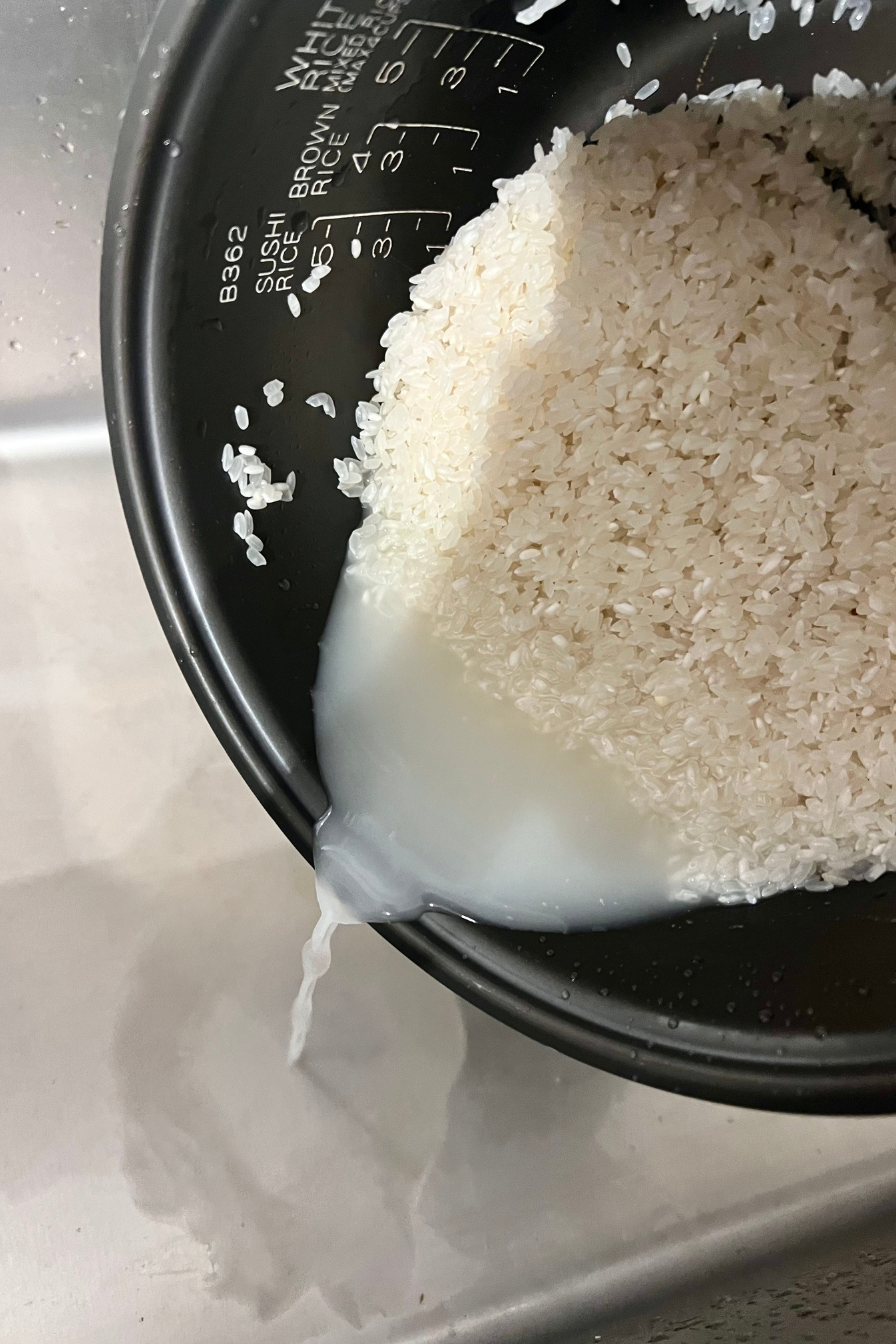
The cloudy water you see when you first rinse rice is excess surface starch. If you leave it on, the rice cooks up sticky and clumpy — the grains glue together instead of staying separate. Rinsing 3 to 4 times until the water runs mostly clear removes that surface starch, and the grains cook up distinct and tender.
2. Fill the Water to the Line Inside the Pot
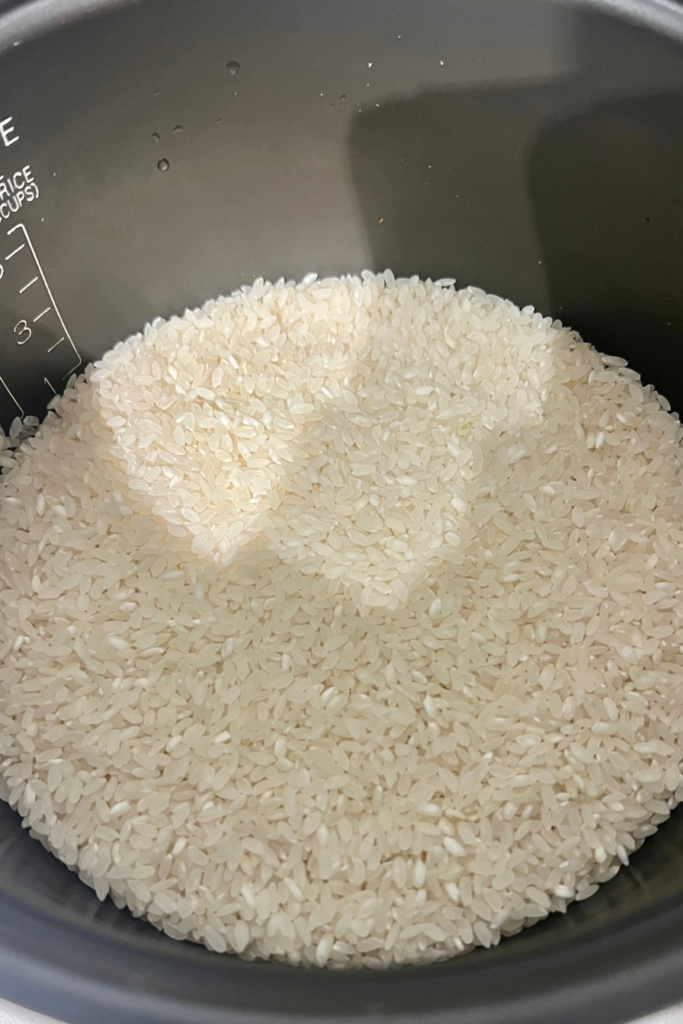
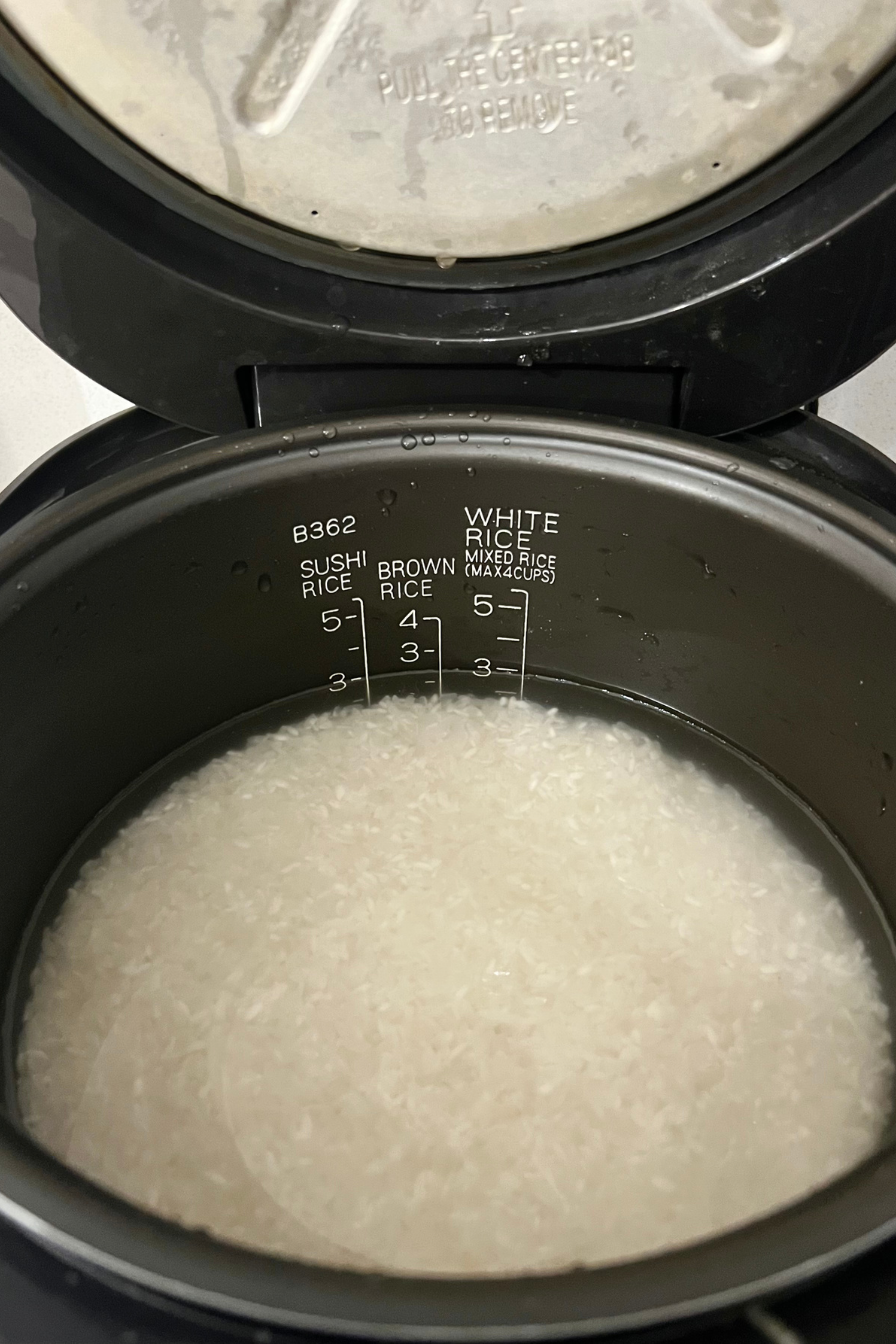
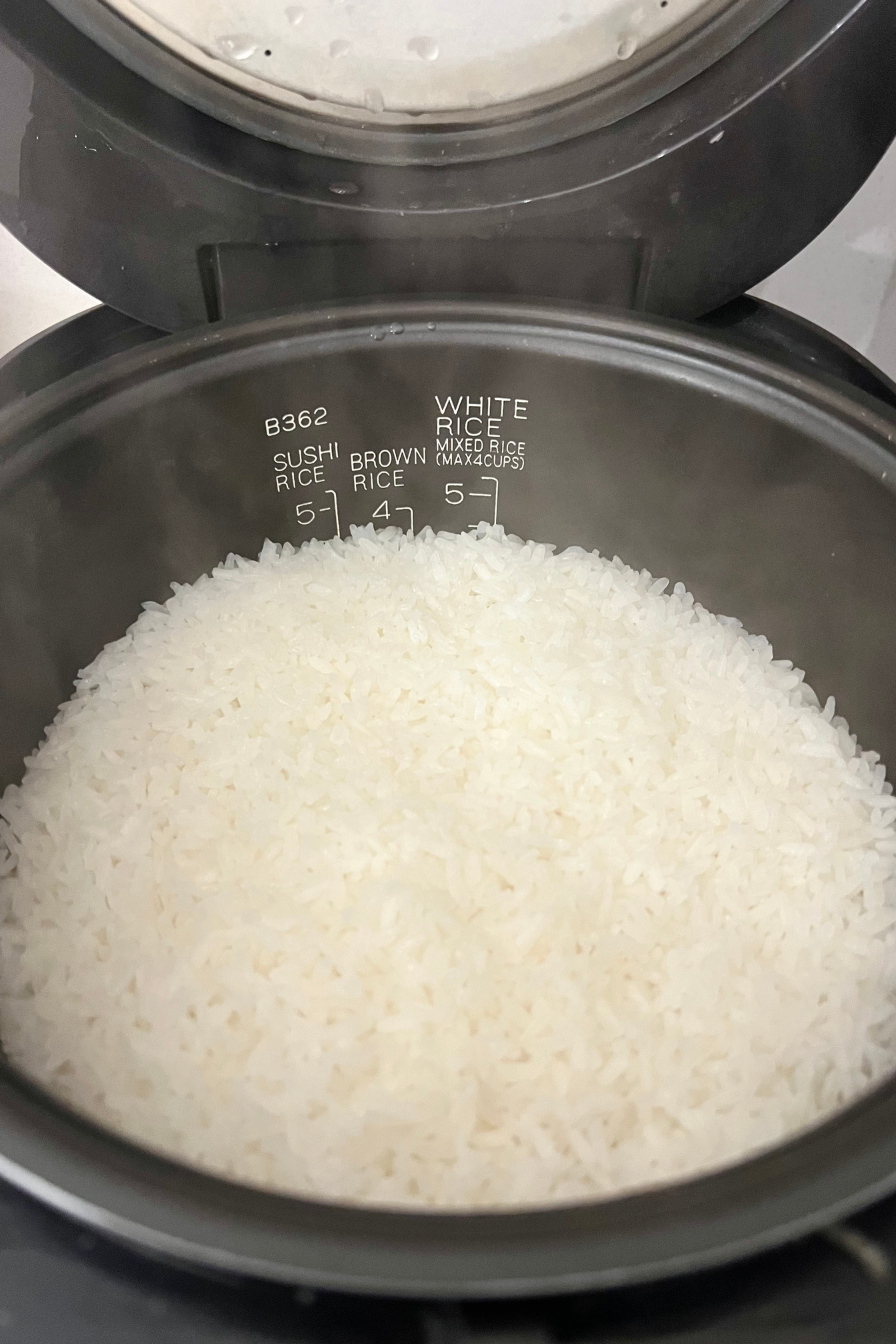
Rice cookers are designed to work with their own water lines. The “3” line on the inside of the pot is calibrated for 3 cups of dry rice, and filling to that line is more accurate than measuring cups. If you’re using a different amount of rice, fill to the matching line — the cooker’s markings are the most reliable guide.
3. Steam for 10 Minutes After the Cooker Switches to Warm
The rice cooker switches to warm when the water is absorbed, but the rice isn’t done yet. Letting it sit covered for 10 minutes allows the moisture to redistribute evenly — the bottom layer stops being wet, and the top layer finishes steaming. Skipping this step is the most common reason rice turns out uneven.
Ingredients That Matter
Short-grain white rice. 3 cups of short-grain rice — Japanese sushi rice, Calrose, or Koshihikari all work. Short-grain rice has a higher starch content than long-grain, which is what gives it that slightly sticky, glossy texture. Use the measuring cup that came with your rice cooker if you have one, since it’s calibrated to match the pot’s water lines.
Cold filtered water. For rinsing and cooking. Filtered water makes a subtle difference in the taste — if your tap water is very hard or heavily chlorinated, filtered is worth it.
That’s it. This recipe is just rice and water. No salt, no oil, no butter. The rice cooker does the rest.
How to Make Rice in a Rice Cooker
(See the recipe card below — the steps are identical and the card is the single source of truth.)
Tips and Troubleshooting
The rice turned out gummy or clumpy. It wasn’t rinsed enough. Rinse 3 to 4 times until the water runs mostly clear, not just once or twice.
The rice is wet on the bottom and dry on top. The steam step was skipped, or the rice wasn’t fluffed after steaming. Let it rest covered for the full 10 minutes, then fluff gently from bottom to top.
The rice is undercooked. The water level was too low, or the rice cooker’s heating plate wasn’t making clean contact with the pot. Fill to the line, and wipe the outside of the inner pot dry before it goes in.
The rice is mushy. Too much water, or the rice sat on warm for hours after cooking. Fill to the line, and fluff the rice as soon as the steam step is done.
The rice tastes bland. Short-grain rice is naturally sweet and flavorful — if it tastes bland, it may be a less flavorful variety or old rice. Koshihikari is the sweetest and most flavorful variety.
The rice stuck to the pot. The pot wasn’t wiped dry on the outside, or the rice sat on warm for too long. Wipe the outside dry and fluff as soon as the steam step is done.
The rice cooker overflowed. Too much water, or too much rice for the pot. Fill to the line for the amount of rice you’re cooking, and don’t fill the pot past its maximum capacity.
The rice didn’t cook evenly. The rice wasn’t spread into an even layer before cooking. Spread it flat in the pot so the water distributes evenly.
Substitutions and Swaps
Short-grain rice → medium-grain or long-grain rice. Same quantity, but the water ratio changes. Long-grain rice uses less water than short-grain — fill to the line for your rice cooker’s long-grain setting, or reduce the water slightly.
Short-grain rice → brown rice. Same quantity, but brown rice needs more water and a longer cook time. Use the brown rice setting on your cooker, and fill to the brown rice line.
For sushi rice: cook the rice as directed, then season with a mixture of rice vinegar, sugar, and salt while it’s still warm. This captures the “how to make sushi rice with a rice cooker” keyword.
For Spanish rice: cook the rice in chicken broth instead of water, and add a tablespoon of tomato paste and a pinch of cumin to the pot before cooking. This captures the “how to make spanish rice in a rice cooker” keyword.
For cilantro lime rice: cook the rice as directed, then stir in chopped cilantro, fresh lime juice, and a pinch of salt while it’s still warm. This captures the “how to make cilantro lime rice rice cooker” keyword.
For rice pudding: cook the rice as directed, then simmer it with milk, sugar, and cinnamon until creamy. This captures the “how to make rice pudding in a rice cooker” keyword.
Storage and Reheat
Refrigerate the rice after it cools slightly. Portion it into airtight containers, or wrap individual portions tightly in plastic wrap while still warm, and store in the fridge for up to 4 days.
Freeze short-grain rice for up to 2 months. Wrap single-serving portions flat in plastic wrap and place inside a freezer bag.
Reheat by sprinkling 1 teaspoon of water over a cold bowl of rice, covering loosely with a damp paper towel or microwave lid, and heating on HIGH for 1½ to 2 minutes, until steaming hot and freshly steamed in texture.
Food safety: cool the rice within 2 hours of cooking and refrigerate promptly. Discard rice left at room temperature longer than 2 hours.
How to Make Short-Grain Rice in a Rice Cooker
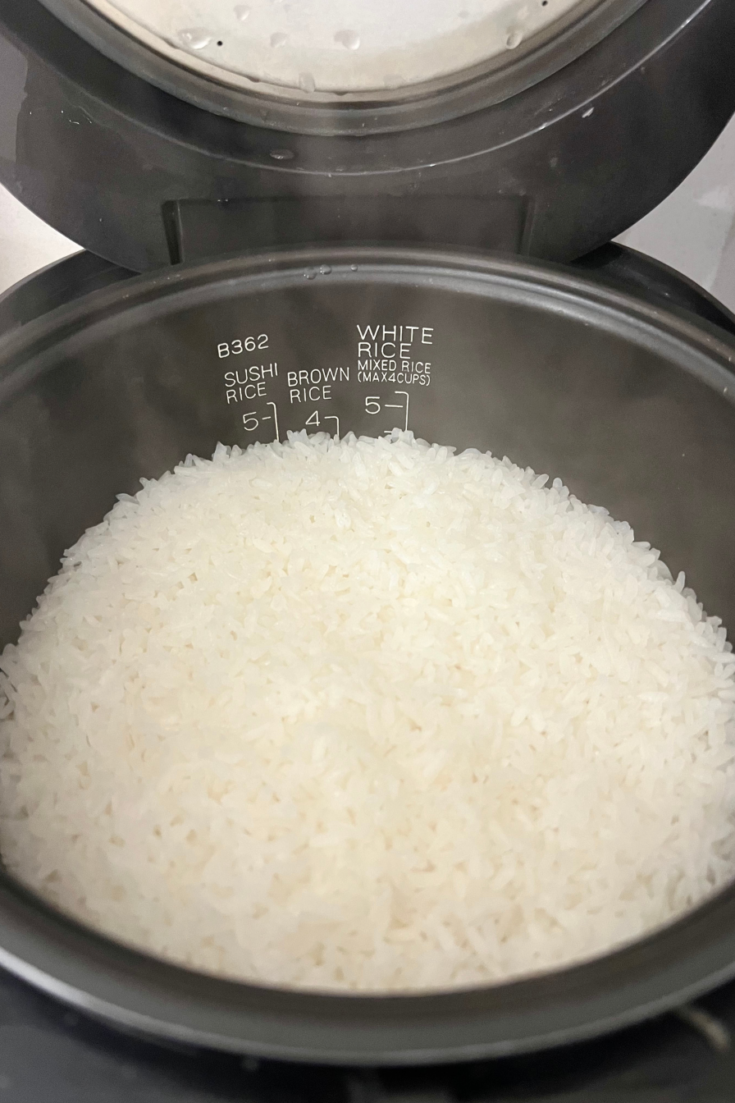
Fluffy, glossy, slightly sticky Japanese-style short-grain rice cooked effortlessly in a rice cooker. Rinsing the rice until the water runs clear removes excess surface starch so every grain cooks up distinct and tender rather than gummy.
Ingredients
- 3 cups uncooked short-grain white rice (such as Japanese sushi rice, Calrose, or Koshihikari — measured using the standard 180ml rice cooker cup or a standard US dry measuring cup)
- Cold filtered water, for rinsing and cooking (filled to the 3-cup water line inside your rice cooker pot)
Instructions
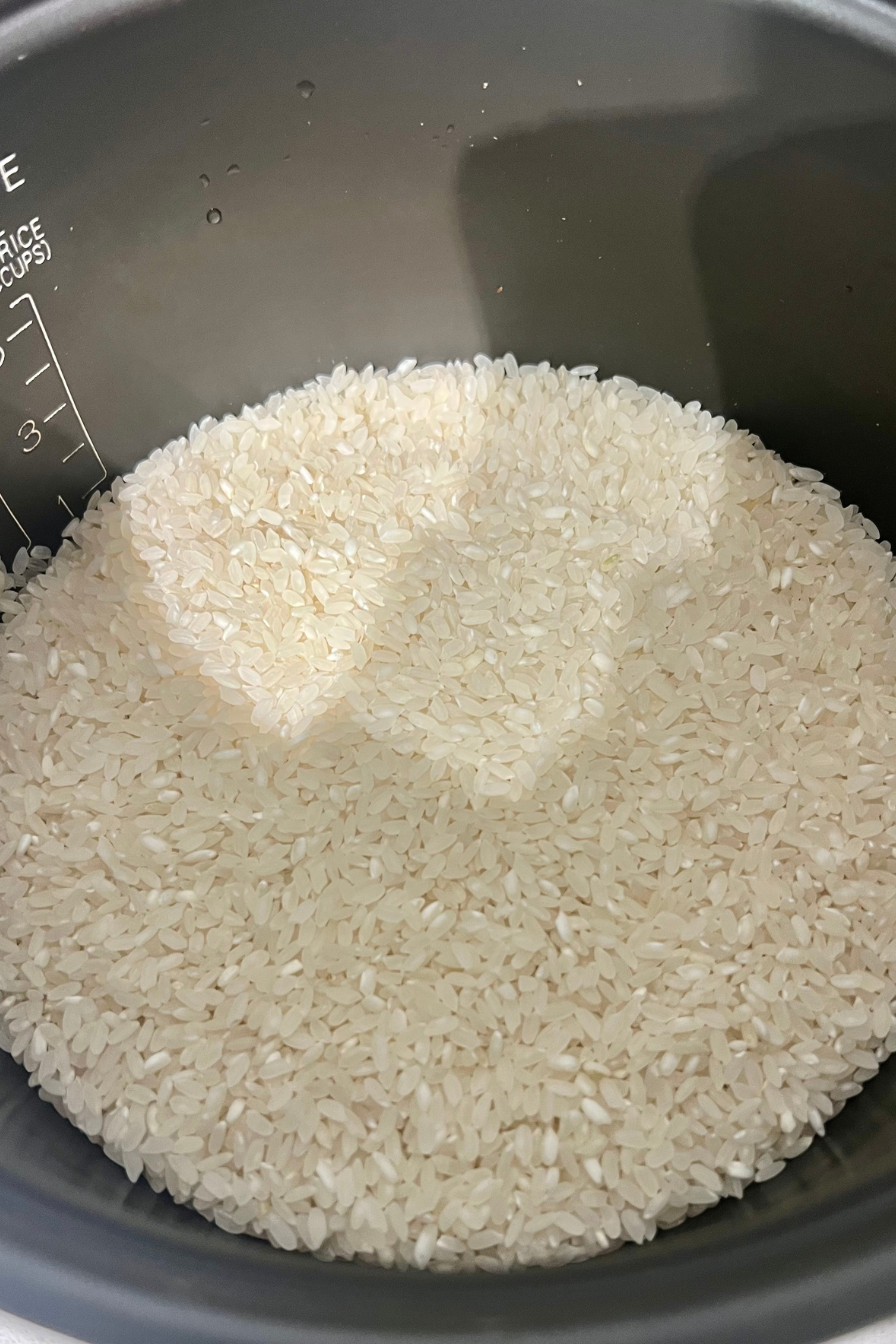
- Measure the Rice: Scoop 3 level cups of short-grain rice into a mixing bowl or directly into your rice cooker inner pot. Use the measuring cup that came with your rice cooker so it matches the pot's internal water markings.
- Wash Until Clear: Add enough cold water to cover the rice. Gently swirl and rub the grains with your fingers in a circular motion for 10 to 15 seconds — the water will immediately turn milky white from excess surface starch. Drain the cloudy water carefully through a fine-mesh strainer, or use your hand as a guard. Repeat this rinse-and-drain process 3 to 4 times, until the water runs mostly clear.
- Measure Water to the Pot Line: Drain the rinsed rice thoroughly and transfer it into the rice cooker inner pot, spreading it into an even, flat layer. Pour in clean cold water up to the exact "3" (White Rice / Sushi) line etched on the inside wall of the pot.
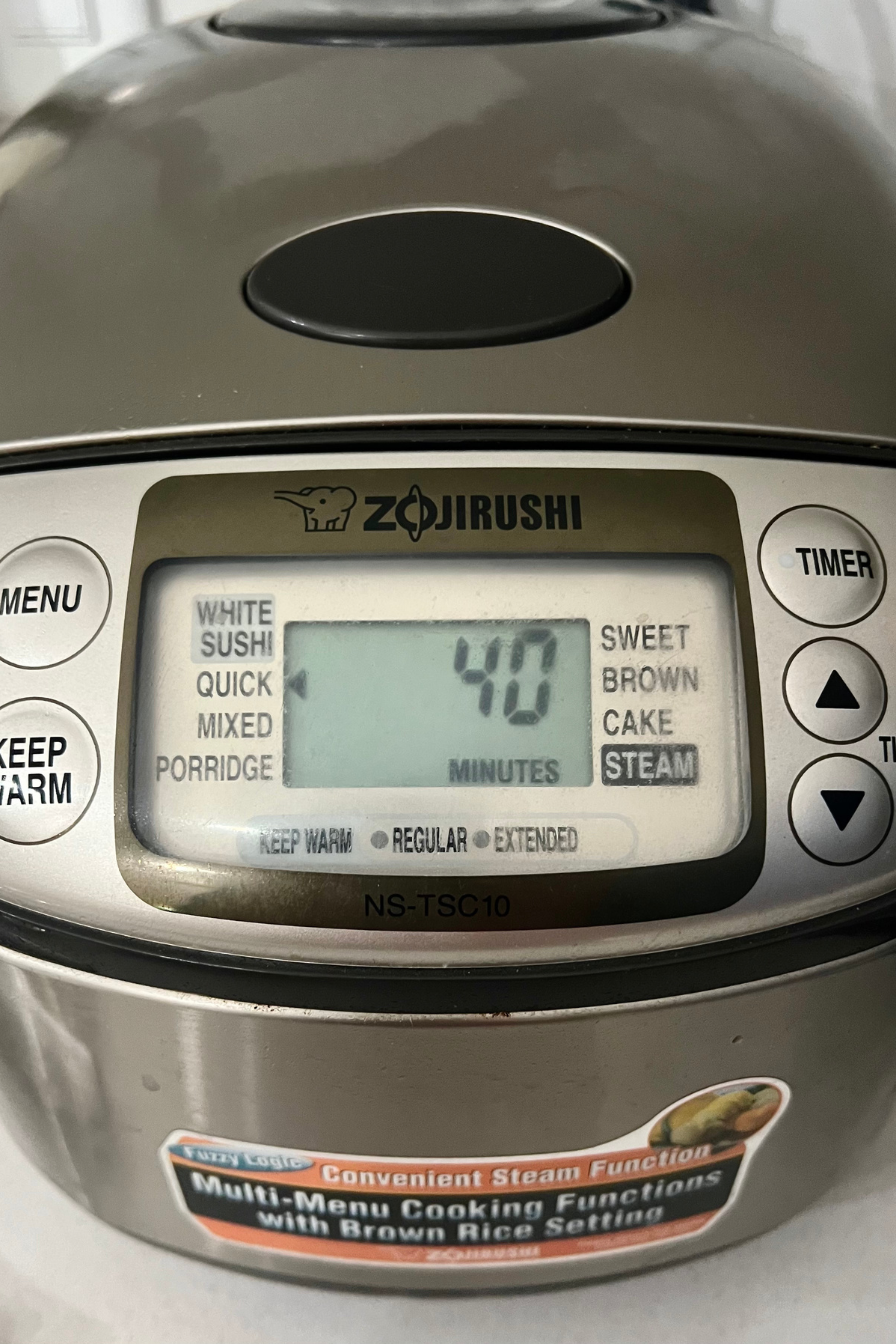
- Cook: Wipe the outside of the inner pot completely dry with a towel so it makes clean contact with the heating plate. Place the pot into the rice cooker, close the lid securely, select the White Rice (or Regular) setting, and press Cook.
- Steam and Fluff (Do Not Skip): Once the rice cooker switches to Warm, keep the lid closed and let the rice rest and steam for 10 minutes — this allows moisture to redistribute evenly so the bottom layer isn't wet. Open the lid and gently fluff the rice from bottom to top using a damp rice paddle (shamoji) to release excess steam without smashing the grains.
Notes
Estimated per serving (½ cup dry / about 1½ cups cooked): About 310 calories · 6g protein · 68g carbs · 0.5g fat · 1g fiber · 0mg sodium
Nutrition varies by rice variety and portion size. Verify against your labels.
Notes
Rinsing the rice 3 to 4 times until the water runs mostly clear is what removes the excess surface starch — that’s the step that keeps the grains separate instead of gummy.
Filling to the line inside the pot is more accurate than measuring cups, because the rice cooker’s lines are calibrated for its own pot.
The 10-minute steam rest after the cooker switches to warm is not optional — it’s what makes the rice fluffy instead of wet on the bottom.
If you’re scaling up, use 4 or 5 cups of dry rice and fill to the matching line inside the pot.
Leftovers keep 4 days in the fridge or 2 months in the freezer. Nutrition is an estimate and varies by rice variety and portion size.
Frequently Asked Questions
Why do I need to rinse the rice?
Rinsing removes excess surface starch, which is what makes rice gummy and clumpy. Rinse 3 to 4 times until the water runs mostly clear — that’s the step that makes the grains cook up separate and fluffy.
How much water do I use for short-grain rice in a rice cooker?
Fill the water to the matching line inside the pot. For 3 cups of dry rice, fill to the “3” line. The rice cooker’s markings are calibrated for its own pot, so they’re more accurate than measuring cups.
Can I skip the 10-minute steam rest?
No — the steam rest is what allows the moisture to redistribute evenly. Without it, the bottom layer is wet and the top layer is dry.
Can I make a larger batch for meal prep?
Yes. Scale up to 4 or 5 cups of dry rice and fill the water to the matching line inside the pot. The method stays the same.
Can I make brown rice in a rice cooker?
Yes, but brown rice needs more water and a longer cook time. Use the brown rice setting on your cooker, and fill to the brown rice line.
Can I make sushi rice in a rice cooker?
Yes. Cook the rice as directed, then season with a mixture of rice vinegar, sugar, and salt while it’s still warm. This is the base for sushi rice.
Can I freeze rice?
Yes. Short-grain rice freezes exceptionally well for up to 2 months. Wrap single-serving portions flat in plastic wrap and place inside a freezer bag. Reheat with a sprinkle of water for 1½ to 2 minutes.
Why is my rice cooker overflowing?
Too much water, or too much rice for the pot. Fill to the line for the amount of rice you’re cooking, and don’t fill the pot past its maximum capacity.
More Rice and Meal Prep Recipes You’ll Love
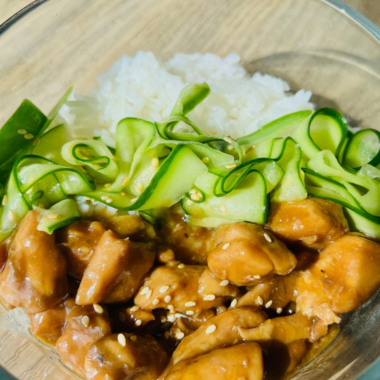
Teriyaki Ground Chicken Bowls — 20-minute meal prep bowls with rice.
Creamy Chicken Penne — 25-minute pasta with garlic mushrooms.
Turkey Meatballs — juicy baked mini meatballs for meal prep and freezer storage.
Closing
I’ve been making rice in a rice cooker since I was old enough to reach the counter, and the method hasn’t changed since then — rinse the rice, fill to the line, cook, and let it steam.
The first time I tried to skip the steam step, the rice came out uneven and I learned my lesson.
Now it’s automatic, and the rice comes out perfect every time.
If you make a big batch for meal prep or try the sushi rice version, let me know how it turns out in the comments.