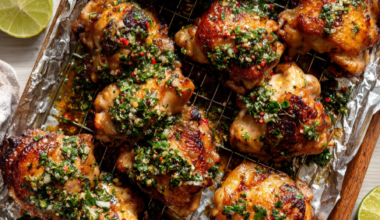

Soy sauce chicken is one of those dishes that sounds simple and then surprises you — the first time I made it properly, with the glaze actually caramelized in the pot instead of poured on at the end, it tasted like a completely different meal.
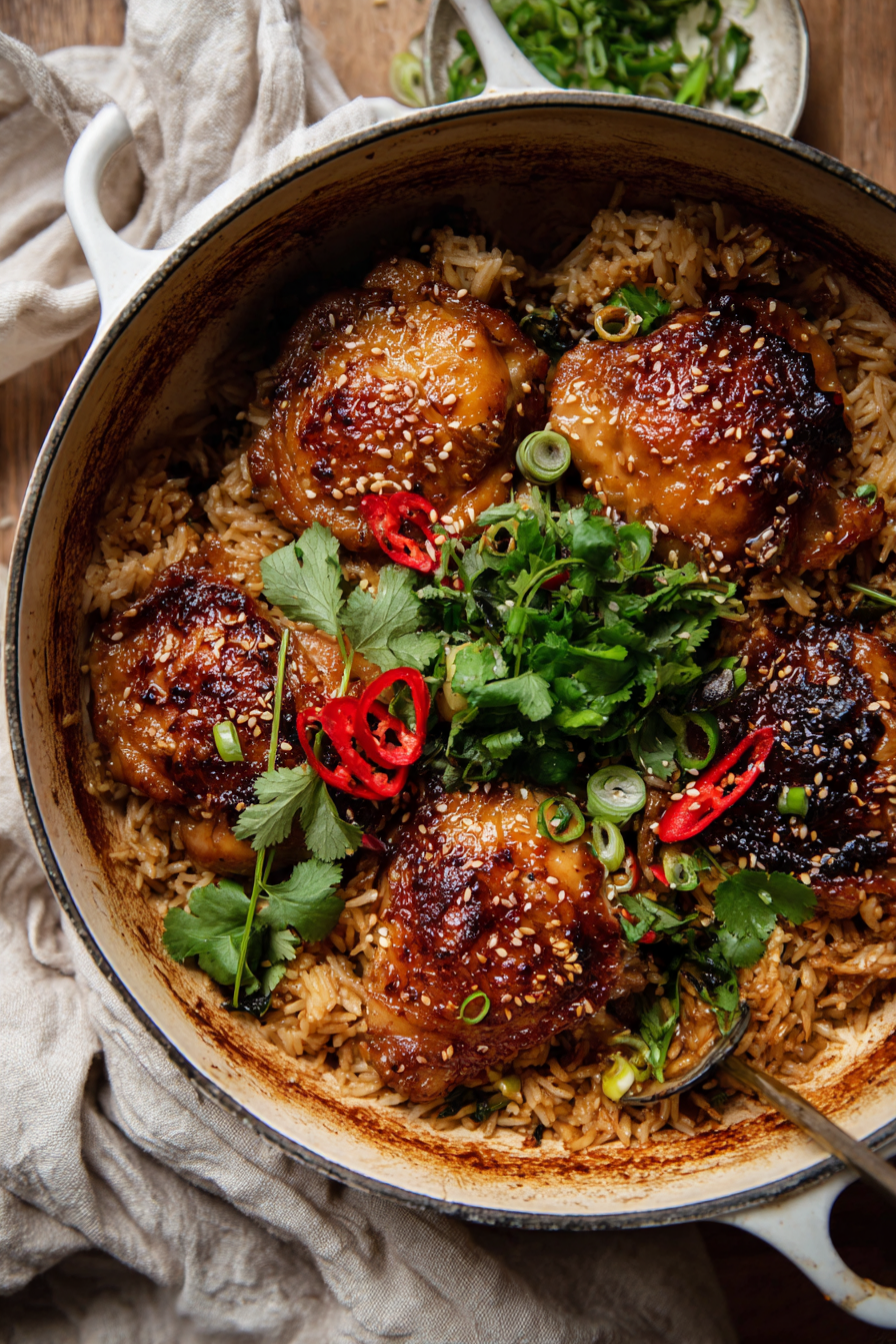
The chicken goes golden and sticky, the rice soaks up everything underneath it, and the whole thing comes out of one Dutch oven.
The difference between good soy sauce chicken and great soy sauce chicken is the glaze. Brown sugar hits the rendered chicken fat and bubbles for under a minute, then the garlic, ginger, and green onions go in, then the soy sauce and mirin go in and everything turns glossy.
That caramel is what makes the chicken taste deep and savory-sweet instead of just salty.
The rice is the quiet hero. It simmers in the same pot with the chicken broth and all the glaze that’s already clinging to the bottom, so it picks up the ginger and the soy without any extra work.
By the time the chicken finishes in the oven, the rice is tender and fragrant and the whole kitchen smells like a takeout spot.
It’s a one-pot dinner that feeds four with about 40 minutes of active cooking, plus a short rest at the end. It’s the kind of thing I make when I want something that tastes like it took all afternoon but didn’t.
Why This Recipe Works
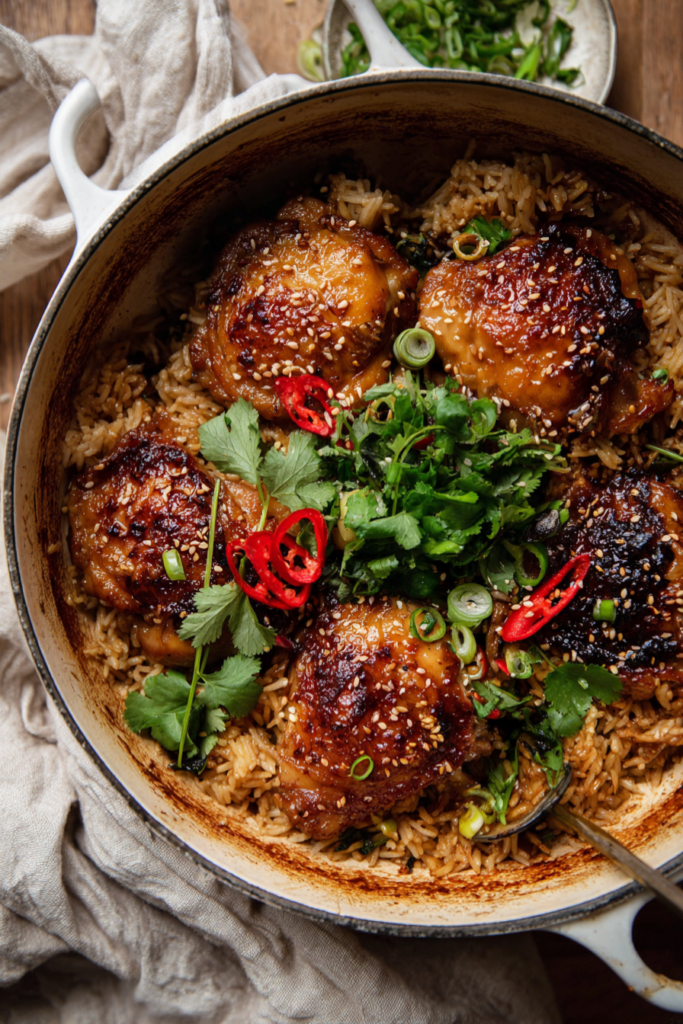
Soy sauce chicken goes wrong in a few predictable ways — dry meat, salty glaze, mushy rice. Here’s how this version solves them.
1. Sear the Chicken Skin First, Then Build the Glaze in the Fat
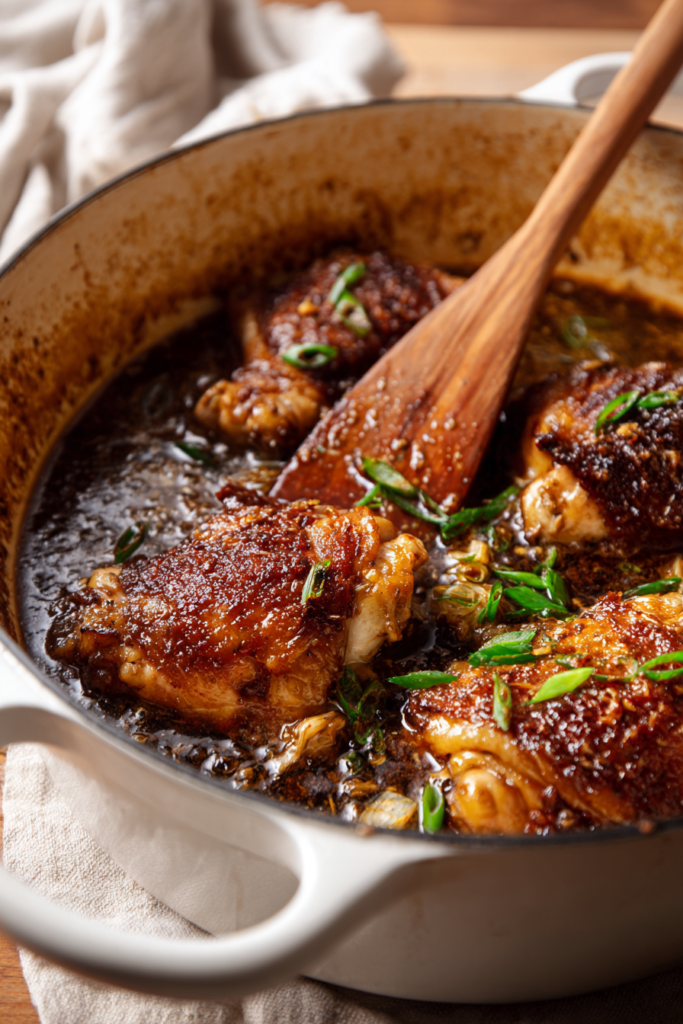
The chicken thighs go skin-side down into a hot Dutch oven and sear undisturbed for 6 to 8 minutes, until the skin is deep golden and the fat has rendered. That rendered fat is what the brown sugar dissolves into, and it’s what carries the garlic and ginger. Skip the sear and you get pale chicken and a glaze that tastes like soy sauce poured over boiled meat.
2. Reserve Two Tablespoons of the Glaze Before the Rice Goes In
The glaze that coats the chicken is not the same as the glaze that goes on at the end. Before the rice goes into the pot, scoop out about 2 tablespoons of the cooked soy mixture and set it aside in a small bowl. That reserved glaze gets brushed over the chicken after it roasts, so the finished plate tastes bright and sticky instead of cooked-in — and it never scorches, because it never sees the oven.
3. Finish the Chicken in the Oven, Covered, Not on the Stove
The chicken sears on the stove, then the rice goes into the same pot, then the chicken goes back on top of the rice and the whole thing goes into a 375°F oven with the lid on. The sealed pot traps steam so the rice cooks evenly and the chicken finishes gently without drying out. It also means you don’t have to babysit a stovetop — the oven does the work.
Ingredients That Matter
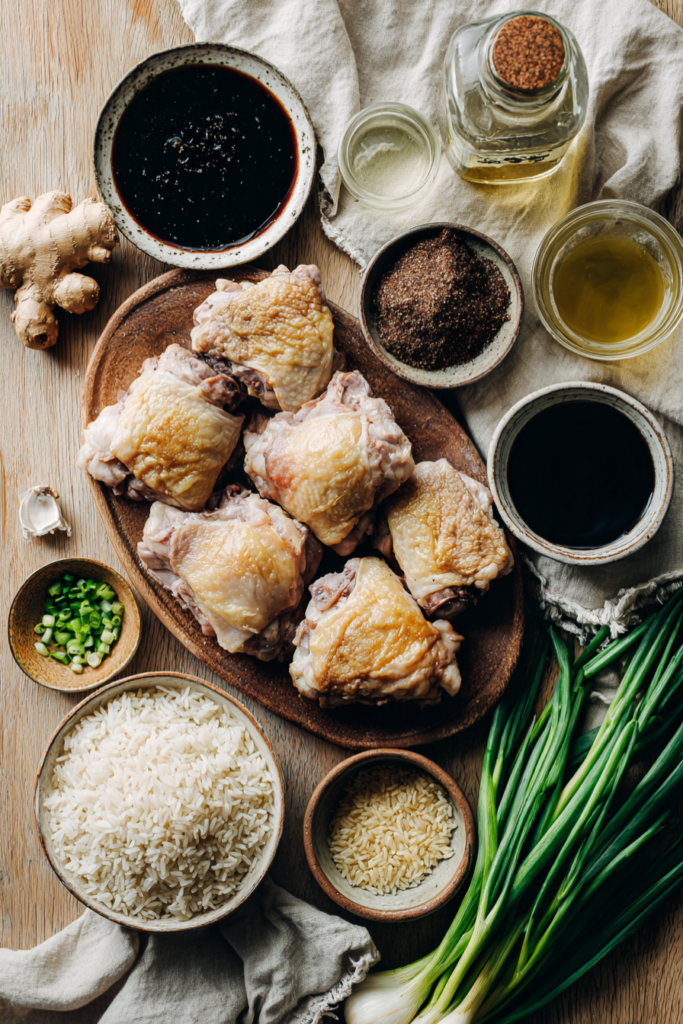
Bone-in, skin-on chicken thighs. Four of them, 2 to 2¼ pounds total. The skin is what renders into the fat that the glaze needs, and the bone keeps the meat juicy while it bakes. Boneless skinless thighs work but the glaze loses its richness.
Dark brown sugar. Packed, 2 tablespoons. This is what caramelizes into the glaze. Light brown sugar works in a pinch but the flavor is thinner.
Fresh ginger, finely grated. Two tablespoons. This is not a background note — it’s half the point of the dish. Grate it on a microplane so it melts into the glaze instead of sitting in shreds.
Low-sodium soy sauce or tamari. Quarter cup. Low-sodium is not optional here; regular soy sauce plus the chicken broth makes the whole pot too salty to fix.
Mirin. Two tablespoons. Mirin is sweet rice wine and it’s what gives the glaze its shine and its roundness. Dry sherry, or 1 tablespoon rice vinegar plus 1 tablespoon water and 1 teaspoon brown sugar, is the closest substitute.
Jasmine rice, rinsed thoroughly. One and a half cups. Rinsing removes surface starch so the rice cooks up separate instead of gluey. This is the step people skip and then blame the rice.
Do not salt the chicken at the start. The soy sauce and broth carry enough sodium, and you adjust at the end. Salting early is the most common reason this dish comes out too salty.
How to Make Soy Sauce Chicken and Ginger Rice
Tips and Troubleshooting
The chicken skin didn’t brown. The pan wasn’t hot enough, or the chicken was wet. Pat the thighs completely dry with paper towels before they go in, and let the oil shimmer before adding them.
The glaze tastes too salty. Regular soy sauce was used instead of low-sodium, or the glaze reduced too far. Add a splash of water or broth to loosen it, and taste before the rice goes in.
The rice came out mushy. It wasn’t rinsed, or there was too much liquid in the pot. Rinse the rice until the water runs clear, and don’t add extra broth to compensate for the glaze.
The rice scorched on the bottom. The heat was too high under the pot, or the pot was too thin. Use a heavy-bottomed Dutch oven, and once the rice goes in, keep the heat low and let the oven do the work.
The chicken is dry. It baked too long, or the thighs were small. Start checking at 25 minutes with an instant-read thermometer — pull at 175°F.
The glaze is thin instead of sticky. It didn’t reduce enough before the rice went in. Simmer it for the full minute until it coats the back of a spoon.
The sodium runs high. Even with low-sodium soy sauce and low-sodium broth, this lands around 890mg sodium per serving. Use no-salt-added chicken broth if you’re watching it closely.
The rice is still firm after baking. Oven seals vary. Splash 2 tablespoons of hot chicken broth around the edges of the pot, cover tightly, and return to the 375°F oven for 5 more minutes.
Substitutions and Swaps
Bone-in skin-on thighs → boneless skinless thighs. Sear 3 to 4 minutes per side instead of 6 to 8, and reduce the oven time to 20 to 25 minutes. The glaze will be slightly less rich without the rendered skin fat.
Mirin → dry sherry or rice vinegar plus sugar. Use 2 tablespoons dry sherry, or 1 tablespoon rice vinegar plus 1 tablespoon water plus 1 teaspoon brown sugar.
Jasmine rice → basmati rice. Same volume, same cook time. Basmati is slightly less fragrant but works well.
Soy sauce → tamari. One-for-one, and it makes the dish gluten-free. Coconut aminos work too but need a pinch of salt to compensate.
Ginger → galangal or a ginger paste. Same quantity. Fresh is best but a good jarred paste is fine in a pinch.
Add-ins: a handful of baby bok choy or sliced shiitake mushrooms can go into the pot with the rice for the last 15 minutes.
Storage and Reheat
Refrigerate leftovers in an airtight container up to 4 days. Store the chicken and rice together — the rice absorbs the glaze as it sits.
Reheat rice in the microwave with 1 tablespoon of water, covered, for 90 seconds. To keep the chicken skin from going soft, reheat the thigh separately in an air fryer or toaster oven at 375°F for 4 minutes. Reheat to 165°F.
Freeze the chicken and rice together in freezer-safe containers for up to 3 months. Thaw overnight in the fridge and warm thoroughly.
Food safety: store leftovers within 2 hours of cooking. Discard anything left at room temperature longer than that.
Soy Sauce Chicken and Ginger Rice
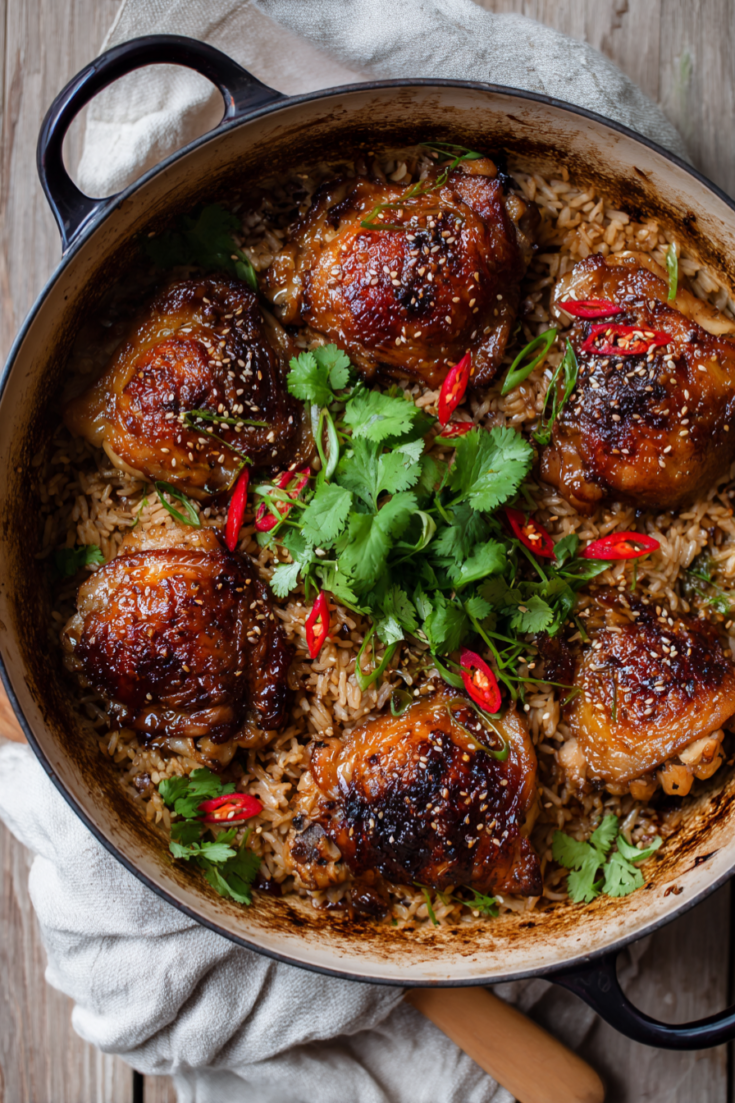
Juicy bone-in chicken thighs with a caramelized soy glaze, baked over fragrant jasmine rice in a garlic-ginger chicken broth — 42g protein per serving, all in one Dutch oven.
Ingredients
Chicken Base
- 4 bone-in, skin-on chicken thighs (about 2 to 2¼ pounds total)
- ½ teaspoon freshly cracked black pepper
- 1 tablespoon neutral oil (avocado or canola)
Caramel Glaze & Aromatics
- 2 tablespoons dark brown sugar
- 4 cloves garlic, minced
- 2 tablespoons fresh ginger, finely grated
- ¼ cup low-sodium soy sauce (or low-sodium tamari)
- 2 tablespoons mirin (or 1 tablespoon rice vinegar + 1 tablespoon water + 1 teaspoon brown sugar)
- 1 teaspoon toasted sesame oil
- 2 green onions, thinly sliced (white stems and green tops separated)
Rice & Broth Base
- 1½ cups jasmine rice, rinsed in a fine-mesh strainer until the water runs clear
- 1¾ cups low-sodium chicken broth
Garnish
- Green onion tops, thinly sliced
- 1 tablespoon toasted sesame seeds
- Fresh cilantro leaves
Instructions
- Prep Chicken: Pat the chicken thighs completely dry with paper towels. Season both sides evenly with black pepper. Do not add salt — the soy sauce base provides full baseline sodium.
- Sear Chicken: Heat the oil in a 4- to 5-quart heavy-bottomed Dutch oven over medium-high heat. Place the thighs skin-side down and sear undisturbed for 6 to 8 minutes, until deep golden-brown and rendered fat pools in the pot. Flip and sear 2 minutes on the second side. Transfer the chicken to a clean plate.
- Build Glaze & Reserve Portion: Reduce the heat to medium-low. Pour off all but 1 tablespoon of rendered chicken fat. Add the brown sugar and stir 30 to 45 seconds until dissolved. Add the minced garlic, grated ginger, and white parts of the green onions. Cook 30 seconds until fragrant. Pour in the soy sauce and mirin, scraping up the browned bits from the bottom. Simmer 1 minute until glossy. Transfer 2 tablespoons of this cooked glaze to a small bowl and set aside for finishing.
- Toast Rice & Add Broth: Preheat the oven to 375°F. Add the rinsed, drained jasmine rice directly into the remaining glaze in the Dutch oven. Stir continuously for 1 minute until every grain is coated. Pour in the chicken broth and toasted sesame oil, and bring to a rolling boil over medium-high heat.
- Bake Covered: Lay the seared chicken thighs skin-side up on top of the rice, keeping the seared skin above the liquid line. Cover tightly with the Dutch oven lid and transfer to the preheated oven. Bake at 375°F for 25 to 28 minutes, until an instant-read thermometer inserted into the thickest part of a thigh (without touching bone) reads 175°F–185°F and the liquid is fully absorbed into the rice.
- Glaze, Rest & Assemble: Remove from the oven. Brush the reserved 2 tablespoons of warm soy glaze evenly over the warm chicken skins. (Optional: flash under the broiler on HIGH for 2 minutes for extra crackling sheen.) Cover with the lid and let rest off heat for 10 minutes so the rice finishes steaming.
- Serve: Fluff the rice gently with a fork around the chicken. Taste the rice and adjust with a tiny pinch of salt or an extra splash of soy sauce if desired. Garnish with sliced green onion tops, toasted sesame seeds, and fresh cilantro leaves.
Notes
Notes:
The reserved 2 tablespoons of glaze go on after baking, never before — the sugars would scorch at 375°F. Rinse the rice until the water runs clear; skipping this is the most common cause of mushy rice.
If the rice is still firm after 28 minutes, splash 2 tablespoons of hot broth around the edges, cover tightly, and return to the oven for 5 more minutes.
Leftovers keep 4 days in an airtight container; reheat rice with a splash of water and the chicken separately at 375°F to keep the skin crisp. Nutrition is an estimate and varies by brand and portion.
Estimated per serving: 510 calories · 42g protein · 50g carbs · 17g fat · 1g fiber · 890mg sodium
FREQUENTLY ASKED QUESTIONS
Can I use boneless skinless chicken thighs?
Yes. Sear them 3 to 4 minutes per side instead of 6 to 8, and reduce the oven time to 20 to 25 minutes. The glaze will be slightly less rich without the rendered skin fat, but the method is the same.
Can I make this with chicken breasts?
You can, but it’s a different recipe. Sear 2 pounds boneless skinless breast 3 to 4 minutes per side, then bake 18 to 22 minutes and pull at 165°F — not the 175–185°F window thighs use. Breast dries out fast, so check early.
Why do I reserve glaze before the rice goes in?
Because the glaze that coats the chicken at the end needs to be fresh and uncooked. If you glaze before roasting, the sugar scorches at 375°F and turns bitter. Reserved glaze goes on after baking, during the rest.
Can I skip the sear?
You can, but you lose the rendered fat the glaze is built on and the skin won’t brown. The sear is the step that makes the dish taste like more than soy sauce poured over chicken.
Is this gluten-free?
Only if you use tamari instead of soy sauce and confirm your mirin and broth are gluten-free. Standard soy sauce contains wheat.
Can I make it in a slow cooker?
I haven’t tested a slow cooker version of this exact recipe, so I can’t give you reliable timing. The sear and glaze steps still need a skillet first, and the rice needs the sealed even heat of an oven to cook properly. If you try it, sear and glaze on the stove, then transfer everything to the slow cooker and cook on LOW — but expect to experiment with the rice.
Can I make it ahead for meal prep?
Yes. Cook it fully, cool it, and store the chicken and rice together in portioned containers up to 4 days. Reheat the rice with a splash of water, covered, and the chicken separately at 375°F so the skin stays crisp.
How spicy is this?
Not spicy at all as written — the heat is optional. The sliced red chili or red pepper flakes in the garnish are the only heat source, so add as much or as little as you like.
CLOSING
I’ve made this soy sauce chicken more times than I can count, and the two steps that changed everything for me were searing the skin hard before the glaze ever touches the pot, and holding back those two tablespoons of glaze for the end.
The first time I glazed the chicken before roasting, the sugar scorched and the whole pot tasted bitter — reserving it fixed that completely.
If you make it with boneless thighs or add bok choy to the rice, let me know how it turns out in the comments.