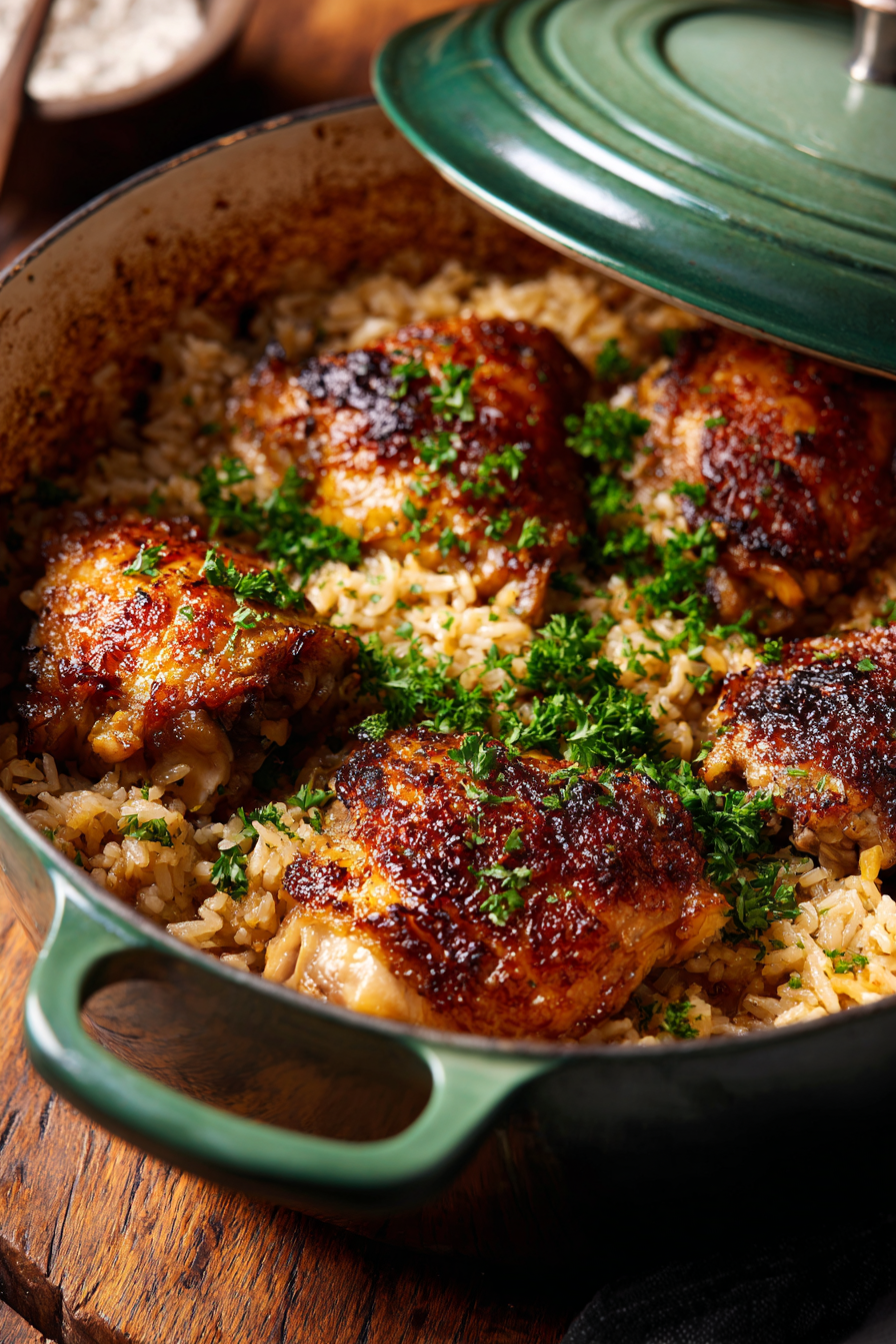

One-pot chicken and rice is the dinner I make when I want a whole meal to come out of a single Dutch oven and taste like I spent more time on it than I did. The first version I made had the rice right but the skin wrong — I simmered the chicken on top of the rice, lid on, and by the time the rice was done the skin had gone soft and pale. The fix was a two-step finish: simmer the chicken on the rice to cook it through, then move the thighs to a sheet pan and broil them for two to four minutes at the end. That’s the step that gives you crackling skin and rice with a crunchy top layer, without dirtying a second pot for the rice.
Comfort food is the other thing this recipe does well. It’s chicken and rice — a dish almost every cuisine has a version of — and it tastes like home even when you’ve never made it before. The rice cooks in the chicken’s rendered fat and broth, so every grain picks up the garlic, thyme, and paprika. The chicken stays juicy because it’s bone-in, skin-on, and the skin is the reason the whole thing works: it renders into the fat the rice cooks in, and it crisps up under the broiler at the end.
The whole meal is in one pot, from the sear to the rice to the finish. It takes about 15 minutes of active prep and 40 to 45 minutes of mostly hands-off cooking, and it serves four with 35 grams of protein per serving. It’s the kind of one-pot dinner that feels like a Sunday meal on a Tuesday.
Why This Recipe Works
One-pot chicken and rice goes wrong in three specific ways: soggy skin, mushy rice, and bland flavor. Here’s how this version solves each one.
1. Sear the Skin First, Then Broil It at the End
The chicken goes skin-side down into a hot Dutch oven and sears undisturbed for 6 to 8 minutes, until the skin is deeply golden and the fat has rendered. That fat is what the rice cooks in, and it’s where most of the flavor comes from. Then, after the chicken simmers on top of the rice to cook through, it gets moved to a sheet pan and broiled for 2 to 4 minutes at the end. The broil is what re-crisps the skin — without it, the skin steams under the lid and comes out soft.
2. Toast the Rice in the Fat Before the Broth Goes In
Rinsed, drained rice goes into the pot with the sautéed onion and garlic and gets stirred for a full minute before any liquid is added. That toasting step coats every grain in the seasoned fat and gives the rice a nutty flavor it wouldn’t have if you just poured broth over raw rice. It’s the same principle as toasting rice for pilaf.
3. Keep the Skin Above the Liquid Line
When the chicken goes back into the pot on top of the rice, it goes skin-side up, and the skin stays above the broth. If the skin is submerged, it boils instead of steams, and it comes out rubbery instead of tender. Keeping it above the liquid line is what makes the broil at the end actually work — the skin is already dry by the time it hits the broiler.
Ingredients That Matter
Bone-in, skin-on chicken thighs. Two pounds, about four large thighs. The bone keeps the meat juicy while it cooks, and the skin is what renders into the fat the rice cooks in. Boneless skinless thighs work but the rice loses its richness, and the skin is the whole point of this recipe.
Long-grain white rice. One and a half cups, rinsed and thoroughly drained. Long-grain rice (jasmine or basmati) cooks up separate and fluffy; short-grain rice turns sticky. Rinsing removes surface starch so the rice doesn’t clump, and draining thoroughly matters — wet rice steams instead of toasts.
Low-sodium chicken broth. Two and a quarter cups. The ratio is 1½ cups rice to 2¼ cups broth, which is a 1:1.5 ratio — the right amount for long-grain rice cooked covered. Low-sodium lets you control the final salt level.
Sweet or smoked paprika. One teaspoon. Sweet paprika gives the chicken its color and a mild warmth; smoked paprika adds a deeper, smokier note. Either works — smoked is my preference for this dish.
Dried thyme and oregano. One teaspoon and half a teaspoon. Dried herbs hold up better than fresh in a long cook, and they season the rice from the inside out.
A dried bay leaf. One. It goes in with the broth and comes out before serving. It’s a small thing that makes the rice taste finished instead of flat.
Fresh parsley and lemon juice. A quarter cup of chopped parsley and a tablespoon of lemon juice, stirred into the rice at the end. The parsley adds color and freshness; the lemon cuts the richness of the chicken fat and brightens the whole pot.
How to Make One-Pot Crispy Chicken and Rice
(See the recipe card below — the steps are identical and the card is the single source of truth.)
Tips and Troubleshooting
The skin came out soft instead of crispy. It wasn’t broiled at the end, or it was submerged in the broth during the simmer. Keep the skin above the liquid line and broil for 2 to 4 minutes at the end.
The rice came out mushy. It wasn’t rinsed and drained thoroughly, or the heat was too high under the pot. Rinse until the water runs clear, drain well, and keep the heat on LOW once the lid goes on.
The rice is still firm after 25 minutes. The lid wasn’t tight, or the heat was too low. Add 2 tablespoons of broth, cover tightly, and cook 5 more minutes off the heat. The residual heat finishes the rice.
The rice scorched on the bottom. The heat was too high, or the pot was too thin. Use a heavy-bottomed Dutch oven and keep the heat on LOW once the lid goes on. If you smell scorching, move the pot off the heat immediately and let it rest covered.
The chicken is dry. It cooked too long, or the thighs were small. Start checking at 20 minutes — the chicken is done when the thickest part reaches 165°F. The broil at the end adds only 2 to 4 minutes and won’t dry it out.
The dish tastes bland. The rice wasn’t toasted in the fat, or the salt level is low. Toasting the rice is what gives it the nutty flavor, and the salt in the rice pot needs to be tasted and adjusted at the end.
The chicken skin stuck to the pot. The pan wasn’t hot enough, or the chicken was wet. Pat the thighs completely dry before seasoning, and let the oil shimmer before adding them.
The parsley turned dark. It went in too early. Stir it in off the heat, right before serving, so it stays bright green.
Substitutions and Swaps
Bone-in, skin-on thighs → boneless skinless thighs. Sear 3 to 4 minutes per side instead of 6 to 8, and reduce the simmer time to 15 to 20 minutes. The rice loses some richness without the rendered skin fat, so add an extra tablespoon of olive oil when you toast the rice.
Long-grain white rice → basmati or jasmine. Same volume and same cook time. Both work well; basmati is slightly less starchy, jasmine slightly more fragrant.
Chicken broth → vegetable broth. For a lighter version, use vegetable broth and add an extra pinch of salt. The flavor shifts slightly but the method is the same.
Paprika → smoked paprika or a smoked paprika–sweet paprika blend. Smoked adds depth; sweet keeps it milder. A 50/50 blend is a good middle ground.
No broiler? Sear the chicken skin-side down an extra 2 minutes at the start to get it crispier before the simmer, and skip the broil at the end. The skin won’t be quite as crisp, but it will still be good.
Add-ins: a handful of frozen peas or chopped spinach can go into the pot with the rice in the last 5 minutes, or a sliced lemon can be tucked in with the chicken before the simmer.
Storage and Reheat
Refrigerate leftover chicken and rice in separate airtight glass containers for up to 3 to 4 days. Keeping them separate prevents the rice from getting soggy from the chicken juices.
Reheat the rice with 1 to 2 tablespoons of chicken broth or water, covered, in a skillet or microwave until steaming hot.
Reheat the chicken separately in an air fryer at 350°F for 4 to 5 minutes, or in a toaster oven, to re-crisp the skin.
Food safety: store leftovers within 2 hours of cooking. Reheat to 165°F before serving. Discard anything left at room temperature longer than 2 hours.
One-Pot Crispy Chicken and Rice
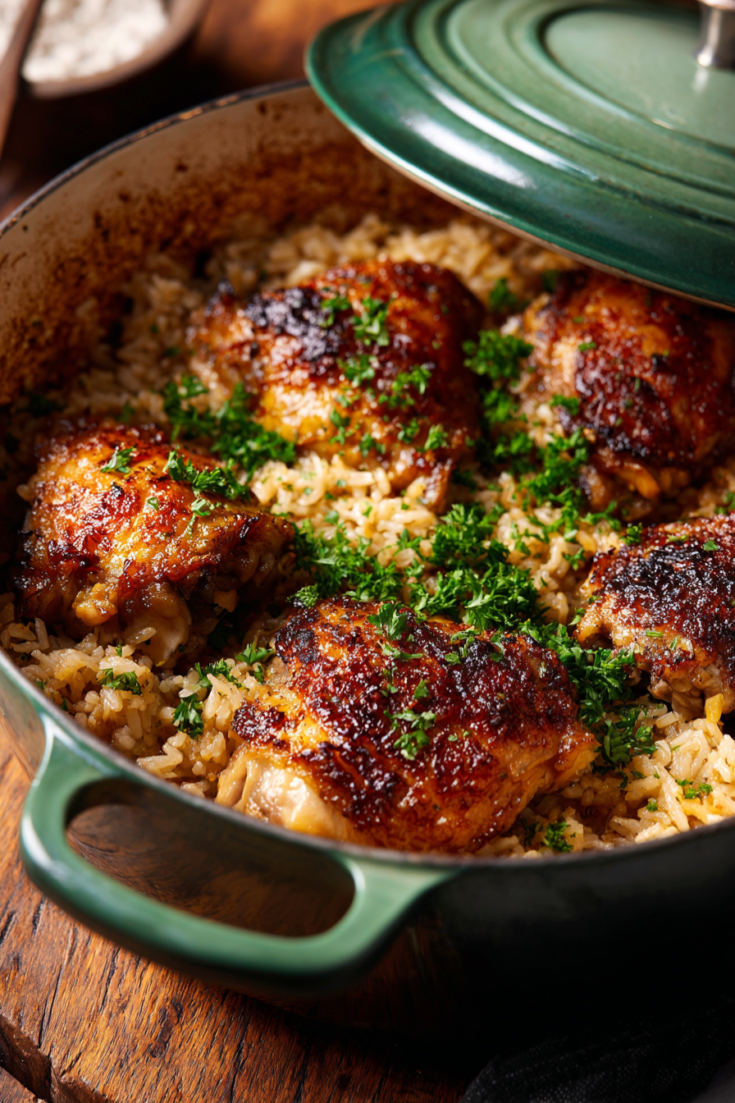
Golden, juicy chicken thighs with shatter-crisp skin served over savory garlic-herb rice cooked in the same pot — 35g of protein per serving.
Ingredients
For the Chicken
- 2 lbs bone-in, skin-on chicken thighs (about 4 large thighs)
- ½ teaspoon fine sea salt
- ¼ teaspoon freshly cracked black pepper
- 1 teaspoon sweet or smoked paprika
- ½ teaspoon garlic powder
- 1 tablespoon olive oil (for searing)
For the Rice
- 1 medium yellow onion, finely diced
- 3 cloves garlic, minced
- 1½ cups long-grain white rice, rinsed and thoroughly drained
- 2¼ cups low-sodium chicken broth
- 1 teaspoon dried thyme
- ½ teaspoon dried oregano
- ½ teaspoon onion powder
- 1 dried bay leaf
- ¼ teaspoon fine sea salt (or to taste)
- ¼ teaspoon freshly cracked black pepper
For Finishing
- ¼ cup fresh flat-leaf parsley, chopped
- 1 tablespoon fresh lemon juice (optional, for brightness)
Instructions
- Prepare the Chicken: Pat the chicken thighs thoroughly dry with paper towels, especially the skin. In a small bowl, combine the salt, black pepper, paprika, and garlic powder. Season the chicken evenly on all sides.
- Sear for Crispy Skin: Heat the olive oil in a large oven-safe Dutch oven over medium heat. Arrange the chicken thighs skin-side down without overcrowding. Sear undisturbed 6 to 8 minutes, until the skin is deeply golden and crisp. Flip and cook 2 to 3 minutes more. Transfer the chicken to a clean plate, leaving about 1 tablespoon of rendered fat in the pot (pour off the excess if needed).
- Sauté the Aromatics: Reduce the heat to medium. Add the diced yellow onion and cook 3 to 4 minutes, until soft and translucent. Add the minced garlic and cook 30 seconds, until fragrant.
- Toast the Rice: Add the rinsed, thoroughly drained rice to the pot. Stir continuously for 1 minute to coat the grains in the seasoned fat and aromatics.
- Build the Braising Liquid: Pour in the chicken broth. Add the dried thyme, oregano, onion powder, remaining ¼ teaspoon salt, black pepper, and bay leaf. Stir well, scraping up any browned bits from the bottom of the pot. Bring the liquid to a gentle boil.
- Simmer Covered: Nestle the chicken thighs skin-side up on top of the rice, keeping the skin above the liquid as much as possible. Cover tightly with the lid, reduce the heat to LOW, and simmer gently 20 to 25 minutes, until the liquid is absorbed, the rice is tender, and the chicken reaches at least 165°F.
- Rest the Rice and Broil the Chicken: Transfer the chicken thighs skin-side up onto a rimmed baking sheet. Remove the bay leaf from the pot, cover the rice, and let it rest off the heat 10 minutes. Meanwhile, preheat the oven broiler. Broil the chicken 3 to 4 inches from the heat source 2 to 4 minutes, until the skin is crackling and crisp.
- Finish and Serve: Fluff the rice gently with a fork. Stir in the chopped fresh parsley and optional lemon juice. Return the crispy chicken thighs to the pot or arrange over the rice on a serving platter. Serve immediately while warm.
Notes
Notes
The two-step finish is what makes this recipe work — the chicken simmers on the rice to cook through, then gets broiled for 2 to 4 minutes at the end to re-crisp the skin.
Keep the skin above the liquid line during the simmer; submerged skin steams and turns rubbery. Rinse and drain the rice thoroughly before toasting it in the fat — wet rice steams instead of toasts, and the rice loses its nutty flavor. Add parsley off the heat so it stays bright green.
Leftovers keep 3 to 4 days in the fridge; store chicken and rice separately and reheat the chicken in an air fryer at 350°F for 4 to 5 minutes to re-crisp the skin. Nutrition is an estimate and varies by chicken size and broth brand.
Estimated per serving: 520 calories · 35g protein · 46g carbs · 22g fat · 2g fiber · 610mg sodium
Frequently Asked Questions
Can I use boneless skinless chicken thighs?
Yes. Sear them 3 to 4 minutes per side, reduce the simmer time to 15 to 20 minutes, and add an extra tablespoon of olive oil when you toast the rice to compensate for the missing skin fat. The skin won’t be crispy because there isn’t any skin, but the rice will still be good.
Can I use chicken breasts instead of thighs?
You can, but breasts cook faster and dry out more easily. Use 2 pounds of bone-in, skin-on breasts, reduce the simmer time to 15 to 20 minutes, and pull them at 165°F. Check them at 15 minutes to be safe.
Why did my rice come out mushy?
The rice wasn’t rinsed and drained thoroughly, or the heat was too high under the pot. Rinse until the water runs clear, drain well, and keep the heat on LOW once the lid goes on.
Why did my rice scorch on the bottom?
The heat was too high, or the pot was too thin. Use a heavy-bottomed Dutch oven and keep the heat on LOW. If you smell scorching, move the pot off the heat immediately and let it rest covered for 10 minutes.
Can I skip the broiler step?
You can, but the skin won’t be crispy. The broil is what re-crisps the skin after the simmer, and without it the skin comes out soft. If you don’t have a broiler, sear the chicken skin-side down an extra 2 minutes at the start and skip the broil.
Can I add vegetables to the pot?
Yes. Frozen peas or chopped spinach can go in with the rice in the last 5 minutes. Heartier vegetables like carrots or broccoli should be added with the onion at the start so they cook through.
Is this gluten-free?
It is, as long as your chicken broth is gluten-free. Check the label — most are, but some contain wheat.
How do I reheat leftovers without the rice getting soggy?
Store the chicken and rice separately. Reheat the rice with 1 to 2 tablespoons of broth, covered, in a skillet or microwave. Reheat the chicken in an air fryer at 350°F for 4 to 5 minutes to re-crisp the skin.
More One-Pot and Easy Dinner Recipes You’ll Love
Beef Yaki Udon With Teriyaki — 37g protein, one pan, 30 minutes.
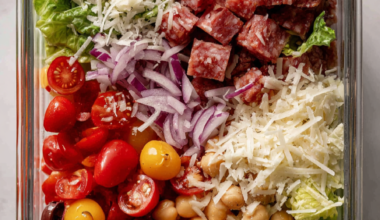
Flank Steak Salad With Blue Cheese — 38g protein, meal-prep ready, 35 minutes.
Hawaiian Chicken Crockpot — 34g protein, sticky pineapple glaze, 10 minutes of prep.
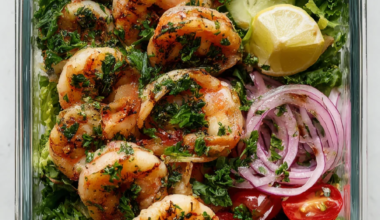
Lemon Herb Shrimp Salad Meal Prep — 34g protein, 20 minutes, 4 days of work lunches.
High-Protein Slow Cooker Dinners — ten weeknight dinners organized by cook time.
15 Easy Chicken Crockpot Recipes for Busy Families — the full collection, organized by night-type.
Closing
I’ve made this one-pot chicken and rice more times than I can count, and the two things that changed everything for me were searing the chicken skin hard before the rice goes in and broiling it at the end to bring the skin back. The first batch I made had perfect rice and pale, soft skin — the broil at the end fixed that completely.
If you make it with smoked paprika or add frozen peas at the end, let me know how it turns out in the comments.