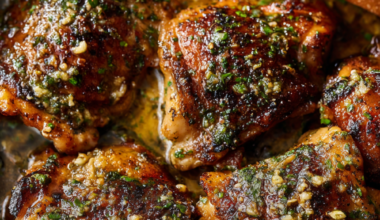
Chicken parmesan sounds simple… until you try making it at home.
Somehow the crust turns soggy, the breading slides off, or the chicken dries out before the cheese even melts. It’s one of those meals that should be easy — yet so many chicken parmesan recipes end up disappointing.
But here’s the good news: a great chicken parmesan recipe isn’t about chef-level skills or complicated ingredients. It comes down to a few small techniques that completely change the outcome.
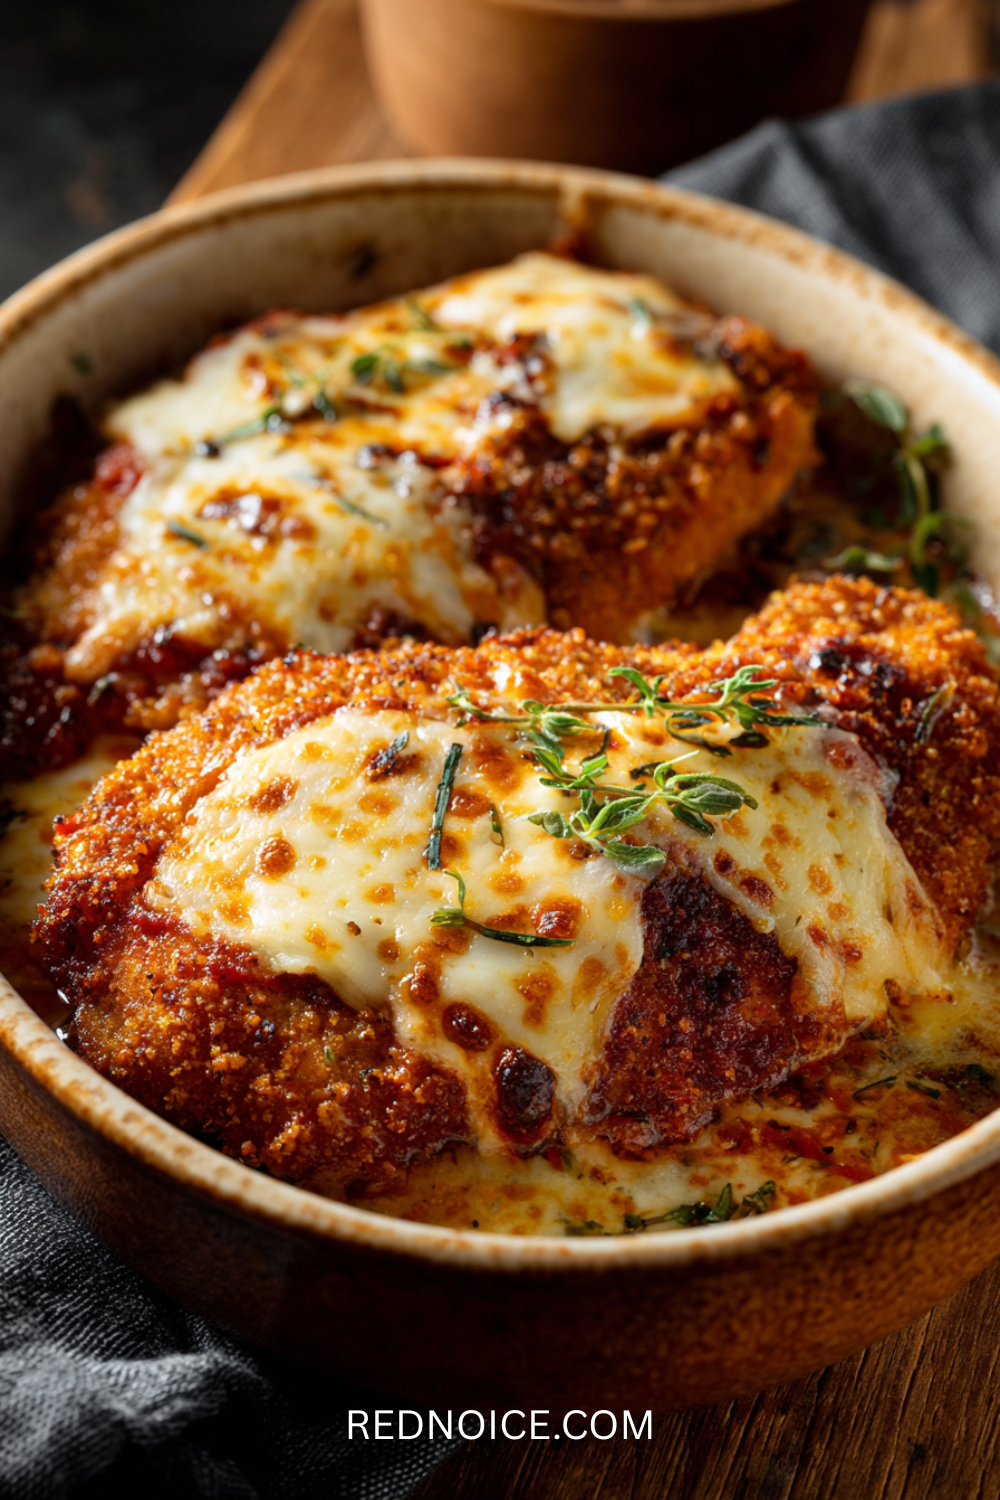
This perfectly crispy chicken parmesan recipe shows you exactly how to get that golden, crunchy crust that stays put, juicy chicken that stays tender, and that irresistible layer of melty cheese and rich marinara sauce — the kind that tastes like restaurant-quality comfort food.
Only better, because you made it yourself.
Whether this is your first time making chicken parmesan or you’ve tried other recipes before, this version is reliable, simple, and incredibly satisfying.
If you love this crispy coating, you’ll want to bookmark these 15 Easy Chicken Breast Recipes That’ll Save Weeknight Dinners for your next grocery run!
Why This Chicken Parmesan Never Fails

Most chicken parmesan recipes fail in one of two ways: either the breading falls off, or the chicken dries out. Sometimes both.
This recipe fixes those problems by focusing on the details that actually matter.
The breading stays put. We’re using a three-step breading process with a crucial addition that most recipes skip—letting the breaded chicken rest before cooking. That 15-minute rest lets the coating set up and bond to the chicken, which means it won’t fall off when you flip it or cut into it.
The chicken stays juicy. Thin, evenly pounded chicken breasts cook quickly and evenly. You’re not dealing with thick, uneven pieces that end up raw in the middle or dry on the edges. Quick cooking at the right temperature means juicy chicken every time.
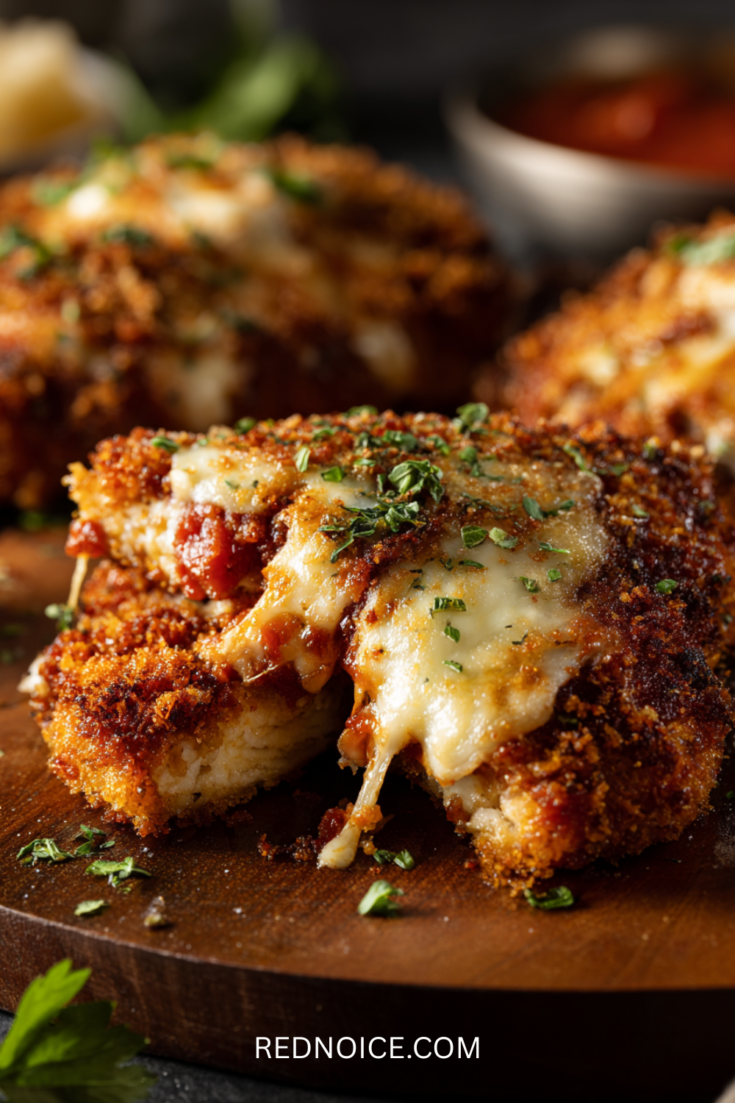
The crust is actually crispy. A mix of panko breadcrumbs and regular breadcrumbs creates the perfect texture—crunchy but not too hard, golden but not greasy. The panko adds those irregular, craggy bits that get extra crispy, while the regular breadcrumbs fill in the gaps for full coverage.
The cheese melts without overcooking the chicken. Finishing under the broiler for 2-3 minutes melts the cheese and lightly browns it without drying out the chicken. This is how restaurants do it, and it’s the move that makes everything come together.
Crispy Crusted Chicken Parmesan Recipe
Make restaurant-quality, extra-crispy Chicken Parmesan in 40 minutes. This foolproof recipe guarantees a crunchy crust and juicy chicken.
Ingredients
- 4 boneless, skinless chicken breasts (about 1.5-2 lbs total)
- Salt and pepper to taste
- 1 cup all-purpose flour
- 3 large eggs
- 2 tablespoons milk
- 1 cup panko breadcrumbs
- 1 cup Italian-seasoned breadcrumbs
- 1 cup freshly grated Parmesan cheese, divided (half for breading and the rest for topping)
- 1 teaspoon garlic powder
- 1 teaspoon dried Italian seasoning
- ½ cup vegetable oil or avocado oil (for frying)
For Assembly:New Group
- 2 cups marinara sauce (homemade or good-quality jarred)
- 1½ cups shredded mozzarella cheese
- Fresh basil for garnish
- Optional: cooked pasta for serving
Instructions
- Dredge one chicken breast in flour, coating both sides, then shake off the excess. The flour creates a dry surface that helps the egg stick.
- Dip the floured chicken into the egg wash, making sure both sides are completely coated. Let the excess drip off.
- Press the chicken into the breadcrumb mixture, really pressing down so the crumbs adhere. Flip and coat the other side, pressing firmly. You want full, even coverage with no bare spots.
- Place the breaded chicken on a wire rack or plate. Repeat with the remaining chicken breasts.
- Crucial step: Let the breaded chicken rest at room temperature for 15 minutes. This allows the coating to set and bond to the chicken, which prevents it from falling off during cooking.
Step 1: Prep the Chicken
Place each chicken breast between two pieces of plastic wrap or parchment paper. Using a meat mallet or the bottom of a heavy pan, pound the chicken to an even ½-inch thickness throughout. This ensures even cooking and makes the chicken easier to bread.
Season both sides generously with salt and pepper. Set aside while you set up the breading station.
Step 2: Set Up Your Breading Station
You'll need three shallow dishes or plates:
Station 1 (Flour): Place the flour in the first dish. Season it with a pinch of salt and pepper.
Station 2 (Egg Wash): Beat the eggs and milk together in the second dish until well combined.
Station 3 (Breadcrumb Mixture): In the third dish, combine the panko breadcrumbs, Italian breadcrumbs, ½ cup of the Parmesan cheese, garlic powder, and Italian seasoning. Mix thoroughly.
Step 3: Bread the Chicken
This is where most recipes go wrong, so pay attention to the technique:
Step 4: Fry the Chicken
Heat the oil in a large skillet (cast iron works great) over medium-high heat. You want about ¼ inch of oil in the pan. Test the heat by dropping in a breadcrumb—it should sizzle immediately.
Carefully place the breaded chicken in the hot oil, working in batches if necessary to avoid overcrowding. Overcrowding lowers the oil temperature, resulting in soggy, greasy chicken rather than crispy.
Cook for 4-5 minutes per side, until golden brown, and until the internal temperature reaches 165°F. The chicken should be deeply golden and crispy, not pale. Resist the urge to move the chicken around—let it sit undisturbed so the crust can develop.
Transfer the cooked chicken to a wire rack or paper towel-lined plate. If you're working in batches, you can keep the cooked chicken warm in a 200°F oven.
Step 5: Add Sauce and Cheese
Preheat your oven's broiler to high.
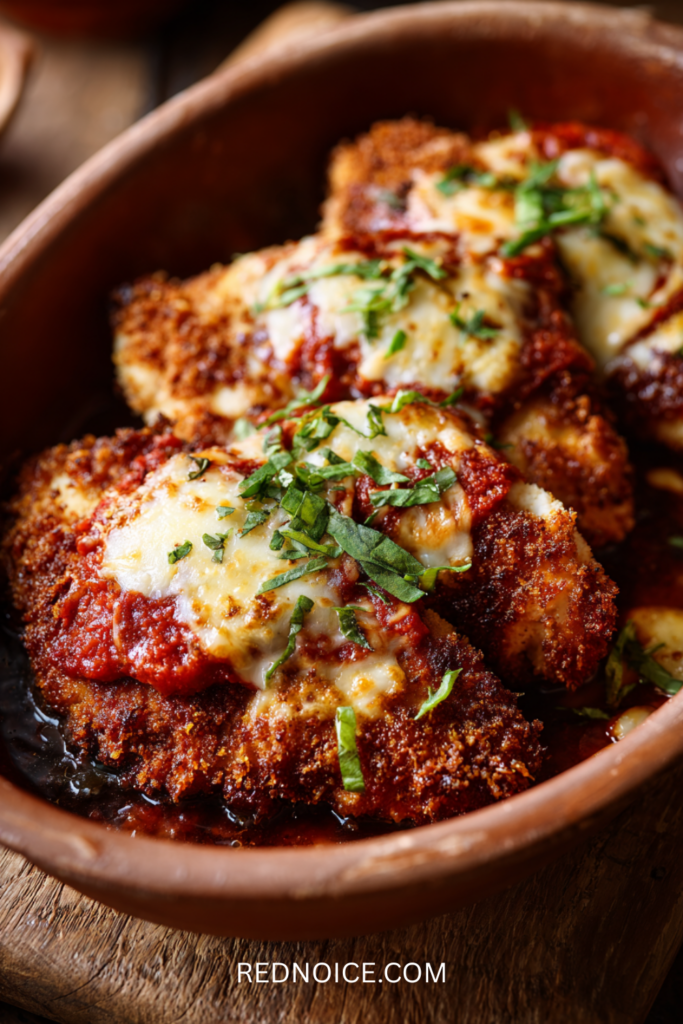
Spread about 2 tablespoons of marinara sauce over each piece of chicken. You don't want to completely smother it—just enough to add flavor and moisture without making the crust soggy.
Sprinkle the shredded mozzarella evenly over the sauce, then add a tablespoon of the remaining Parmesan on each piece.
Place the chicken on a baking sheet or in an oven-safe dish. Position the oven rack about 6 inches from the broiler.
Step 6: Broil
Broil for 2-3 minutes, watching carefully, until the cheese is melted and bubbly with slightly browned spots. The cheese should be completely melted but not burnt. This step happens fast, so don't walk away.
Remove from the oven and let rest for 2-3 minutes. This allows the cheese to set slightly, making it easier to serve.
Garnish with fresh basil leaves and serve immediately with extra marinara sauce on the side.
Nutrition Information:
Yield:
4Serving Size:
1Amount Per Serving: Calories: 1877Total Fat: 85gSaturated Fat: 27gUnsaturated Fat: 58gCholesterol: 361mgSodium: 3794mgCarbohydrates: 165gFiber: 11gSugar: 16gProtein: 108g
Disclaimer: For educational purposes only; not medical advice. Nutrition facts are estimates. Always follow food safety guidelines and ensure chicken reaches an internal temperature of 165°F. We are not liable for any adverse reactions or kitchen hazards.
How to Get Extra Crispy Chicken Parmesan
If you’re chasing that perfectly crispy chicken parmesan that rivals what you’d get at a good Italian restaurant, these details matter.
Use Panko and Regular Breadcrumbs Together
Panko alone can be too coarse and provide insufficient coverage. Regular breadcrumbs alone can be too fine and compact, resulting in a dense crust. The combination gives you the best of both—the irregular, extra-crispy bits from the panko and the complete coverage from the Italian breadcrumbs.
Press the Breadcrumbs On Firmly
When coating the chicken in breadcrumbs, press firmly. Use your palm to firmly press the breadcrumbs onto both sides of the chicken. This creates a thick, even coating that won’t fall off during cooking.
Let the Breaded Chicken Rest
This is the step most people skip, and it’s one of the most important. Letting the breaded chicken sit for 15 minutes before cooking allows the coating to hydrate slightly and bond to the chicken. The result is a crust that stays on instead of sliding off.
Get the Oil Hot Enough
If your oil isn’t hot enough, the chicken will absorb it, turning greasy rather than crispy. Test the oil temperature by dropping in a breadcrumb—it should sizzle immediately and vigorously. Medium-high heat is usually right, but every stove is different. Adjust as needed.
Don’t Flip Too Early
Let the chicken cook undisturbed for 4-5 minutes before flipping. If you try to flip too early, the crust might stick to the pan or tear. When it’s ready, it should release easily.
Drain on a Wire Rack, Not Paper Towels
Paper towels trap steam underneath the chicken, which can make the bottom of the crust soggy. A wire rack allows air to circulate and keeps the entire crust crispy.
Variations and Substitutions
Make It Gluten-Free
Use gluten-free flour, gluten-free breadcrumbs (or crushed gluten-free cornflakes), and check that your marinara sauce is gluten-free. The rest of the technique remains unchanged. The gluten-free chicken parmesan tastes just as good as the original.
Bake Instead of Fry
For a lighter option, you can bake the breaded chicken instead of frying it. Place the breaded chicken on a wire rack set over a baking sheet. Spray both sides lightly with cooking spray. Bake at 400°F for 20-25 minutes, flipping halfway through, until golden and cooked through. The crust won’t be quite as crispy as fried, but it’s still good. This healthy baked chicken parmesan option significantly reduces oil.
Use Chicken Tenders
If you’re feeding kids or want a quicker option, chicken tenders work great. Please adjust the cooking time to 3-4 minutes per side, as they’re smaller.
Make It Dairy-Free
Use dairy-free mozzarella and skip the Parmesan (or use a dairy-free version). The coating technique stays the same.
Add Extra Flavor to the Breading
Mix in some red pepper flakes for heat, add lemon zest for brightness, or include finely chopped fresh herbs like parsley or basil. Please ensure anything you add is finely chopped so it doesn’t interfere with the crust’s texture.
Make It a One-Pan Chicken Parmesan Dinner
After frying the chicken, arrange it in a large baking dish with your favorite pasta underneath. Pour extra marinara over everything, top with cheese, and broil. You’ll have pasta and chicken parmesan all in one dish.
What to Serve with Chicken Parmesan
Chicken parmesan is rich and filling, so you want sides that balance it out.
Pasta
This is the classic pairing. Spaghetti, linguine, or penne all work. Toss the pasta with some of the marinara sauce (or just butter and garlic if you prefer) and serve the chicken on top or on the side. The pasta soaks up the extra sauce, making it a complete meal.
Garlic Bread
Crusty bread is perfect for soaking up any extra marinara. Garlic bread takes it up a notch—butter, garlic, and parsley on toasted Italian bread. It’s simple and always hits.
Simple Green Salad
A basic salad with mixed greens, cherry tomatoes, and a light vinaigrette provides freshness and crunch that cuts through the richness of the cheese and fried chicken. Keep the dressing light—you don’t need anything heavy here.
Roasted Vegetables
Roasted broccoli, zucchini, or green beans add color and nutrition without much extra effort. Toss them with olive oil, salt, and pepper, then roast at 425°F for 15-20 minutes while you make the chicken.
Mashed Potatoes or Polenta
For an even heartier meal, serve the chicken over creamy mashed potatoes or soft polenta. The starch soaks up the marinara sauce, and it’s pure comfort food.
Storage and Reheating
Storing Leftovers
Cooked chicken parmesan will keep in the refrigerator for 3-4 days in an airtight container. Store the chicken and any pasta separately to keep the crust from getting too soggy.
If you want to prep ahead, you can bread the chicken and refrigerate it (uncooked) for up to 24 hours before frying. Just let it come to room temperature for 15-20 minutes before cooking.
Freezing
You can freeze chicken parmesan, but the crust won’t be quite as crispy when reheated. To freeze: Let the cooked chicken cool completely, wrap each piece tightly in plastic wrap, then place in a freezer-safe bag or container. Freeze for up to 2 months.
To reheat from frozen: Thaw in the refrigerator overnight, then reheat in a 350°F oven for 15-20 minutes until warmed through.
Reheating for Best Results
The oven is the best way to reheat chicken parmesan and maintain some crispness. Place the chicken on a wire rack over a baking sheet, then reheat at 350°F for 10-15 minutes, until warmed through. If the cheese needs a refresh, broil it for 1-2 minutes.
The microwave works in a pinch, but the crust will lose its crispness and turn rubbery. If you must microwave, use 50% power in short intervals to avoid overcooking.
Common Mistakes and How to Fix Them
The Breading Falls Off
This usually happens because the chicken was too wet when you breaded it, you didn’t press the breadcrumbs on firmly enough, or you skipped the resting period. Make sure the chicken is dry, press the coating on well, and let it rest for 15 minutes before cooking.
The Chicken Is Dry
You either overcooked it or started with chicken breasts that were too thick. Pounding the chicken to an even ½-inch thickness is crucial for even cooking. Use a meat thermometer and pull the chicken at 165°F—don’t overcook it.
The Crust Is Soggy
If the oil isn’t hot enough, the chicken will absorb too much oil and become greasy. Make sure the oil is shimmering and a breadcrumb sizzles immediately when dropped in. Also, don’t put too much sauce on top of the chicken—a light coating is enough.
The Cheese Doesn’t Melt Properly
Ensure the chicken is still hot before adding the cheese, and broil for only 2-3 minutes. If the chicken has cooled down too much before you add the cheese, it won’t melt properly.
Make-Ahead and Meal Prep Tips
Prep the Night Before
You can bread the chicken the night before and refrigerate it on a plate covered with plastic wrap. Let it sit for 15-20 minutes before frying to bring it to room temperature. This makes weeknight cooking much faster.
Batch Cook and Freeze
Make a double batch and freeze half. Bread and fry all the chicken, but don’t add the sauce and cheese yet. Once the chicken is cooked and cooled, wrap each piece individually and freeze. When you’re ready to eat, thaw, add sauce and cheese, and broil. You’ll have crispy chicken parmesan in 15 minutes.
Keep Components Separate
If you’re meal prepping for the week, store the fried chicken, marinara sauce, and cheese separately. Assemble and broil fresh each day to keep the crust crispy.
Why Homemade Chicken Parmesan Is Better Than Restaurant Versions
Most restaurants use breaded, frozen chicken that’s reheated to order. The result is often a thick, dense crust that’s more about bulk than flavor, and chicken that’s dry or rubbery.
When you make homemade chicken parmesan, you control everything: the quality of the chicken, the freshness of the breading, the type of cheese, and the marinara sauce. You’re making it to order, which means the crust is actually crispy, the chicken is juicy, and the cheese is freshly melted.
It also costs a fraction of what you’d pay at a restaurant. A good chicken parmesan at an Italian restaurant will run you $18-25. You can make this at home for about $12-15 total, and it’ll feed four people.
Plus, you can customize it exactly how you want—more cheese, less sauce, gluten-free, baked instead of fried —whatever works for you.
Quick Tips for Success
Use fresh Parmesan, not pre-grated. Freshly grated Parmesan has better flavor and melts more smoothly. The pre-grated kind often contains anti-caking agents that affect the texture.
Don’t skip pounding the chicken. Even thickness means even cooking. Thick chicken breasts will be raw in the middle by the time the outside is cooked.
Keep one hand dry. When breading, designate one hand for the dry ingredients (flour and breadcrumbs) and one for the wet (egg wash). This prevents your fingers from getting coated in breading, making the process much less messy.
Use a thermometer. Guessing when chicken is done doesn’t work. A $10 instant-read thermometer eliminates guesswork and ensures perfectly cooked chicken every time.
Let the chicken rest after cooking. Just like with steak, letting chicken rest for a few minutes allows the juices to redistribute, making it juicier.
Make This Your Go-To Chicken Parmesan
Once you’ve made this crispy-crusted chicken parmesan recipe a few times, you’ll have the technique down, and it’ll become one of those meals you can make without much thought. The breading process becomes automatic, you’ll know exactly how your stove heats, and you’ll have your timing dialed in.
That’s when it becomes really useful—when you can make restaurant-quality chicken parmesan on a random Wednesday without it feeling like a production. When you can impress dinner guests without stressing. When you have a reliable recipe that works every single time.
Start with this recipe as written, nail the technique, then customize it however you want. More cheese, a different sauce, baked rather than fried—once you understand the fundamentals, you can adjust it to suit your preferences.
Make it this week. You’ll see why this version works better than most restaurant versions, and why it’s worth making at home.