Rice is one of the most useful things you can put in a meal prep container. It’s cheap, filling, absorbs whatever flavor you put near it, and turns a handful of leftovers into an actual meal.
It’s also the thing most people get wrong.
Reheated rice comes out dry, hard, and clumped together. Or worse—it’s been sitting in the fridge for five days, and nobody mentioned that cooked rice has a real food-safety window.
The difference between rice that reheats like it was just made and rice that turns into gravel comes down to three things: how you cook it, how you cool it, and how you store it.
This guide covers all three. It’s the foundation, not a recipe list. Once you can prep rice properly, you can build a week of lunches from whatever protein and vegetables you have on hand.
Let’s get into it.
Why Rice Is the Best Meal Prep Base
It’s neutral, so it takes on any flavor. The same batch of plain rice becomes a burrito bowl with salsa and cumin, a teriyaki bowl with soy and ginger, a Greek bowl with lemon and oregano, or a curry bowl with coconut and turmeric. One batch, five completely different lunches.
It’s cheap. A pound of rice costs about a dollar and yields roughly 10 cups cooked. That’s five lunches for a dollar of base.
It freezes and reheats better than pasta. Pasta turns mushy when frozen and thawed. Rice holds its texture well if you handle it right.
It’s filling in a way that salad isn’t. A salad-based lunch leaves most people hungry by 3 PM.
It’s already a meal template. Rice plus a protein plus a vegetable plus a sauce is the formula behind almost every cuisine on earth.
Choosing the Right Rice for Meal Prep
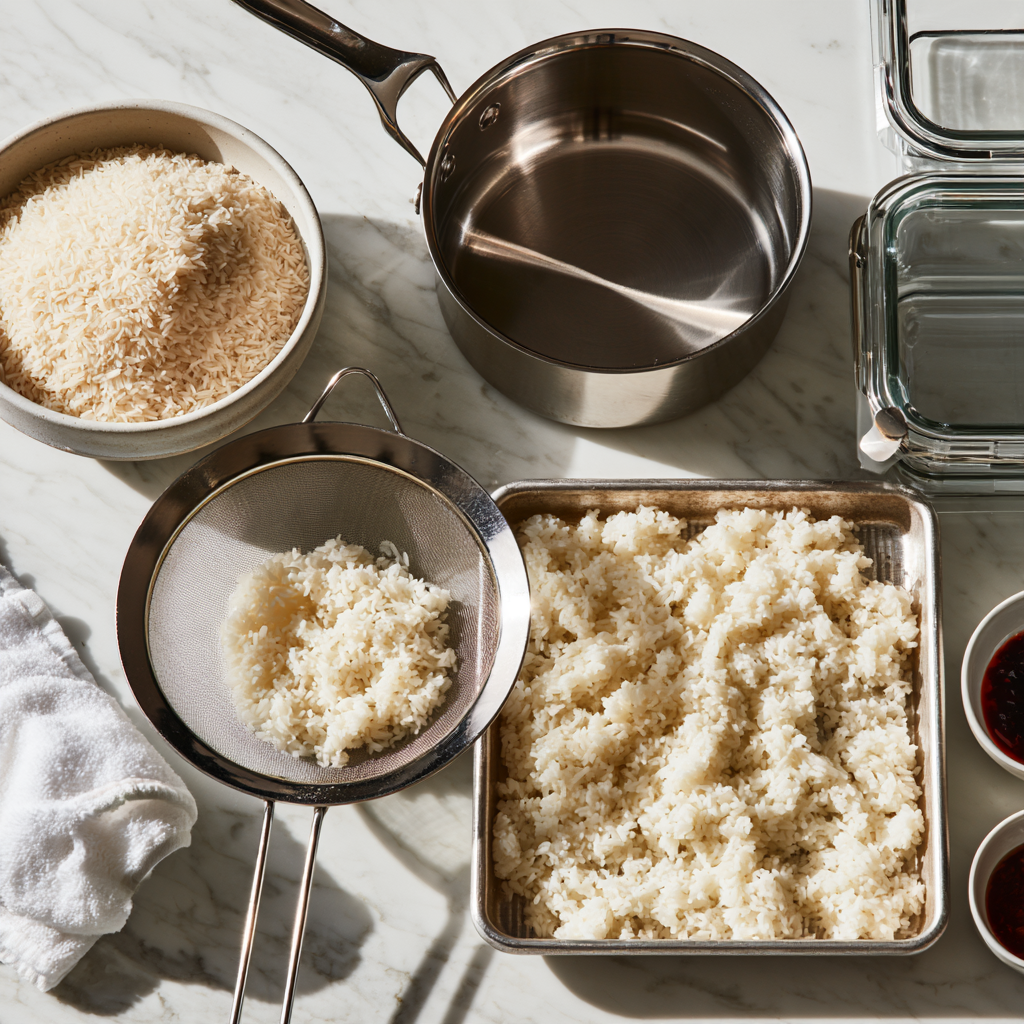
Not all rice holds up the same way after three days in the fridge.
Long-grain white rice (jasmine, basmati). The best all-purpose choice. Individual grains stay separate, it reheats cleanly, and it doesn’t clump.
Brown rice. Holds up well and has more fiber and nutrients. Takes longer to cook (40–45 minutes) and has a chewier texture. Reheats beautifully.
Short-grain and medium-grain white rice (sushi rice, Calrose). Stickier and softer. Great for Asian-style bowls, but it clumps more in the fridge and needs a splash of water when reheating.
Cauliflower rice. Releases a lot of water, gets mushy in the fridge, and doesn’t hold past 2 days. Best eaten fresh.
Wild rice. A grass seed, not a rice. Nutty, firm, and holds its shape better than anything else on this list. Great mixed into a white rice blend for texture.
My recommendation: Cook long-grain white rice for most of your meal prep, and a smaller batch of brown rice if you want variety.
Method 1: Stovetop (The Main Method)
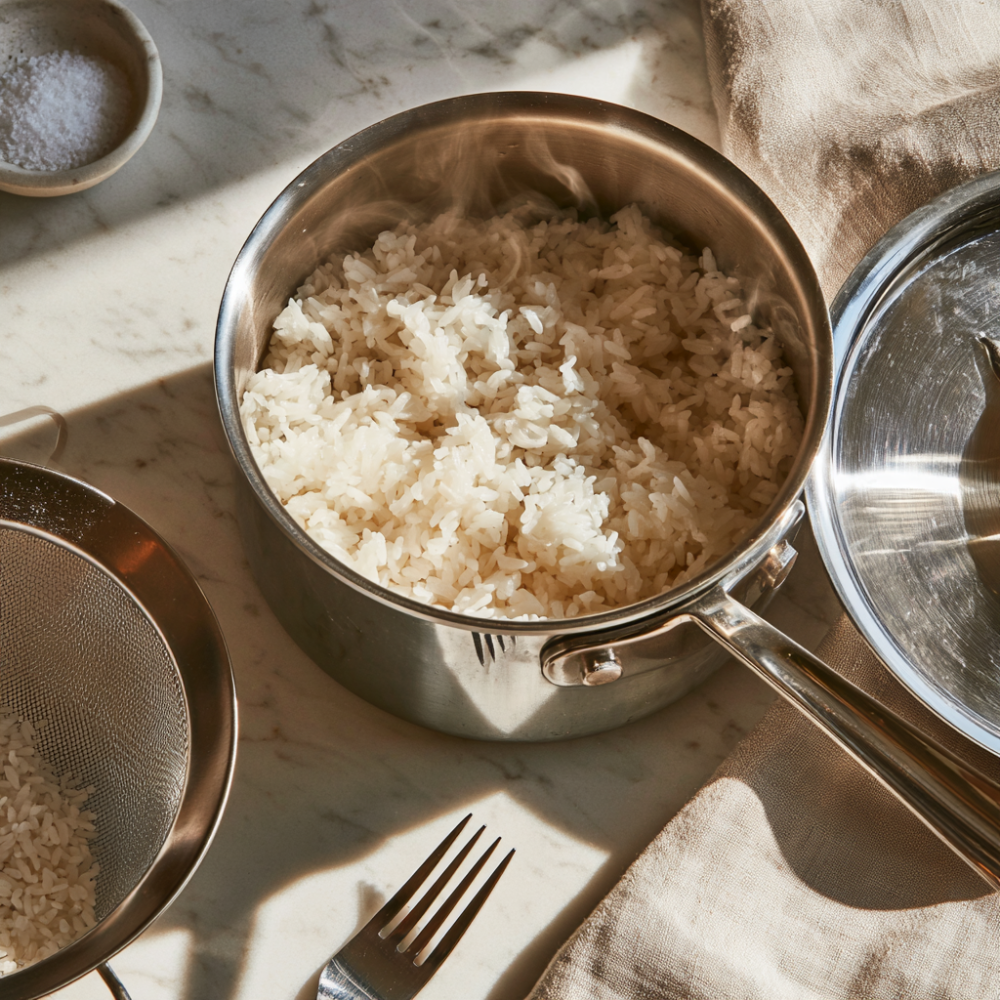
This is how most people cook rice, and it produces the best texture when done right. The key techniques below—rinsing, boiling water first, and the paper towel trick—separate fluffy rice from gluey rice.
The ratio: 1 cup long-grain white rice, 1½ cups water, ½ teaspoon kosher salt. For brown rice: 1 cup rice, 2 cups water, ½ teaspoon salt.
Step 1: Rinse the rice. Place the rice in a fine-mesh sieve and run cold tap water over it, stirring gently with your hand, until the water runs mostly clear. This takes about 60 seconds. Rinsing removes surface starch, which is what makes rice gluey and clumped. Shake the sieve to discard the excess water.
Step 2: Bring the water to a boil first. In a medium pot over high heat, bring the 1½ cups of water to a rolling boil. Add the salt. Then pour the rinsed rice into the boiling water. This is the order that matters—adding rice to already-boiling water gives you more consistent results than starting cold, because the temperature doesn’t have to climb with the rice in it.
Step 3: Simmer, covered, undisturbed. Bring the pot back to a simmer, then reduce the heat to medium-low, cover with a tight-fitting lid, and cook for 15 minutes. Do not lift the lid. Every time you peek, you release steam the rice needs to finish cooking.
Step 4: The paper towel trick. Remove the pot from the heat. Remove the lid, cover the pot with a clean paper towel or thin kitchen towel, then replace the lid over the towel. Let it steam for 10 minutes.
Here’s why this matters: steam rises during the rest and condenses on the underside of the lid. Without the paper towel, that condensation drips back down onto the rice and makes the top layer soggy. The towel absorbs the moisture so the rice stays fluffy all the way through. It’s a small step that makes a noticeable difference.
Step 5: Fluff with a fork. Not a spoon. A fork separates the grains without crushing them. Fluff from the bottom up.
The optional upgrade: Toast the rinsed rice in a tablespoon of butter or oil for 2 minutes before adding the boiling water. This adds a subtle nutty flavor and helps the grains stay separate.
Method 2: Rice Cooker (The Easy Method)
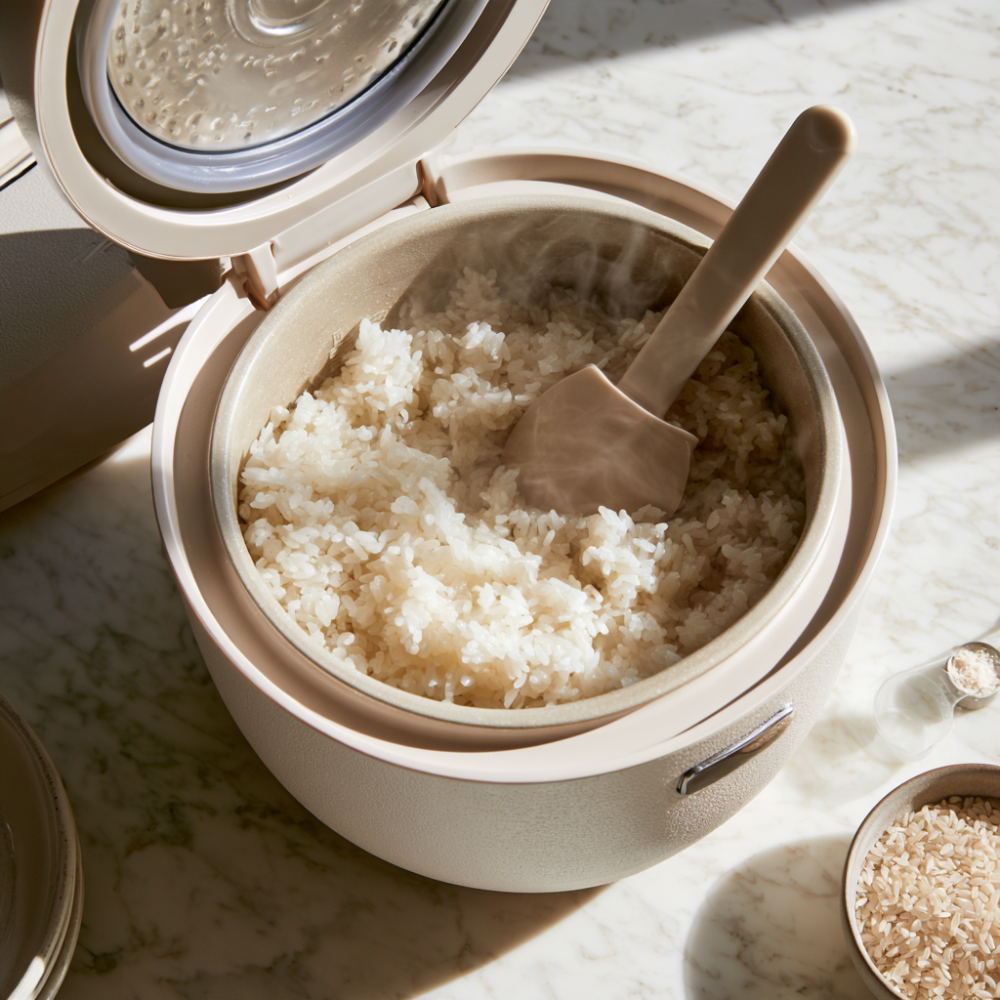
If you have a rice cooker, use it. Rice cookers produce more consistent results than stovetop because they regulate the temperature automatically and shut off at exactly the right moment.
Step 1: Rinse the rice in a fine-mesh sieve until the water runs mostly clear.
Step 2: Add the rice, water, and salt to the rice cooker using the same ratio: 1 cup rice to 1½ cups water for long-grain white, 1 cup rice to 2 cups water for brown.
Step 3: Start the cooker and let it run through its cycle. Most rice cookers take 20–30 minutes for white rice and 45–60 minutes for brown.
Step 4: Rest for 10 minutes on the “keep warm” setting before opening the lid. This lets the rice finish steaming.
Step 5: Fluff with a fork and portion.
One rice cooker warning: Don’t leave rice on “keep warm” for more than 4 hours. The quality degrades, and the food safety risk increases the longer it sits.
Method 3: Instant Pot (The Fastest Method)
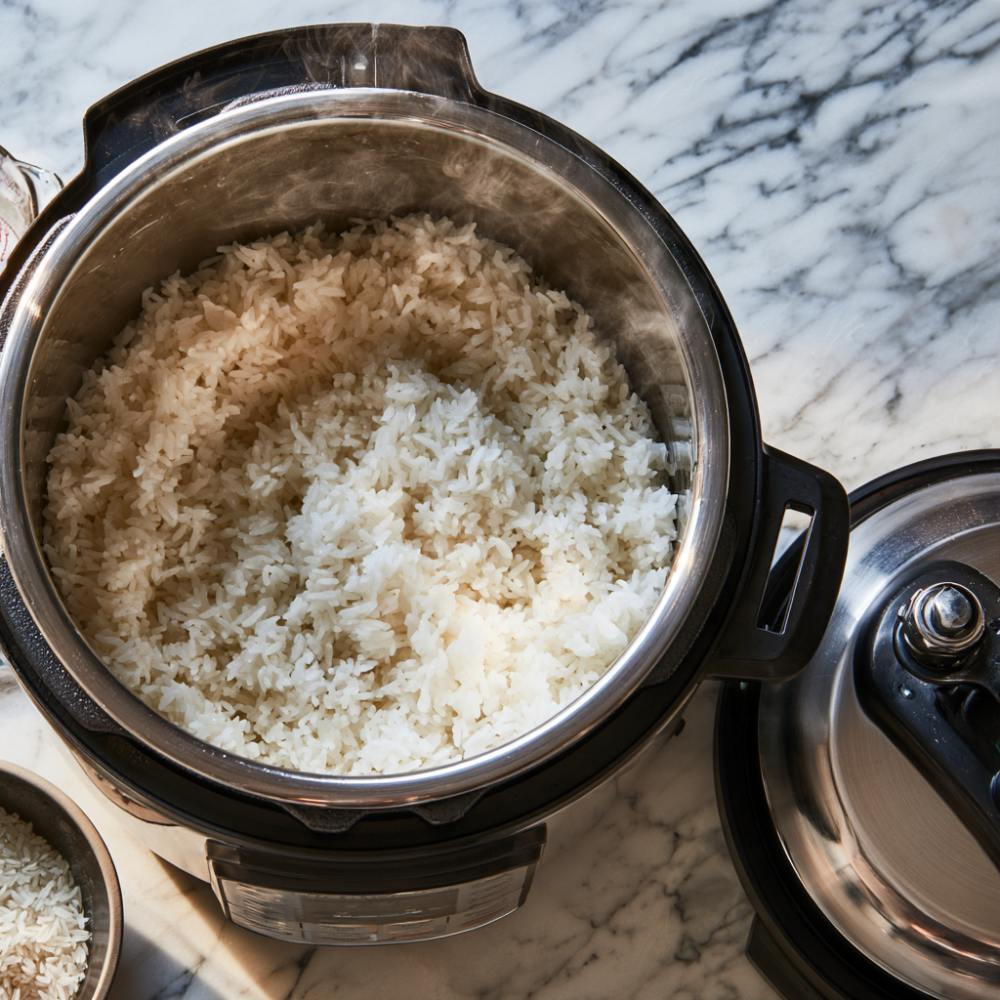
For brown rice especially, the Instant Pot is the fastest option because it eliminates the long simmer.
Step 1: Rinse the rice.
Step 2: Add the rice, water, and salt to the Instant Pot. Use 1 cup rice to 1¼ cups water for white rice, or 1 cup rice to 1½ cups water for brown rice. The Instant Pot uses less water than the stovetop because nothing evaporates.
Step 3: Pressure cook. Cook on high pressure for 3 minutes for white rice and 22 minutes for brown rice.
Step 4: Let the pressure release naturally for 10 minutes, then quick-release any remaining pressure.
Step 4: Fluff with a fork and portion.
The Food Safety Rule Nobody Talks About
This is the most important section in this article.
Cooked rice can harbor Bacillus cereus, a bacterium whose spores survive cooking. If cooked rice sits at room temperature for too long, those spores multiply and produce a toxin that causes food poisoning. Reheating does not destroy the toxin.
Cool rice fast. Don’t leave it in the pot on the counter. Spread it in a thin layer on a rimmed baking sheet. The goal is to get it from hot to refrigerated temperature as fast as possible.
Refrigerate within 1 hour. Not 2. Rice is more vulnerable than most cooked foods because of spores.
Store in the fridge for up to 4 days. Not 5, not 6. Four.
Reheat until steaming hot. At least 165°F throughout.
Never reheat rice more than once. If you reheat a portion and don’t finish it, throw it away.
Don’t leave rice on “keep warm” all day. Four hours max, whether it’s a rice cooker or an Instant Pot.
This is the part most meal prep articles skip. It matters more than the texture tips.
How To Cool and Store Rice for Meal Prep
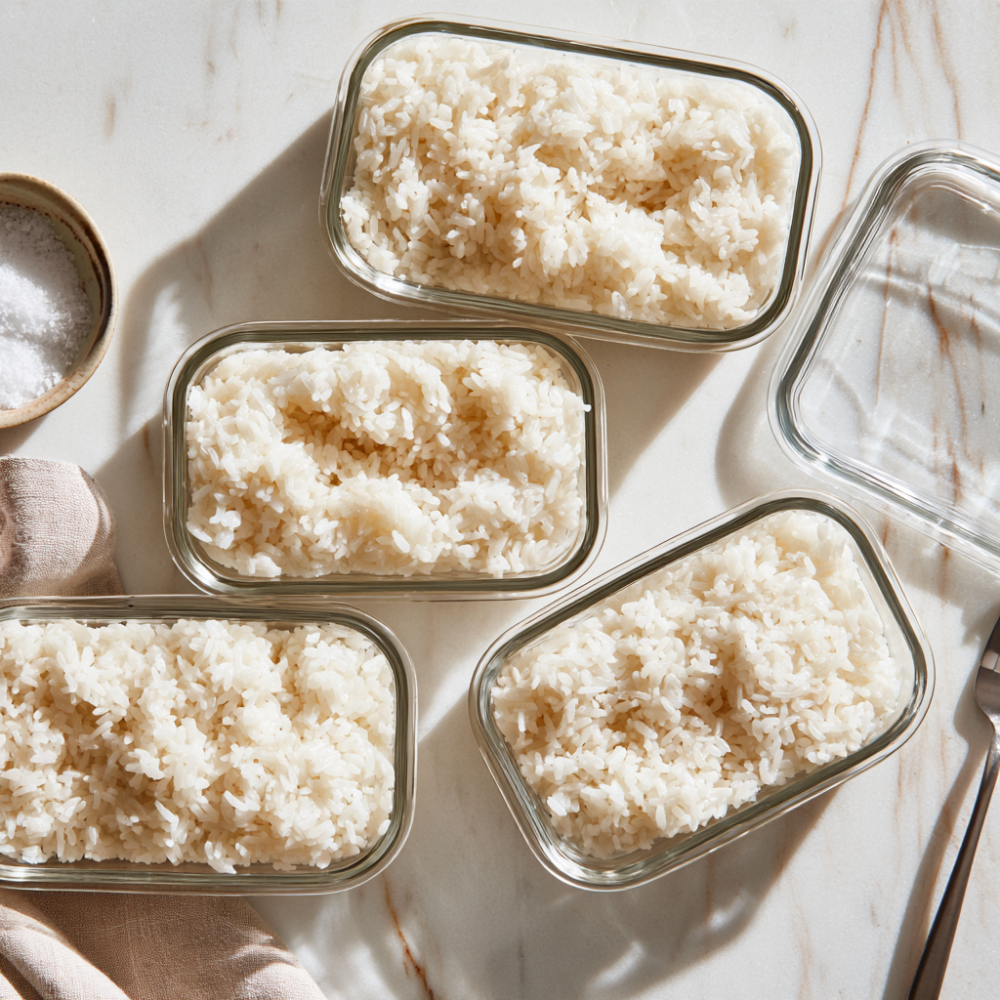
Spread it out to cool. Transfer the cooked rice to a large rimmed baking sheet and spread it into an even layer about ½ inch thick. This increases the surface area and cools it in 15–20 minutes instead of an hour.
Portion into containers while slightly warm. Slightly warm rice portions more evenly and creates less condensation.
Use glass containers with locking lids. Glass doesn’t stain, doesn’t hold odors, and is microwave-safe.
Leave a little headspace. Leave about ½ inch of headspace at the top so steam has room and the lid seals properly.
Add a damp paper towel for storage over 2 days. Lay a damp (not wet) paper towel directly over the rice before sealing. This keeps the top layer from drying out and going hard.
Store sauces separately. Rice absorbs liquid over time. Keep sauce in a small separate container and add it right before eating.
How To Reheat Rice Without Drying It Out
The sprinkle method. Add 1–2 teaspoons of water per cup of rice before reheating. Cover loosely with a lid or a damp paper towel. Microwave on high for 60–90 seconds. Let it sit 30 seconds before stirring.
The ice cube method. Place a single ice cube on top of the rice and microwave covered for 90 seconds. The ice melts into steam, which rehydrates the rice from the inside.
Never microwave rice uncovered. Uncovered rice dries out within 30 seconds.
Never reheat on high for 3+ minutes. You’ll overcook the edges before the center is warm.
The Rice Bowl Formula
Once your rice is prepped, every lunch follows the same structure.
1. Rice base (1 cup cooked) — jasmine, basmati, or brown.
2. Protein (4–6 oz) — rotisserie chicken, ground turkey, shredded beef, salmon, shrimp, tofu, edamame, or soft-boiled eggs.
3. Vegetables (1–2 cups) — roasted broccoli, sautéed peppers, shredded cabbage, cucumber, cherry tomatoes, or a bag of coleslaw mix.
4. Sauce (2 tbsp) — this is what makes it taste like a cuisine instead of a bowl of plain food.
5. Crunchy topping — sesame seeds, crushed peanuts, fried shallots, or crispy chickpeas. Added the day you eat it.
6. Fresh element — cilantro, green onions, avocado, lime wedge. Added the day you eat it.
5 Rice Meal Prep Bowls (30g+ Protein Each)
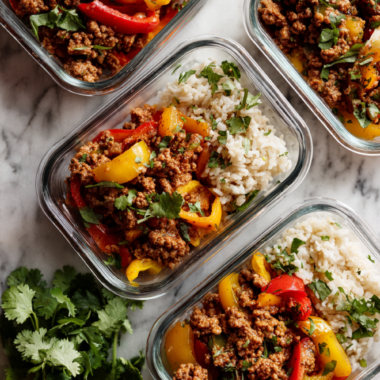
1. Burrito Bowl. Cilantro-lime rice, seasoned ground turkey or shredded chicken, black beans, corn, salsa, Greek yogurt crema. Top with avocado and cilantro.
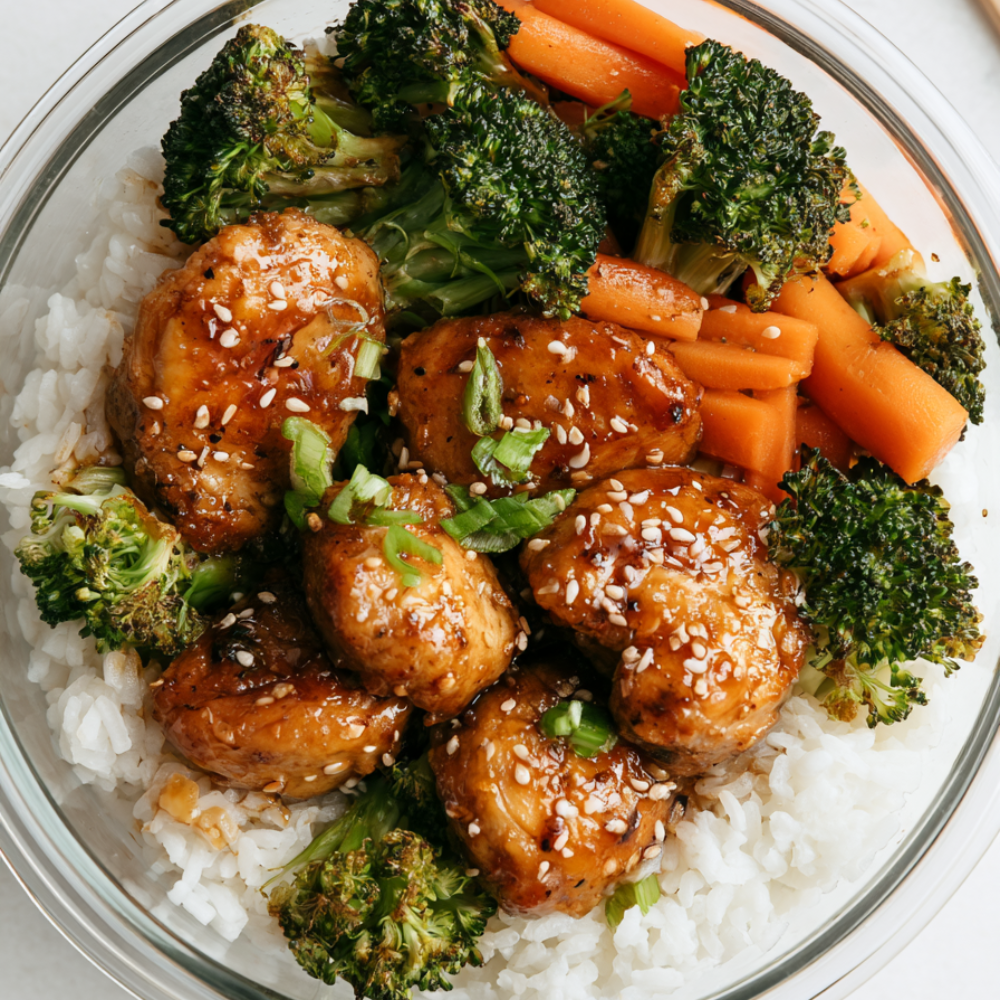
2. Teriyaki Chicken Bowl. Jasmine rice, teriyaki chicken, steamed broccoli, shredded carrots, sesame seeds, green onions.
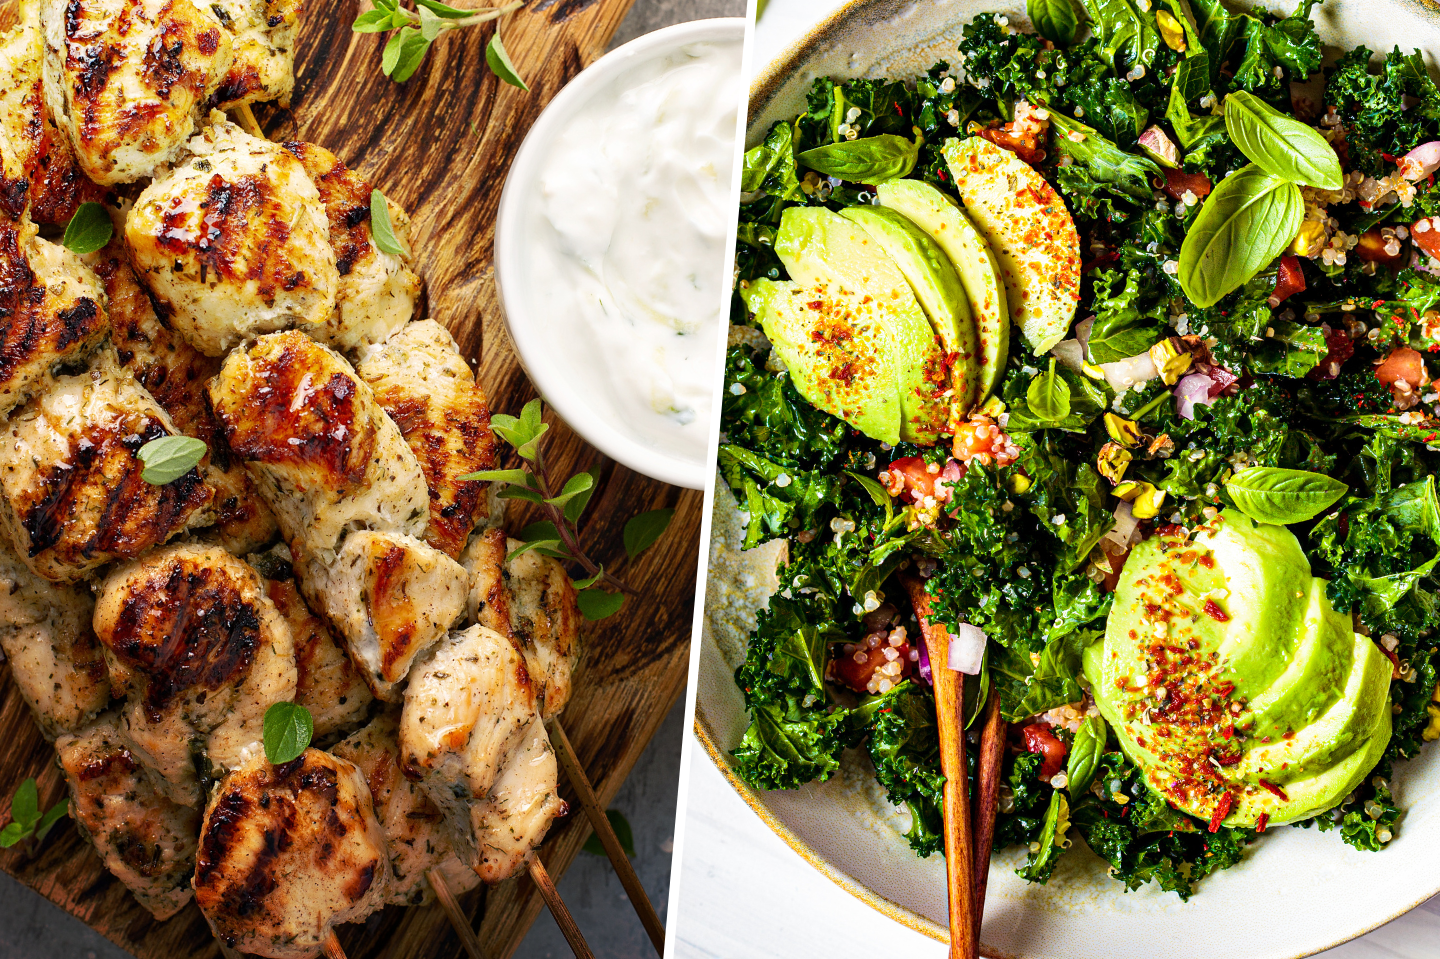
3. Greek Chicken Bowl. Lemon-herb rice, shredded chicken, cucumber, cherry tomatoes, kalamata olives, feta, tzatziki.
4. Salmon Teriyaki Bowl. Brown rice, baked salmon, edamame, cucumber, avocado, teriyaki sauce, sesame seeds.
5. Korean Beef Bowl. Jasmine rice, ground beef with gochujang, sautéed spinach, shredded carrots, kimchi, fried egg, sesame oil.
Each one follows the same formula. Once you have the rice and the protein prepped, assembly takes about 5 minutes.
Tips for Better Rice Meal Prep
Cook a big batch once. One pot makes 8–10 cups cooked, which is 8–10 lunches.
Rinse your rice. Sixty seconds under cold water removes the surface starch that makes rice gluey.
Boil the water before adding the rice. More consistent texture than starting cold.
Don’t lift the lid while it cooks. Every peek releases steam you can’t get back.
Use the paper towel trick during the rest. It absorbs condensation so the top layer of rice stays fluffy instead of soggy.
Cool it fast on a sheet pan. Fifteen minutes on a baking sheet instead of an hour in the pot.
Refrigerate within 1 hour. Rice is more vulnerable than most leftovers.
Portion while slightly warm. Easier to work with and creates less condensation.
Add a damp paper towel for storage. Keeps the top layer of rice from drying out.
Store sauces separately. Rice absorbs liquid, and a pre-sauced bowl becomes mush by day three.
Sprinkle water before reheating. One to two teaspoons per cup. Cover loosely and microwave.
Add fresh elements the day you eat. Add avocado, herbs, lime, and anything crispy fresh.
Freeze portions. Cooked rice freezes beautifully for up to 3 months.
Fluff with a fork, not a spoon. A fork separates grains; a spoon crushes them.
Troubleshooting
The rice is mushy. You used too much water or didn’t rinse it. Use the measured ratio and rinse for 60 seconds.
The rice is hard or crunchy in the center. You lifted the lid during cooking, or the heat was too high and the water boiled off.
The rice is dry after reheating. You didn’t add water before microwaving. Sprinkle 1–2 teaspoons per cup and cover loosely.
The rice clumps together in the fridge. You didn’t rinse it, or you packed it while hot.
The rice smells sour. It’s spoiled. Throw it out. Cooked rice past 4 days is not safe.
The top layer of rice is soggy. You skipped the paper towel trick. The condensation from the lid dripped back onto the rice.
The rice freezes into a solid block. You packed it too tightly while warm. Freeze in flatter portions, or thaw overnight in the fridge.
Easy Variations
Cilantro Lime Rice. After cooking, stir in the juice of 1 lime, ¼ cup chopped cilantro, and a pinch of salt.
Coconut Rice. Swap half the water for full-fat coconut milk. Great with curry or teriyaki bowls.
Turmeric Rice. Add 1 teaspoon ground turmeric and a pinch of black pepper to the cooking water for a bright golden color.
Garlic Rice. Toast 4 minced garlic cloves in a tablespoon of butter, then add the rinsed rice and cook as directed.
Lemon Herb Rice. After cooking, stir in the zest of 1 lemon, 2 tablespoons chopped parsley, and 1 teaspoon dried oregano.
Sushi Rice. Use short-grain rice, cook, then season with rice vinegar, sugar, and salt while still warm.
Storage and Food Safety
Refrigerator: Up to 4 days. Cool within 1 hour; store in airtight glass containers with a damp paper towel over the surface.
Freezer: Up to 3 months. Portion into freezer bags or containers while slightly warm, freeze flat, and thaw overnight in the refrigerator.
Reheating: Add 1–2 teaspoons of water per cup, cover loosely, microwave for 60–90 seconds. Reheat until steaming hot (165°F).
Food Safety: Refrigerate cooked rice within 1 hour of cooking and consume within 4 days. Never reheat rice more than once. Discard rice that smells sour, looks slimy, or has been left out at room temperature for more than 2 hours.
Frequently Asked Questions
How long does cooked rice last in the fridge?
Up to 4 days. Rice is more vulnerable to bacterial growth than most leftovers.
Why does reheated rice get hard?
It dries out during storage and reheating. Add 1–2 teaspoons of water per cup, cover loosely, and microwave for 60–90 seconds.
What’s the paper towel trick?
After cooking, remove the pot from the heat, cover it with a paper towel, then replace the lid over the towel and let it steam for 10 minutes. The towel absorbs condensation so the rice doesn’t get soggy on top.
Can I freeze cooked rice?
Yes. Freeze portions in airtight containers or freezer bags for up to 3 months. Thaw overnight in the refrigerator, then reheat with a splash of water.
What’s the best rice for meal prep?
Long-grain white rice (jasmine or basmati) holds up best. Brown rice is a close second with more fiber.
Do I need to rinse rice before cooking?
Yes. Rinsing removes surface starch and prevents clumping. Sixty seconds under cold water is enough.
How much rice should I cook for a week of lunches?
1 cup of dry rice yields 3 cups cooked, which is 3 lunches. For 5 lunches, cook 2 cups of dry rice.
Can I eat rice that’s been in the fridge for 5 days?
No. Cooked rice has a 4-day window. Discard anything older.
Can I reheat rice in the microwave?
Yes. Add water, cover loosely, and microwave for 60–90 seconds. Never microwave uncovered.
Can I meal prep rice and protein together?
Yes. Layer rice on the bottom, then protein and vegetables on top. Store sauces separately.
Conclusion
Rice meal prep is the foundation of a week of good lunches. The rice itself is cheap, versatile, and filling.
What separates a week of lunches you actually look forward to from a week of sad containers is entirely about technique: rinse the rice, boil the water first, keep the lid on, use the paper towel trick during the rest, cool it fast on a sheet pan, refrigerate within 1 hour, and reheat with a splash of water under a loose cover.
Get those steps right, and you’ll never deal with dry, clumpy, hard-to-reheat rice again. Add a protein, a vegetable, a sauce, and something crunchy, and you have a lunch that costs about $3 and beats anything you’d buy.
Cook a batch tonight. Build five bowls tomorrow.