Most protein cheesecake recipes rely on a scoop of whey or plant-based protein powder to hit their numbers.
That works, but it comes with a cost: chalky texture, an artificial aftertaste, and a filling that can turn gummy or grainy depending on the brand.
If you’ve ever made a protein cheesecake and been disappointed by the texture, the powder was probably the problem.
This recipe takes a different approach. The secret is cottage cheese — not protein powder. Blended cottage cheese does the heavy lifting, providing protein, body, and creamy texture all at once.
Greek yogurt adds tang and moisture. Eggs set the filling cleanly without any starch or thickener doing the work alone.
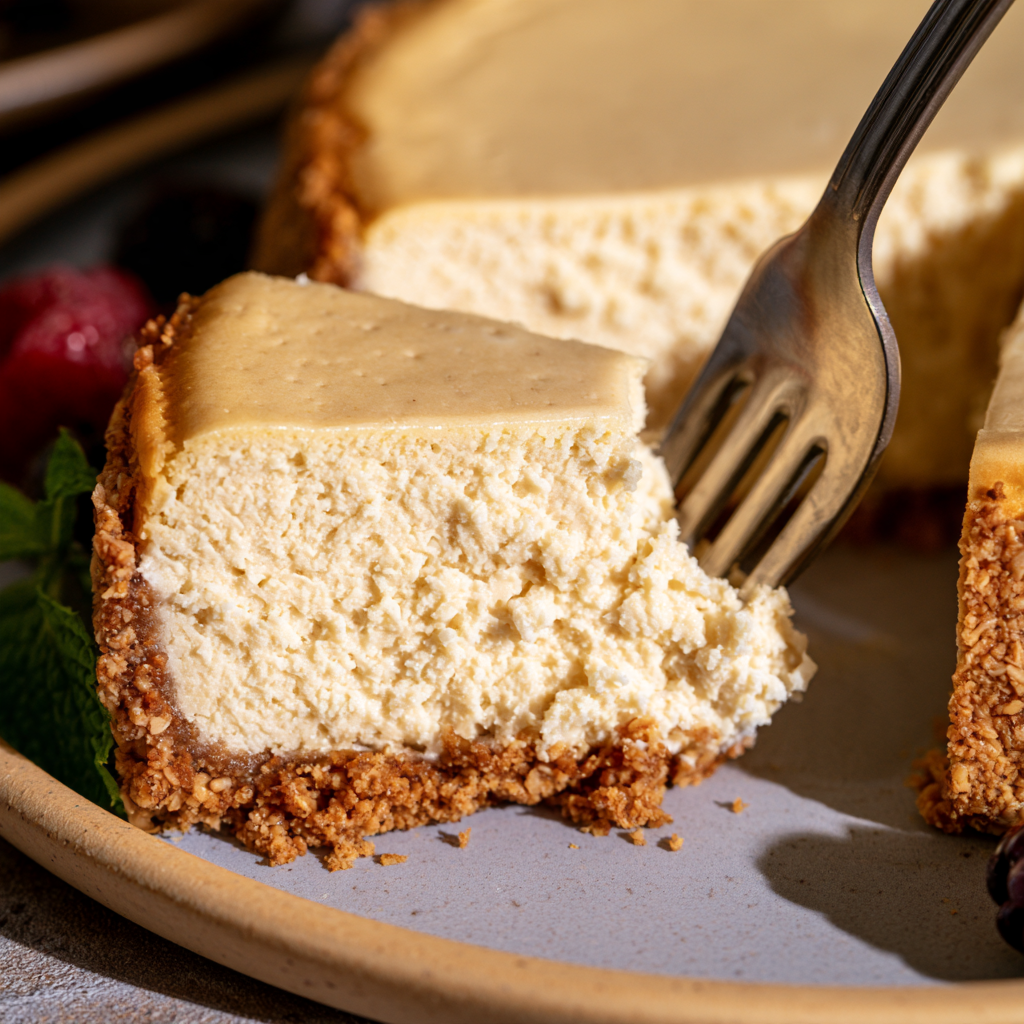
The result is a cheesecake that tastes like cheesecake — not like a protein shake pretending to be dessert.
Bake it in a 6-inch pan to make the protein-per-slice number meaningful.
Instead of a thin slice from a huge cheesecake, you get a generous wedge that delivers about 14 grams of protein. It’s a smart dessert, a high-protein baking project, and a genuinely satisfying way to end a meal.
The key to making it work is blending the cottage cheese until it’s completely, utterly smooth. That single step is the difference between “healthy cottage cheese dessert” and something that genuinely tastes like cheesecake.
Why This Protein Cheesecake Recipe Works
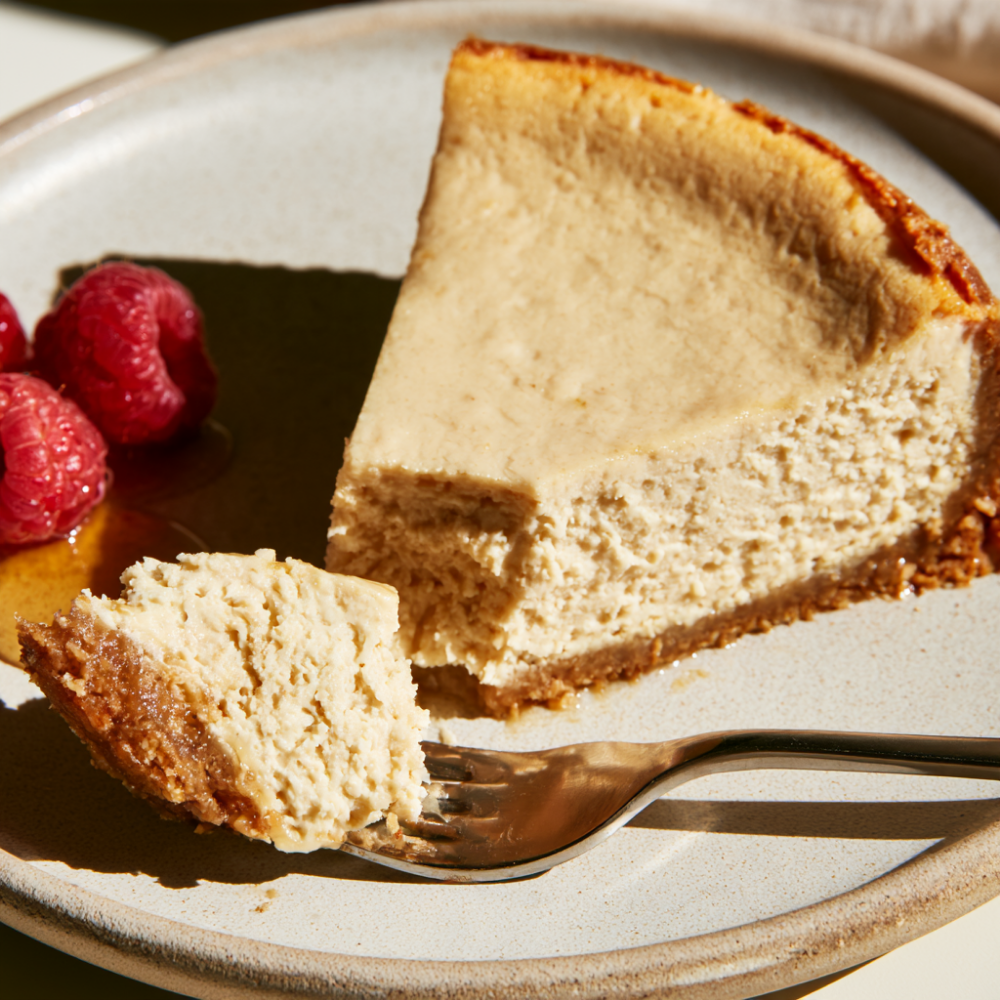
No protein powder needed. Cottage cheese and Greek yogurt provide the protein naturally—no chalky texture, no artificial aftertaste, no gummy filling.
Blended cottage cheese becomes the creamy base. Blend cottage cheese for a full 2–3 minutes, and the curds disappear completely, turning into a thick, silky purée that behaves like cream cheese in a batter.
Greek yogurt adds tang and lightness. It balances the cottage cheese’s richness and keeps the filling from tasting dense or heavy.
Eggs set the filling without a heavy starch load. They provide structure and contribute additional protein. A small amount of cornstarch helps bind everything and prevents a curd-like texture.
A 6-inch pan makes the protein count meaningful. A 9-inch cheesecake spread thin means small slices and modest protein. A 6-inch pan gives you a taller, more satisfying slice with a real protein number.
It genuinely tastes like cheesecake. The blend of cottage cheese, Greek yogurt, vanilla, lemon, and a touch of sweetener creates the tangy, creamy, lightly sweet profile people expect from cheesecake.
It’s make-ahead friendly. This cheesecake is best made a day ahead. It needs time to chill and set, and the flavor improves overnight.
It’s naturally gluten-free if you skip the crust or use certified gluten-free oats. The crustless version has no flour, no graham crackers, no gluten.
Protein Cheesecake Recipe
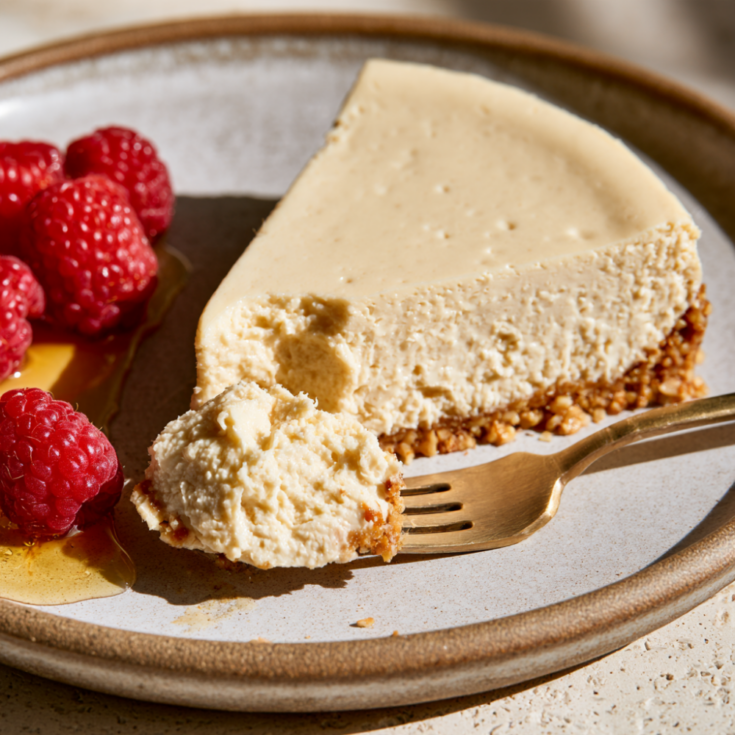
A creamy, lightly sweet baked cheesecake made with blended cottage cheese and Greek yogurt, with no protein powder needed. Blend the cottage cheese until completely smooth for a creamy texture and about 14g of protein per slice.
Ingredients
For the filling:
- 2 cups (16 oz) full-fat cottage cheese, 4% milkfat
- ½ cup plain Greek yogurt, 2% or full-fat
- 2 large eggs
- 1 large egg white
- ⅓ cup honey or pure maple syrup
- 1 tbsp cornstarch or arrowroot starch
- 1½ tsp vanilla extract
- 1 tsp fresh lemon juice
- ½ tsp finely grated lemon zest (optional, but recommended)
- ⅛ tsp fine salt
Optional oat crust:
- ¾ cup rolled oats
- 3 tbsp melted butter
- 1 tbsp honey or pure maple syrup
- Pinch of fine salt
For serving (optional):
- Fresh berries
- A dollop of Greek yogurt
- A drizzle of honey or maple syrup
Instructions
- Prepare the pan.
Preheat the oven to 325°F if using an oat crust or 300°F for a crustless cheesecake, and line a 6-inch springform pan (or parchment-lined standard cake pan) with parchment paper. - Make the oat crust.
Pulse rolled oats into fine crumbs in a food processor, mix with melted butter, honey, and salt until it resembles damp sand, press firmly into the pan, bake for 8–10 minutes until lightly golden, and reduce the oven temperature to 300°F. - Blend the cottage cheese completely smooth.
Blend the cottage cheese on high in a high-powered blender or food processor for a full 2–3 minutes, scraping down the sides as needed until completely silky with no visible curds or graininess. - Add the remaining filling ingredients.
Add the Greek yogurt, eggs, egg white, sweetener, cornstarch, vanilla, lemon juice, zest, and salt to the blended cottage cheese, pulsing for 30–60 seconds just until uniform without over-aerating. - Fill the pan.
Pour the batter over the cooled crust (or into the prepared crustless pan), gently tap against the counter to release air bubbles, and smooth the top. - Bake gently.
Bake at 300°F for 35–45 minutes until the edges are set and puffed while the center retains a slight wobble. - Cool gradually.
Turn off the oven and leave the cheesecake inside with the door slightly open for 1 hour to prevent cracking. - Cool completely and chill.
Cool on a wire rack at room temperature for 2 hours, then cover and refrigerate for at least 4 hours (preferably overnight) so it can set to a creamy, firm texture. - Slice and serve.
Run a thin knife around the edge, release the springform pan, slice with a clean blade, and serve chilled with fresh berries or a drizzle of honey.
Notes
Protein: About 14g per serving
Tips for the Best Protein Cheesecake
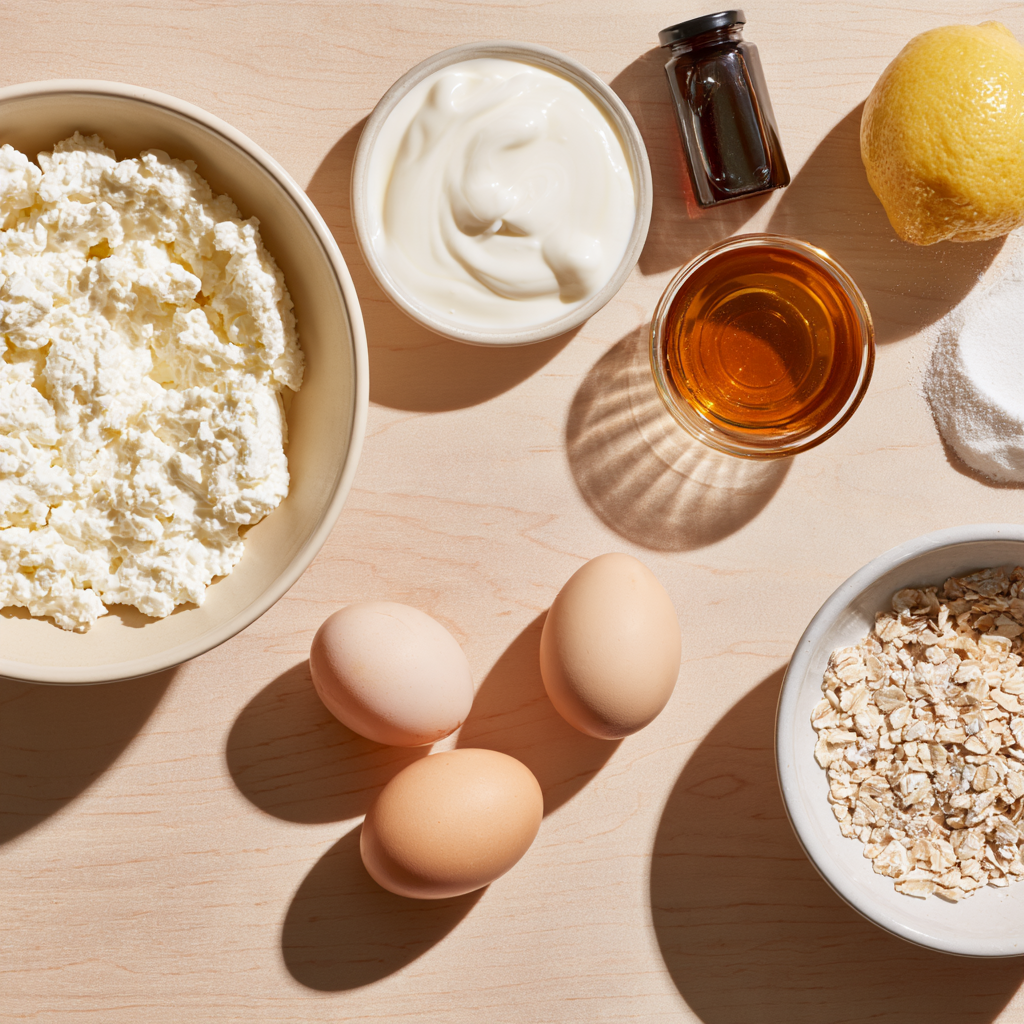
Blend the cottage cheese for a full 2–3 minutes. This is non-negotiable. Tiny curds that survive blending will show up as graininess in the final cheesecake. Blend longer than feels necessary. The mixture should be completely smooth and glossy before you add anything else.
Use full-fat cottage cheese (4%). Fat-free and low-fat cottage cheese produce a watery, less creamy cheesecake. Fat gives the filling its body and richness. If you must use low-fat cottage cheese, use full-fat Greek yogurt to compensate.
Don’t use fat-free Greek yogurt either. Same principle. Some dairy fat is necessary for a creamy texture.
Bring the eggs and cottage cheese to room temperature. Cold ingredients don’t blend as smoothly and can cause the batter to separate. Let them sit on the counter for 30 minutes before you start.
Add a small amount of cornstarch. It’s only a tablespoon, but it’s doing real work. Without it, the filling can turn out slightly wet and curd-like. Cornstarch binds the filling and helps it set cleanly. Arrowroot starch works too.
Don’t overbake. The center should still wobble when you nudge the pan. If it’s fully firm in the middle, it’s overbaked and will be dry and grainy. Pull it while it still looks slightly underdone.
Cool gradually in the oven. The hour-long cool-down with the door propped open is what prevents cracks and keeps the texture silky. Rushing this step leads to a cracked, rubbery cheesecake.
Chill overnight if you can. The cheesecake is edible after 4 hours, but the texture and flavor are noticeably better after a full overnight chill. This is a make-ahead dessert.
Use a 6-inch springform pan. A 9-inch pan spreads the same amount of batter too thin, which means smaller slices and a lower protein number per serving. The 6-inch pan gives you a taller cheesecake and a more satisfying slice. A springform pan makes removal much easier than a standard cake pan.
Line the pan with parchment. Even with a springform pan, parchment makes removal foolproof and gives you clean edges.
Wipe your knife between slices. This is the difference between clean, sharp slices and smeared edges.
On sweeteners: We tested this recipe with honey and pure maple syrup, which add moisture and sweetness. For a lower-sugar version, you can substitute a granulated sugar alternative, but the sweetness and texture may vary depending on the product. Start with ¼ cup and taste the batter before baking.
Easy Variations
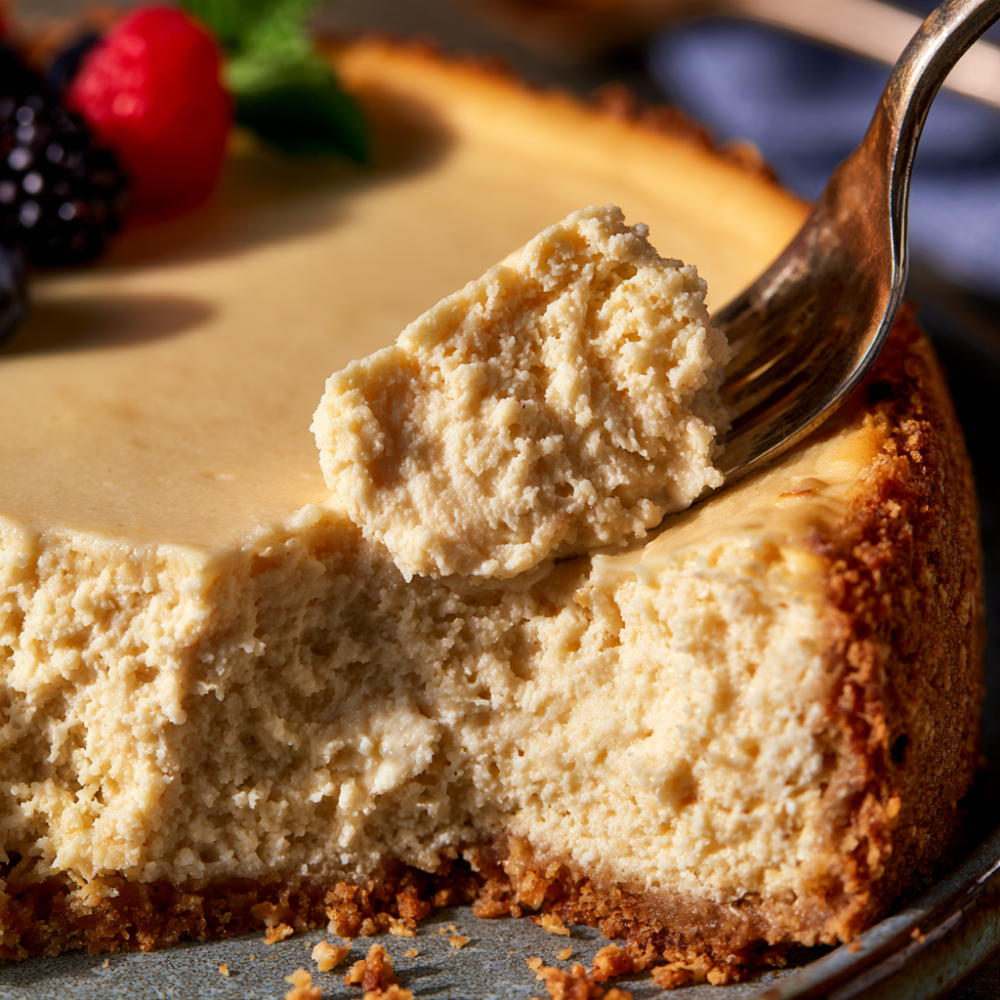
Crustless Protein Cheesecake (The Simplest Version)
Skip the oat crust entirely and pour the filling directly into the lined pan. Preheat the oven to 300°F and bake as directed. This is the simplest version, and it keeps the recipe gluten-free and lower in carbs. The filling is the star — the crust is optional.
Lemon Protein Cheesecake
Increase the lemon zest to 2 teaspoons and add an extra tablespoon of lemon juice. The citrus brightens the cottage cheese flavor and makes the cheesecake taste lighter and fresher.
Chocolate Protein Cheesecake
Add 3 tablespoons of cocoa powder to the filling before blending. You may need an extra tablespoon of honey to balance the bitterness. The cocoa adds structure so that you can reduce the cornstarch to 2 teaspoons.
Berry Swirl Protein Cheesecake
Before baking, drop spoonfuls of a simple berry compote or no-sugar-added jam over the filling and swirl gently with a toothpick. Don’t over-swirl — you want distinct ribbons, not a fully mixed batter.
Protein Cheesecake Pudding (No-Bake Version)
Skip the eggs and cornstarch. Blend the cottage cheese, Greek yogurt, honey, vanilla, and lemon juice until completely smooth. Fold in 1 cup of whipped topping or Greek yogurt whipped until fluffy. Chill for at least 2 hours. It’s not a baked cheesecake, but it scratches the same itch with zero baking.
Mini Protein Cheesecakes
Divide the filling among a 12-cup muffin tin lined with paper liners. Bake at 300°F for 18–22 minutes, until the edges are set and the centers still jiggle slightly. Cool in the oven with the door propped open for 30 minutes, then chill for at least 2 hours. Each mini cheesecake has about 7g of protein.
Storage and Reheating
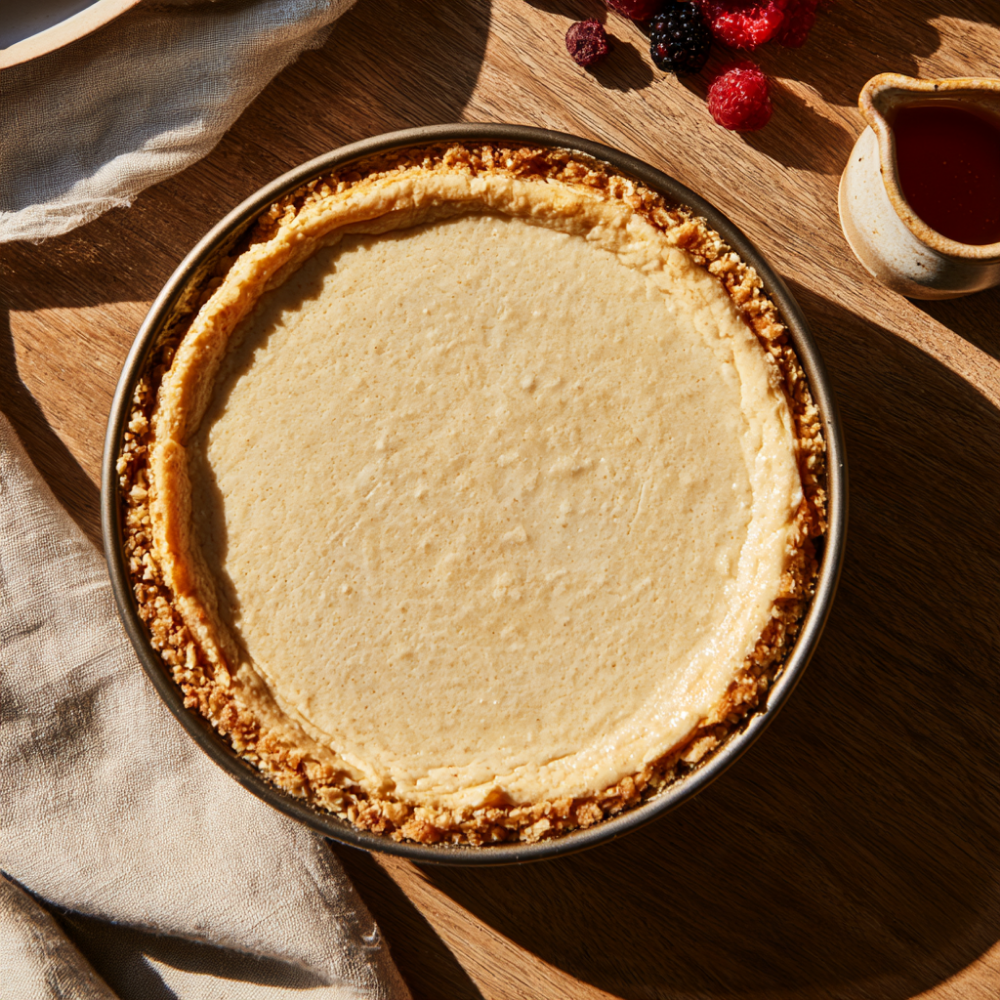
Store cheesecake covered in the refrigerator for up to 4 days. Serve cold, straight from the fridge. Do not reheat.
To freeze: Wrap individual slices tightly in plastic wrap, then foil, and freeze for up to 2 months. Thaw overnight in the refrigerator before serving. The texture is slightly softer after freezing, but still good.
Make-ahead note: This cheesecake is best made the day before serving. It needs time to chill and set, and the flavor improves overnight.
Frequently Asked Questions
Do I really not need protein powder?
Correct. This recipe gets all of its protein from cottage cheese, Greek yogurt, and eggs: no powder, no chalky texture, no artificial aftertaste.
Can I taste the cottage cheese?
No — not if you blend it completely smooth. Cottage cheese has a mild, milky tang that reads as cheesecake tang once it’s blended with Greek yogurt, vanilla, lemon, and honey. Most people can’t identify cottage cheese as the base.
Why is my cheesecake grainy?
Almost always because the cottage cheese wasn’t blended long enough; blend for a full 2–3 minutes until there are zero visible curds. If you have a lower-powered blender, blend longer and scrape down the sides frequently.
Can I use low-fat or fat-free cottage cheese?
You can, but the texture will be noticeably less creamy and slightly more watery. If you use low-fat cottage cheese, use full-fat Greek yogurt to compensate. Never use fat-free cottage cheese with fat-free Greek yogurt.
Can I use ricotta instead of cottage cheese?
Yes. Ricotta works in the same way, though it’s slightly less tangy and a bit higher in fat. Blend it just as thoroughly.
Why did my cheesecake crack?
Cracks come from sudden temperature changes. The gradual cooling in the oven with the door propped open is the best defense. Don’t skip that step, and don’t rush the room-temperature cool-down either.
How do I know when it’s done?
The edges should look set and slightly puffed, while the center still has a gentle wobble when you lightly nudge the pan. If the center looks completely firm, it’s overbaked. The cheesecake will continue setting as it cools and will become much firmer after chilling.
Can I make this without eggs?
Eggs are what set the filling and give it structure. Without them, you’d need a different setting agent like gelatin, which would make this more of a no-bake cheesecake. The recipe as written relies on eggs.
Is this cheesecake keto-friendly?
It can be if you use a keto-friendly sweetener instead of honey, skip the oat crust, and use full-fat cottage cheese and Greek yogurt. It’s not a low-calorie dessert, but it is high-protein and low in added sugar if you make those swaps.
How much protein is in each slice?
About 14 grams per slice when cut into 6 servings, depending on the exact cottage cheese and Greek yogurt you use. Check your labels for precise numbers.
Can I double the recipe?
Yes. Double all ingredients and bake in a 9-inch springform pan. The bake time will be longer, about 50–65 minutes. Start checking at 50 minutes.
What do you serve with protein cheesecake?
Fresh berries, a drizzle of honey or maple syrup, a dollop of Greek yogurt, or a dusting of cinnamon. Keep it simple so the cheesecake stays the star.
More High-Protein Desserts You’ll Love
Conclusion
This protein cheesecake proves that you don’t need protein powder to make a high-protein dessert that actually tastes like dessert.
Blended cottage cheese provides the protein and the creamy texture, Greek yogurt adds tang and lightness, and eggs set the filling cleanly.
The result is a cheesecake that’s creamy, lightly sweet, and genuinely satisfying — not a chalky protein shake in disguise.
The keys are simple: blend the cottage cheese until it’s completely smooth, don’t overbake, cool gradually in the oven, and chill overnight.
Use a 6-inch springform pan so the slices are generous and the protein number is meaningful.
The crust is optional — the filling is the star. Make it once, and you’ll never reach for protein powder for cheesecake again.