Let’s face it—muscle soreness can be a real pain. Whether you’re just starting your fitness journey, a seasoned athlete, or someone who sits at a desk all day, stiffness and aches are no fun.
But what if I told you there’s a simple, affordable tool to help? Foam rolling can ease those aches, improve your flexibility, and get you moving better. Think of it as your new best friend for recovery.
Foam rolling, also known as self-myofascial release (SMR), is like giving yourself a mini massage. It relieves tightness, reduces soreness, and helps your body bounce back faster.
Whether you’re recovering from a tough workout or undoing the damage of sitting all day, foam rolling is a game-changer.
And the best part? You don’t need to be a fitness pro to use it.
In this article, I’ll walk you through four beginner-friendly foam rolling exercises.
They target key areas like your glutes, hamstrings, calves, and upper back—spots that take the brunt of our sedentary lifestyles.
Whether you’re recovering from a tough workout, battling desk job stiffness, or just looking to feel better, these moves are here to help. Let’s roll!”
Why Foam Rolling?
Before we dive into the exercises, let’s understand why foam rolling is beneficial.
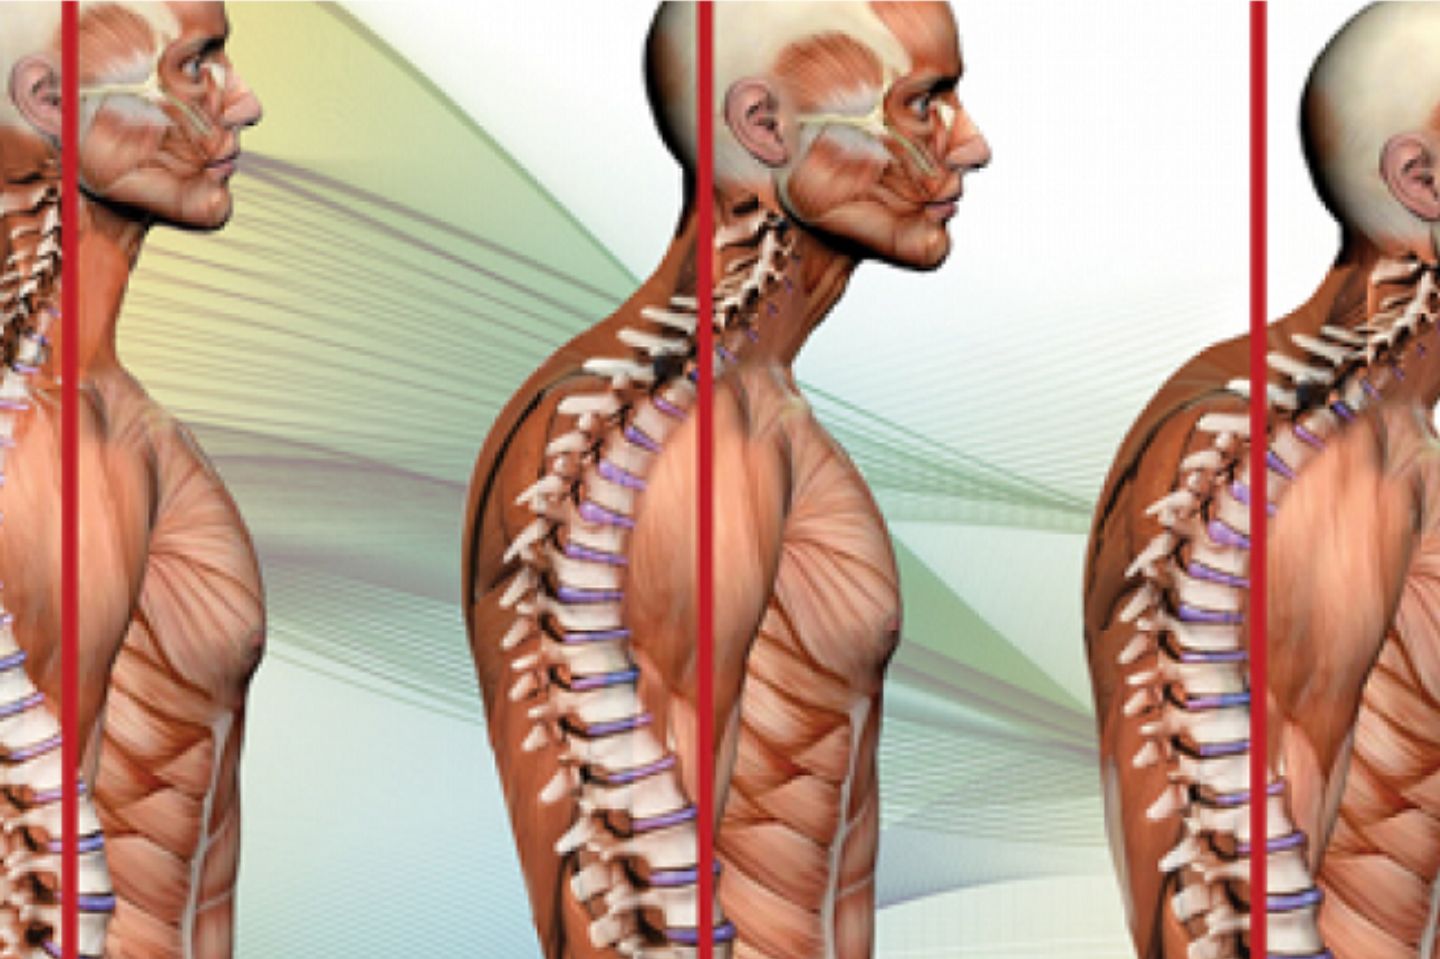
Our muscles are surrounded by fascia, a connective tissue that can become tight and restricted due to overuse, injury, or poor posture.
Foam rolling helps to release these restrictions, improving blood flow and allowing muscles to function optimally.
The 7 Best Foam Rolling Exercises:
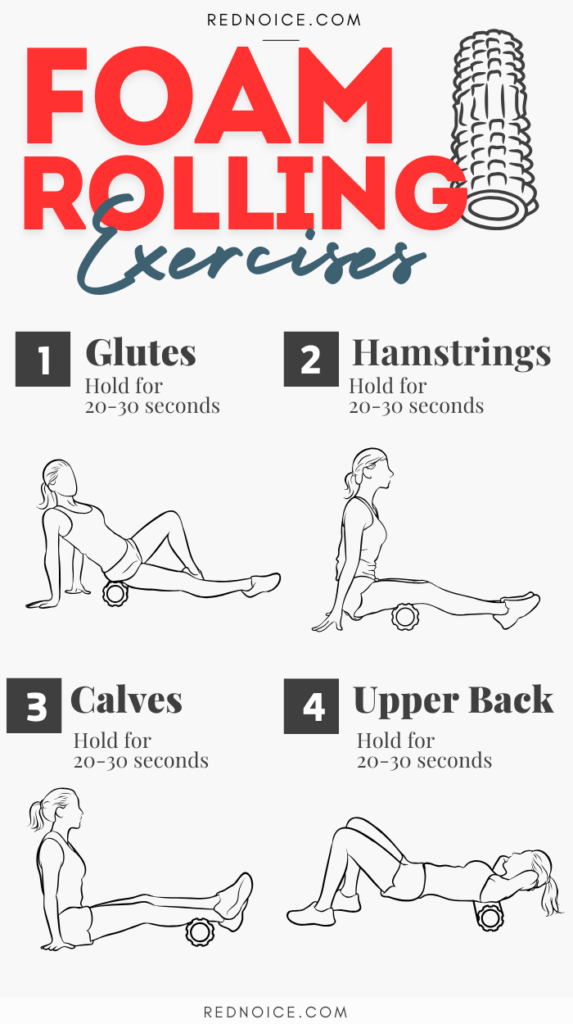
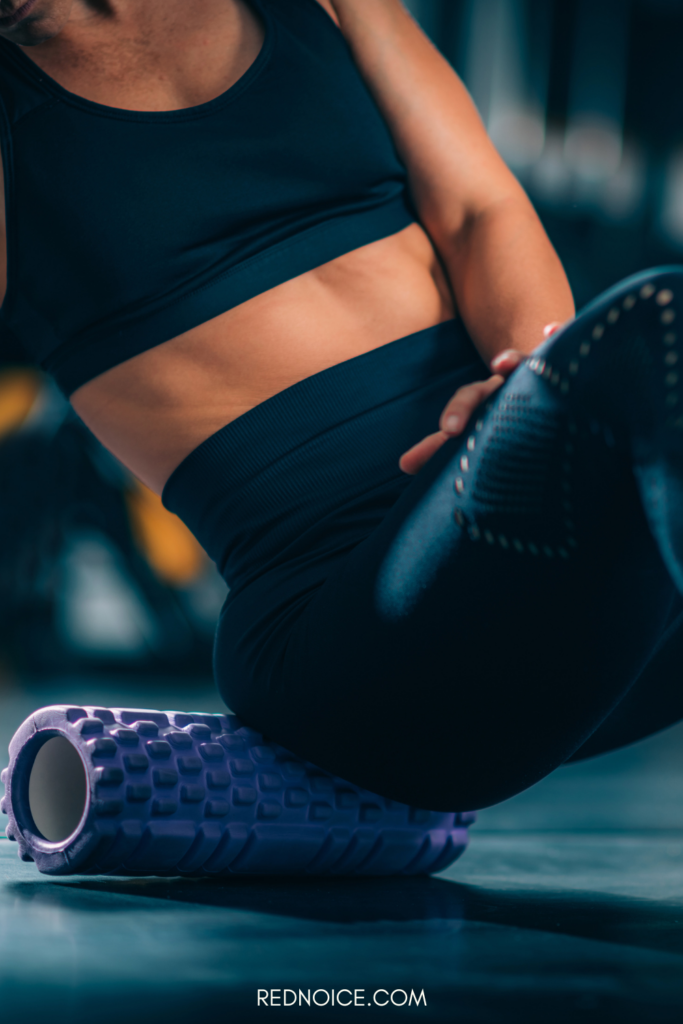
1. Glutes:
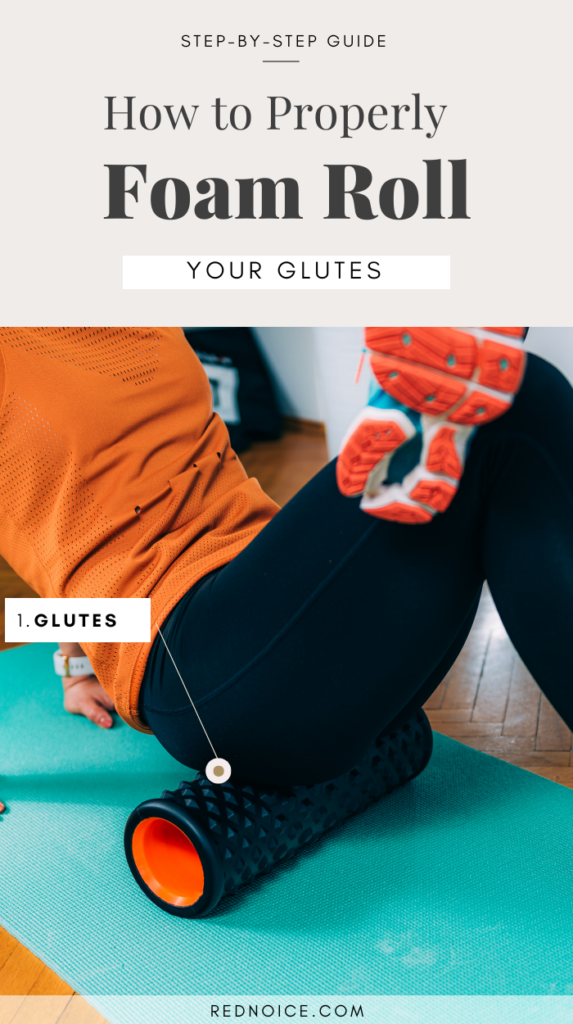
- How to: Sit on the floor with your legs bent and feet flat on the ground. Place the foam roller under one glute cheek. Cross the opposite leg over the bent knee. Use your hands for support and gently roll back and forth, focusing on areas of tension.
- Hold for: 20-30 seconds on tender spots.
- Benefits: Relieves tightness in the glutes, improves hip mobility, and reduces lower back pain.
2. Hamstrings:
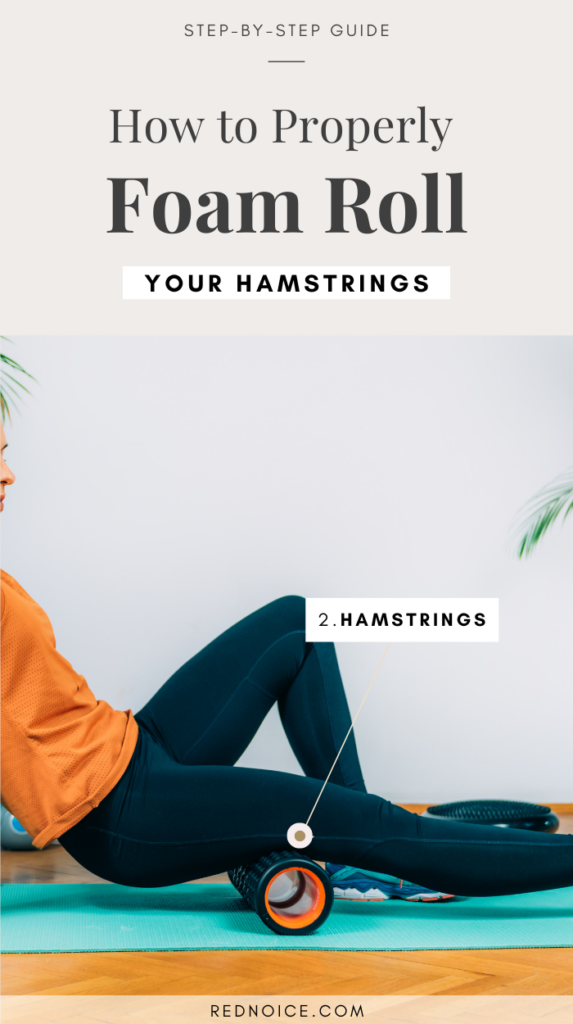
- How to: Sit on the floor with your legs extended. Place the foam roller under your hamstrings. Use your hands for support and lift your hips off the ground. Gently roll back and forth from just above the knee to just below the glutes.
- Hold for: 20-30 seconds on tender spots.
- Benefits: Improves hamstring flexibility, reduces tightness, and prevents injuries.
3. Calves:
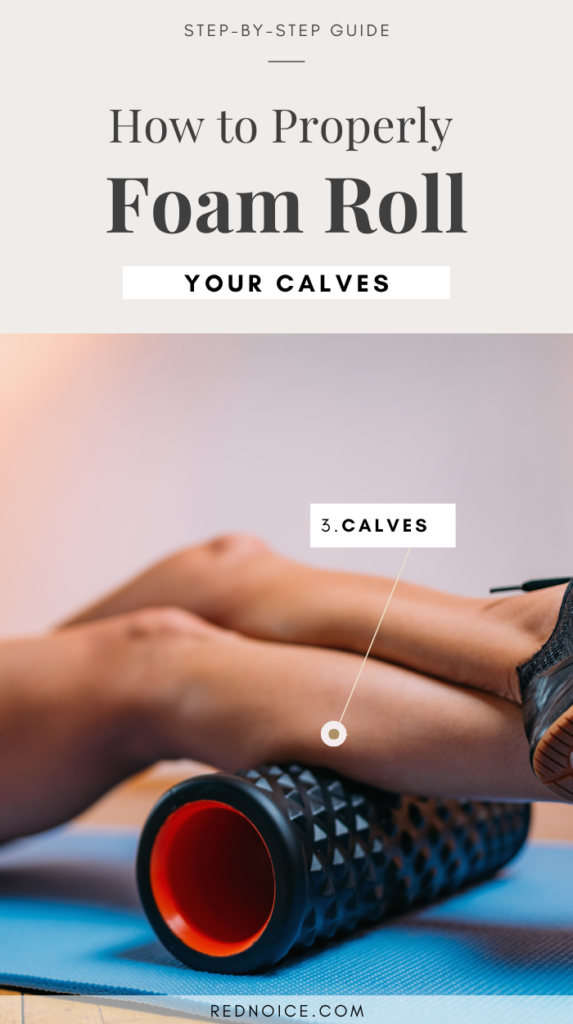
- How to: Sit on the floor with your legs extended. Place the foam roller under your calves. Use your hands for support and lift your hips off the ground. Gently roll back and forth from your ankle to just below your knee. You can also rotate your leg internally and externally to target different areas of the calf.
- Hold for: 20-30 seconds on tender spots.
- Benefits: Reduces calf tightness, improves ankle mobility, and alleviates shin splints.
4. Upper Back:

- How to: Lie on your back with your knees bent and feet flat on the ground. Place the foam roller under your upper back. Interlace your fingers behind your head for support. Gently roll back and forth from your mid-back to the base of your neck.
- Hold for: 20-30 seconds on tender spots.
- Benefits: Relieves upper back tension, improves posture, and reduces neck pain.
5. Lats
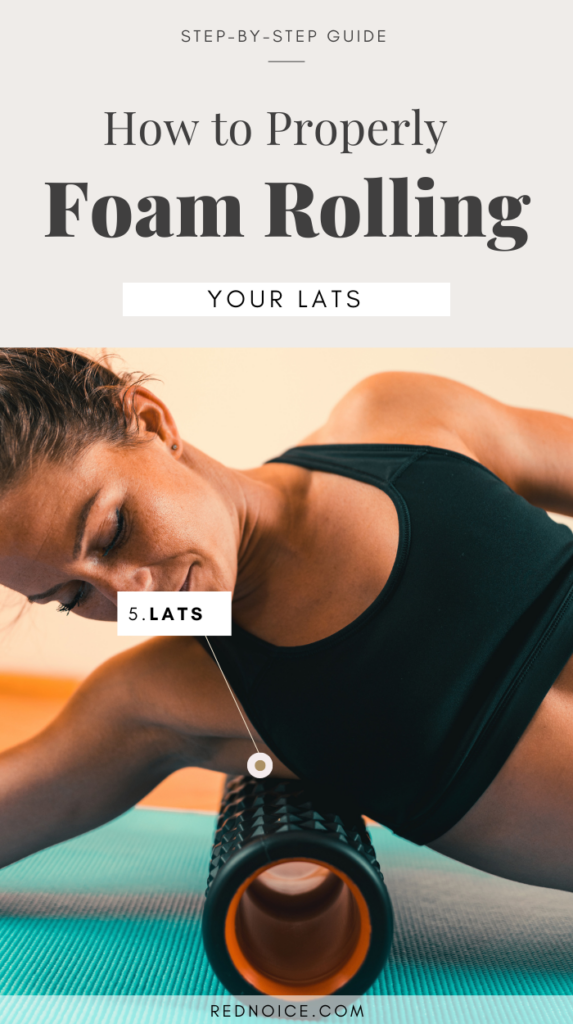
- Starting Position: Lie on your side with the foam roller positioned under your lat, just below your armpit. Keep your bottom leg straight and bend your top leg for support. You can place your top hand on the floor in front of you for balance.
- Rolling: Use your top leg and hand to control the movement and pressure. Slowly roll your body back and forth, moving the foam roller along your lat from your armpit to your mid-back.
- Tender Spots: When you encounter a tender or tight spot, pause and hold the position for 20-30 seconds, or gently roll back and forth over the area.
- Repeat: Continue rolling for 30 seconds, then switch to the other side and repeat the process for your other lat.
Tips:
- Combine with Stretching: Combine foam rolling with lat stretches, like overhead reaches or cross-body shoulder stretches, for optimal results.
- Adjust the Angle: You can adjust the angle of your body to target different areas of your lats. To focus on the upper lats, lie closer to a 45-degree angle. To target the lower lats, lie closer to your back.
- Avoid Bony Areas: Be mindful of your ribs and spine. If you feel any discomfort, reposition the foam roller.
6. IT-Band
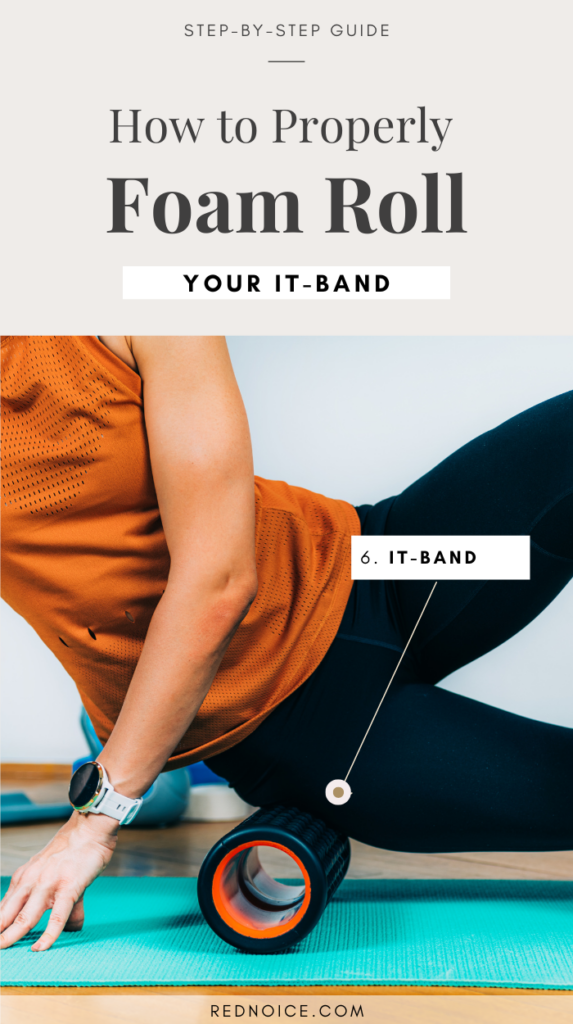
- Starting Position: Lie on your side with the foam roller positioned under the outside of your thigh, just below your hip. Extend your bottom leg and bend your top leg, placing your foot flat on the floor in front of you for support.
- Rolling: Using your forearm and top leg for support, slowly roll your body back and forth, moving the foam roller along your outer thigh from just below your hip to just above your knee.
- Tender Spots: When you find a tender or tight spot, pause and hold the position for 20-30 seconds, or gently roll back and forth over the area.
- Repeat: Continue rolling for 30 seconds, then switch to the other side and repeat the process.
Tips:
- Combine with Stretching: For optimal results, follow the foam rolling with stretches that target your IT band and surrounding muscles.
- Control the Pressure: Adjust the pressure by shifting your body weight. If it’s too intense, lean more on your forearm and top leg.
- Avoid Bony Areas: Be mindful not to roll directly over your hip bone or knee.
7. Quads
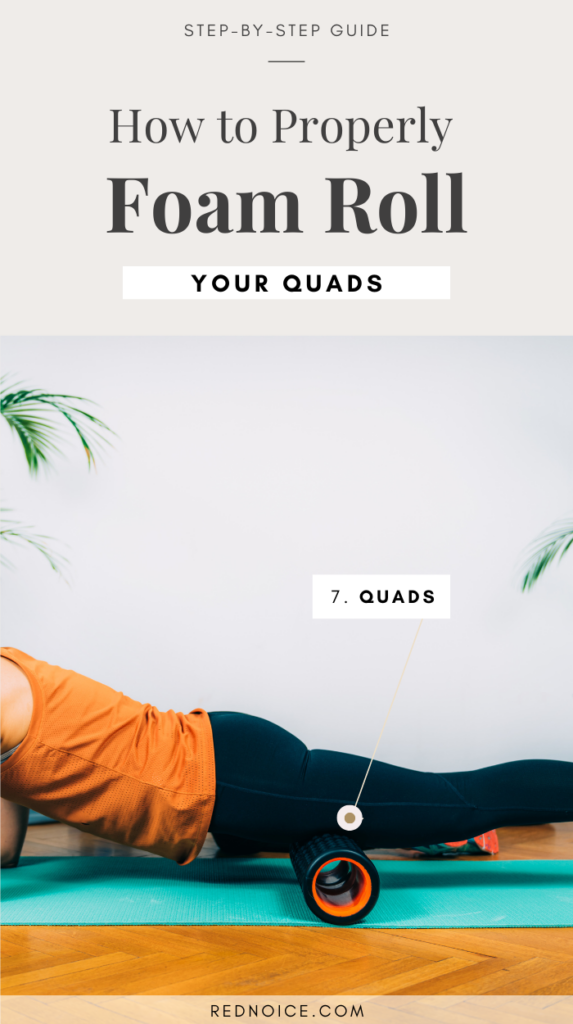
- Starting Position: Begin in a forearm plank position with the foam roller placed under your quads, just above your knees.
- Rolling: Keeping your core engaged and upper body stable, slowly roll the foam roller up towards your hips, stopping just before your hip flexors. Then, roll back down to just above your knees.
- Tender Spots: When you encounter a tender or tight spot, pause and hold the position for a few deep breaths, allowing the muscle to release.
- Duration: Continue rolling back and forth for 30 seconds, or longer if desired.
- Optional: Single-Leg Focus: For a more targeted approach, you can foam roll one quad at a time. Shift your weight slightly to focus on one leg, then switch to the other.
Tips:
- Hydrate: Drink plenty of water before and after foam rolling to help flush out toxins and improve muscle recovery.
- Adjust Pressure: Control the pressure by shifting your body weight. Use your arms and core to support yourself and avoid putting too much pressure on your wrists.
Important Considerations:
- Listen to your body: Foam rolling can be uncomfortable, but it shouldn’t be painful. If you experience sharp pain, stop immediately.
- Focus on tender spots: Spend more time rolling on areas that feel tight or tender.
- Breathe: Remember to breathe deeply and evenly throughout each exercise.
- Consistency is key: Incorporate foam rolling into your routine regularly for optimal results.
Conclusion
These four foam rolling exercises are your ticket to feeling looser, more mobile, and ready to tackle your next workout.
Whether you’re easing post-workout soreness or just want to move better in everyday life, foam rolling is a simple yet powerful tool.
So, grab your roller, take a deep breath, and let’s get rolling—your body will thank you!
Disclaimer: This article is for informational purposes only and should not be considered medical advice. Consult with a healthcare professional before 1 starting any new exercise program.