
Some days, lunch is just fuel. You eat it standing at your desk, you barely taste it, and by 2 PM you have forgotten it entirely.
And then there are the days when the whole afternoon hinges on what comes out of that container. It is cold outside.
You have been going since early. And what you actually need is not a salad. It is something warm and comforting that tastes like a real meal — melted cheese, seasoned beef, a baked potato that still has its edges, and a spoonful of salsa to wake it all up.
That is this lunch box.
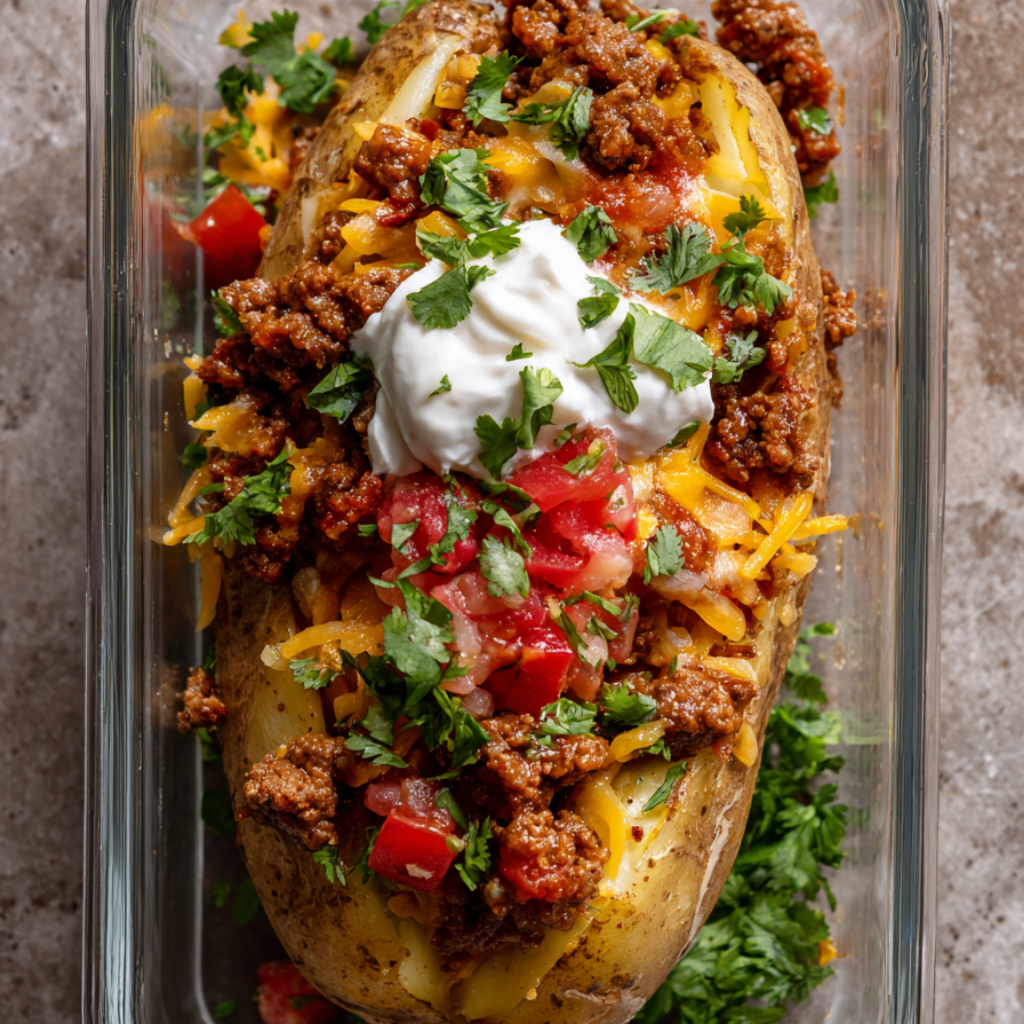
A loaded baked potato taco bowl.
Bake a russet potato until the skin crackles and the inside goes fluffy, then split it open and pile on taco-spiced ground beef, melted sharp cheddar, salsa, and a dollop of Greek yogurt.
Forty-five grams of protein in a single container. Pack four on Sunday, and you have four days of lunches that you will actually look forward to opening.
It is also one of the easiest meal preps you will ever put together. Bake the potatoes, brown the beef, build the containers.
Twenty minutes of hands-on work, and the oven does the rest while you do something else.
At work, you pull the lid off, pop it in the microwave for ninety seconds, and it comes out steaming — the cheese melted back into the beef, the potato warm all the way through, the salsa still bright on top.
Or if you have an oven at home, twelve minutes at 350°F brings back the crisp edges of the skin.
Fall and winter work lunches are a specific problem.
Cold salads do not cut it. Sandwiches get old by Wednesday.
This is the answer — comfort food that carries you through the afternoon, packed in a container you can carry in a bag.
Why This Recipe Works
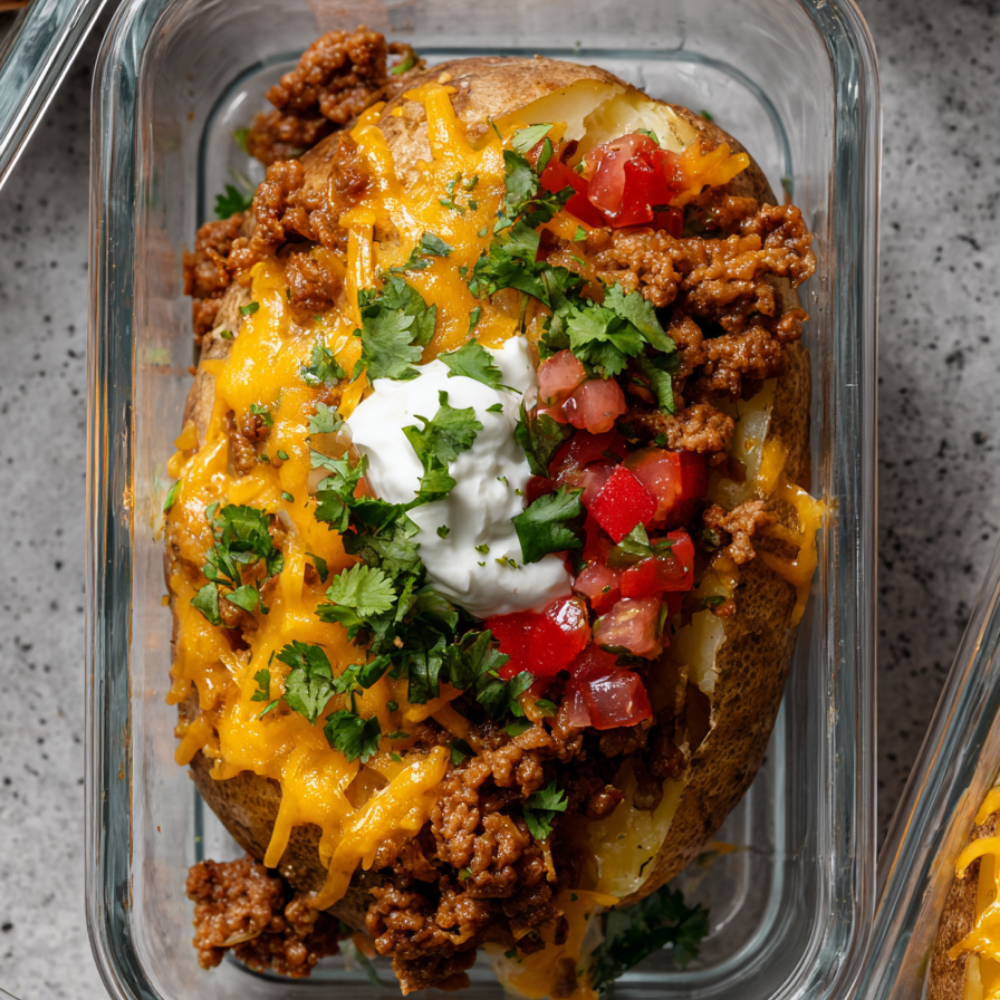
- The potato is the structure, not the filler. A large russet potato holds its shape through cooling and reheating, and it carries every topping without collapsing. Rice and pasta do not do this.
- Russet potatoes are the right choice over Yukon gold or red. Russets have a fluffy, dry interior that soaks up the beef juices and melted cheese. Waxy potatoes stay firm and push the toppings off.
- Pricking the potato and baking it fully, then cooling completely, is what makes it reheat well. A potato pulled too early holds too much moisture, and it steams in the container.
- Seasoning the ground beef with taco spices is what makes this a taco bowl, not a burger bowl. Cumin, chili powder, smoked paprika, and oregano turn plain ground beef into a filling that tastes like something you would order.
- Browning the beef well before adding the spices gives the filling depth. A crusty sear on the crumbles tastes richer than a quick scramble. The spices bloom in the rendered fat, which is where the flavor comes from.
- Add the cheddar while the beef is hot so it melts into the crumbles. Cold cheese on cold beef just sits on top. Melted cheddar becomes part of the filling.
- Greek yogurt in place of sour cream adds five grams of protein per container and tastes nearly identical. The tang is the same, the texture is the same, and the numbers are better.
- Salsa goes in at the end, not the start. Salsa added during assembly releases water into the container. Adding it right before eating keeps the potato from getting soggy.
- Building the containers in layers keeps everything separate until you reheat it. Potato on the bottom, beef and cheese next, toppings added at the office.
- The containers are oven-ready, so you have two reheating options. The microwave takes ninety seconds. A 350°F oven takes twelve minutes and brings back the crisp edges of the potato skin.
Loaded Baked Potato Taco Bowls
Baked russet potatoes topped with seasoned ground beef, melted sharp cheddar, salsa, and Greek yogurt, portioned into four oven-ready meal prep containers. Forty-five grams of protein per container.
For the Potatoes
- 4 large russet potatoes (10 to 12 oz each)
- 1 tbsp olive oil
- 1 tsp kosher salt
- ½ tsp black pepper
- ½ tsp garlic powder
For the Beef Filling
- 1¼ lbs ground beef (85% lean)
- 1 small yellow onion (finely diced)
- 4 cloves garlic (minced)
- 1 tbsp tomato paste
- 1 tbsp chili powder
- 2 tsp ground cumin
- 1 tsp smoked paprika
- 1 tsp dried oregano
- ½ tsp kosher salt
- ½ tsp black pepper
- ¼ tsp cayenne (optional)
- ¼ cup low-sodium beef broth or water
- 1 tsp Worcestershire sauce
For the Toppings
- 1 cup sharp cheddar (freshly shredded)
- ½ cup plain Greek yogurt
- ½ cup fresh salsa or pico de gallo
- ¼ cup fresh cilantro (chopped)
- 1 lime (cut into wedges)
- Flaky salt and black pepper to taste
Equipment
- 4 oven-ready glass meal prep containers with lids (about 3-cup capacity each)
- 4 small lidded cups for the Greek yogurt and salsa
- Preheat and prep the potatoes. Preheat the oven to 425°F. Scrub the potatoes clean under cold water and pat them dry. Prick each one four to five times with a fork so steam can escape.
- Season and bake the potatoes. Rub each potato with olive oil and season all over with the kosher salt, black pepper, and garlic powder. Place them directly on the oven rack, or on a sheet pan lined with parchment. Bake 55 to 65 minutes, until a knife slides into the center with no resistance.
- Cool the potatoes completely. Transfer the potatoes to a wire rack and let them cool for 30 minutes at room temperature. Do not skip this — a warm potato steams in the container and gets mushy within a day.
- Brown the beef. Heat a large skillet over medium-high heat. Add the ground beef in a single layer and let it sit undisturbed for 3 minutes to develop a crust. Break it into small crumbles and cook 5 to 6 minutes more, until well browned.
- Soften the onion and bloom the spices. Add the diced onion and cook for 4 minutes, until softened. Add the garlic and cook for 30 seconds. Add the tomato paste, chili powder, cumin, smoked paprika, oregano, salt, pepper, and cayenne. Stir constantly for 90 seconds, until the spices darken and smell toasted.
- Finish the filling. Pour in the beef broth and Worcestershire sauce. Stir and scrape up the browned bits from the bottom of the skillet. Simmer for 2 minutes, until the liquid has mostly absorbed and the filling is glossy and thick.
- Melt the cheese into the beef. Turn off the heat and stir in half the cheddar, about ½ cup. Stir until it melts into the crumbles. Set the remaining ½ cup aside for topping the containers.
- Build the containers. Split each cooled potato down the center with a knife, cutting only about halfway through, then press the sides gently outward so it opens into a boat shape. Place one potato in the bottom of each container. Spoon a quarter of the beef filling over the top, pressing it into the potato. Scatter the remaining cheddar over the beef. Leave ½ inch of headroom at the top of each container so the lid seals without crushing the filling.
- Cool uncovered, then lid. Let the containers sit uncovered at room temperature for 20 minutes to let residual steam escape. This is what keeps the potato skin intact. Then lid and refrigerate. They hold for 4 days.
- Store the wet toppings separately. Divide the Greek yogurt and salsa between the small lidded cups and keep them separate from the potato containers. Add the cilantro to the cups or store it in a small bag. These go on at serving so nothing turns the potato soggy.
- Reheat and serve. From the refrigerator, microwave the potato container with the lid removed or vented for 90 seconds to 2 minutes, until steaming. For oven reheating, place the oven-safe container without the lid on a sheet pan at 350°F for 12 minutes. Top with the Greek yogurt, salsa, and cilantro, and finish with a squeeze of lime and a pinch of flaky salt.
Protein per Serving: 45 g.
Nutrition Note: Protein calculated from 1¼ lbs 85% lean ground beef (≈115g), 4 large russet potatoes (≈28g), 1 cup sharp cheddar (≈28g), and ½ cup Greek yogurt (≈11g), divided by 4 containers — about 45g per container. About 590 calories per container. Sodium comes mostly from the taco seasoning and salsa — use low-sodium taco seasoning and fresh salsa if you are watching it.
Tips for the Best Potato Meal Prep
- Use large russet potatoes. They are fluffy and dry inside, which is what soaks up the beef juices and melted cheese. Waxy potatoes push the toppings off.
- Bake the potatoes fully and cool them completely before assembling. A warm potato steams inside the container and turns mushy within a day. Cool 30 minutes on a wire rack.
- Cut the potato only halfway through when opening it into a boat. Cutting all the way to the bottom splits it apart, and the filling falls out. A shallow cut and a gentle press give you a stable base.
- Brown the beef hard before adding the spices. A dark crust is what makes the filling taste like more than plain ground beef.
- Bloom the spices in the fat for 90 seconds. This is what makes the filling taste like a real taco bowl instead of seasoned meat dumped in a pan.
- Stir half the cheddar into the hot filling. It melts into the crumbles and seasons every bite instead of sitting on top as a separate layer.
- Keep the Greek yogurt and salsa separate until you eat. Both release water, and both will make a potato soggy by day two if you add them at assembly.
- Reheat in the microwave for 90 seconds or the oven for 12 minutes. The oven brings back the crisp edges of the potato skin. The microwave is faster and gets the job done.
Troubleshooting
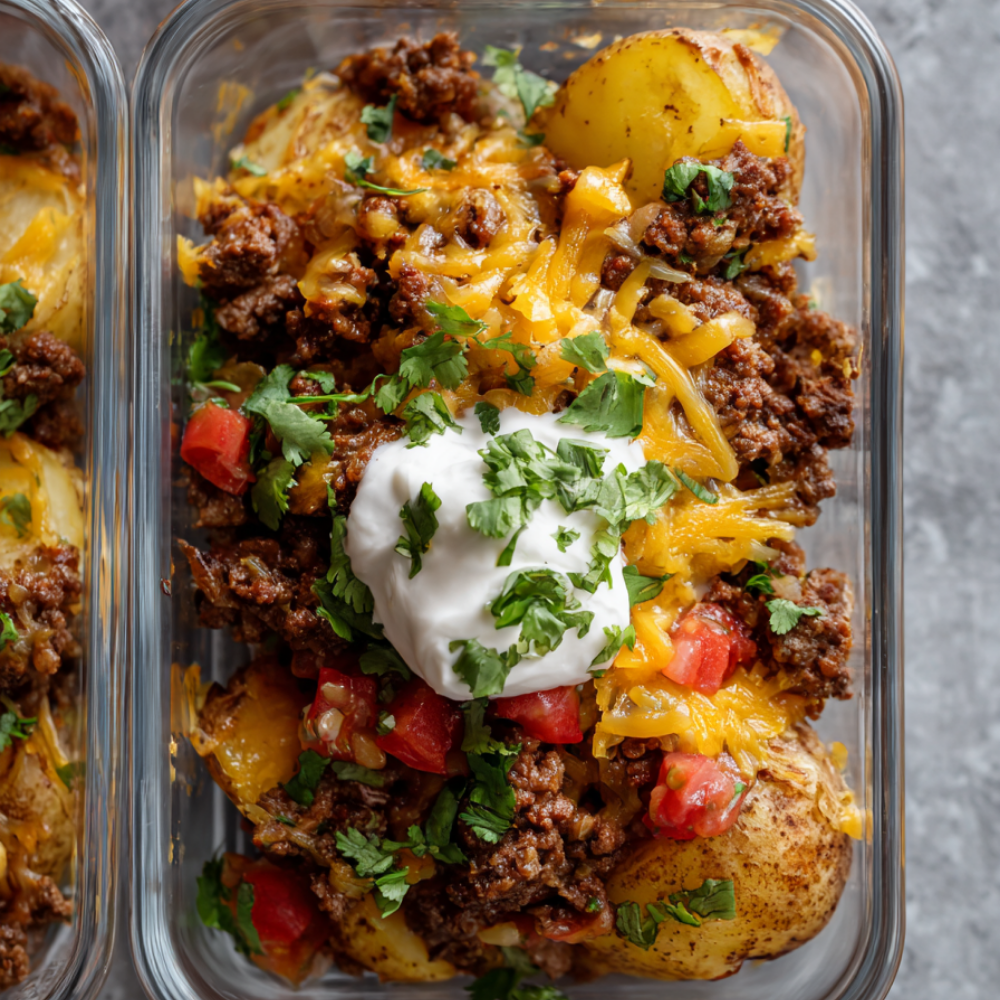
- The potatoes turned mushy in the container. They were not fully cooled before lidding, or the salsa and yogurt went in at assembly. Cool completely and store wet toppings separately.
- The potato is dry after reheating. It was overcooked in the oven, or the container was reheated too long. Bake until a knife slides in with no resistance and no longer. Reheat for 90 seconds, not 3 minutes.
- The beef filling tastes bland. Not enough salt, bloom time, or acid. Add ½ tsp salt, a squeeze of lime, and let the spices cook the full 90 seconds next time.
- The beef turned out greasy. The beef was fattier than 85% lean, or the fat was not drained. Use 85% or leaner and spoon off excess fat after browning.
- The cheddar turned rubbery. It was reheated too long in the microwave. Reheat 90 seconds, stir, and add another 30 seconds only if needed.
- The potato skin got tough. It was not pricked before baking, or it was baked at too low a temperature. Prick 4 to 5 times and bake at 425°F so the skin crisps.
- The containers leaked in a bag. The lids weren’t fully sealed, or the containers were packed too full. Leave ½ inch of headroom and press the lids down until they click on all four sides.
- The potato split apart during assembly. You cut it too deep or squeezed it too hard. Cut down the center only about halfway and press the sides gently outward.
Easy Variations
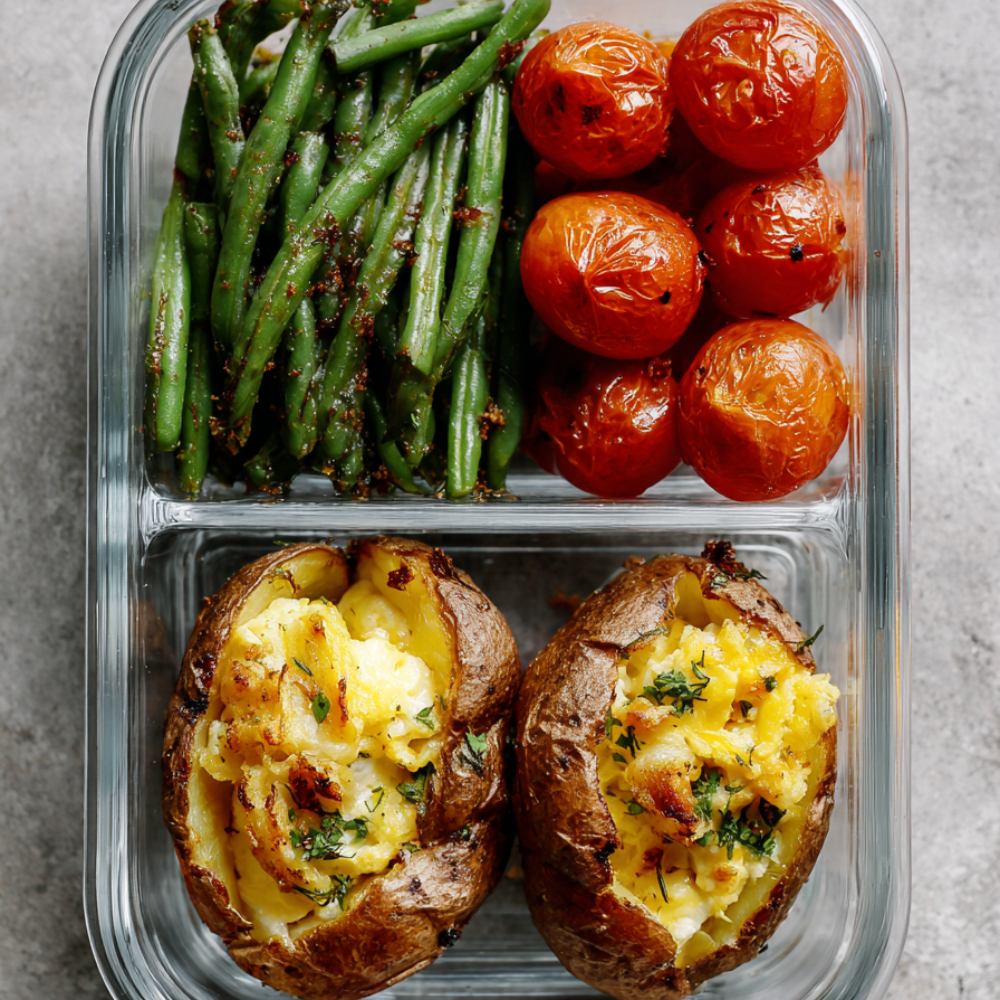
- Sweet Potato Taco Bowls. Substitute large sweet potatoes for the russets. Bake at 400°F for 50-60 minutes. The flavor is sweeter and pairs well with black beans.
- Chicken Taco Potato Bowls. Replace the ground beef with 1¼ lbs of ground chicken or shredded rotisserie chicken. Add 1 tbsp olive oil to the skillet if using ground chicken.
- Breakfast Potato Bowls. Swap the beef filling for 8 scrambled eggs with cottage cheese, crumbled bacon, and shredded cheddar. Reheat for 60 seconds.
- Loaded Broccoli Cheddar Potatoes. Replace the beef and taco spices with 2 cups of steamed broccoli and 1½ cups of cheddar cheese sauce.
- Vegetarian Black Bean Potato Bowls. Skip the beef and add 2 cups seasoned black beans and 1 cup corn. Protein drops to about 22g per container.
Storage and Food Safety
Refrigerator: Store the assembled containers, lidded, for up to 4 days. Keep the Greek yogurt, salsa, and cilantro in separate small containers. Add them at serving.
Freezer: Freeze the potatoes and beef filling without the toppings for up to 3 months. Thaw overnight in the refrigerator and reheat for 2 minutes in the microwave or 15 minutes in a 350°F oven. Add the Greek yogurt and salsa fresh.
Make Ahead: Bake the potatoes and cook the beef filling up to 3 days ahead. Assemble the containers the day you plan to eat them, or all at once on Sunday — either works. Cool everything completely before lidding.
Food Safety: Ground beef must reach an internal temperature of 160°F. Cool cooked components within 2 hours and refrigerate promptly. Reheat leftovers to 165°F. If using oven-safe glass containers, remove the plastic lid before reheating — the lids are not oven-safe. Do not leave the containers at room temperature for more than 2 hours.
Frequently Asked Questions
How much protein is in each container? About 45g per container from the ground beef, russet potato, cheddar, and Greek yogurt.
Can I use a different potato? Russets are the best choice. Yukon gold and red potatoes work but stay firmer and push the toppings off. Sweet potatoes are a great swap if you want a sweeter bowl.
How do I reheat without drying it out? Microwave 90 seconds, stir, and add another 30 seconds only if needed. The oven takes 12 minutes at 350°F and brings back the crisp skin.
Are glass meal prep containers oven-safe? Most are, up to 400°F. Check the manufacturer’s label. Do not put the plastic lid in the oven — remove it and cover with foil if you want to trap heat.
How long do the containers last in the refrigerator? Up to 4 days.
Can I freeze them? Yes, but not with the Greek yogurt and salsa. Freeze the potato and beef filling for up to 3 months, thaw overnight, and add fresh toppings.
Why did my potato get mushy? It wasn’t fully cooled before lidding, or the salsa and yogurt were added at assembly. Cool fully and store wet toppings separately.
Can I make these for a crowd? Yes. The recipe doubles cleanly, and the containers scale up. Bake 8 potatoes and use 2½ lbs of beef.
Can I use ground turkey instead of beef? Yes. Use 93% lean and add 1 tbsp of olive oil to the skillet when browning.
Can I make these dairy-free? Yes. Skip the cheddar and use a dairy-free melting cheese or nutritional yeast. Swap the Greek yogurt for a dairy-free yogurt.
Do I have to prick the potatoes? Yes. Steam needs to escape, or the potato will burst in the oven.
Can I bake the potatoes in the air fryer? Yes. Bake at 400°F for 40 to 50 minutes, depending on the potato size.
Can I add vegetables? Yes. Diced bell peppers, roasted corn, or sautéed zucchini all work. Add them to the beef filling in the last 2 minutes of cooking.
What do I serve with these? They are a complete meal on their own. A simple side salad with lime vinaigrette works well if you want something fresh alongside.
Can I eat these cold? Yes, though they are much better warm. The potato is firm cold, but the flavors still hold.
More Meal Prep Recipes You’ll Love
- Meatball Meal Prep — 40g protein, five lunches in 45 minutes.
- Rotisserie Chicken Meal Prep Salads (4 Ways: Sandwiches, Wraps, Bowls & Cups!)
- High-Protein Big Mac Salad (Low-Carb & Meal Prep Friendly)
Conclusion
A loaded baked potato is one of the most underrated meal prep formats. It has structure, it holds toppings without collapsing, and it reheats better than rice, pasta, or quinoa.
Pair it with seasoned ground beef, melted cheddar, and a spoonful of Greek yogurt and salsa, and you have a container that carries forty-five grams of protein and tastes like something worth looking forward to at 12:30.
Three things make it work. Bake the potatoes fully and cool them completely before assembly. Brown the beef hard, bloom the spices, and stir half the cheddar into the hot filling so it melts into the crumbles. And keep the Greek yogurt and salsa separate until you eat, so nothing turns the potato soggy.
Four containers. Four days. Ninety seconds in the microwave or twelve minutes in the oven.
Make them on Sunday. Eat them all week. It is the kind of meal prep that actually gets eaten, not the kind that sits in the back of the refrigerator until Friday.